Introduction
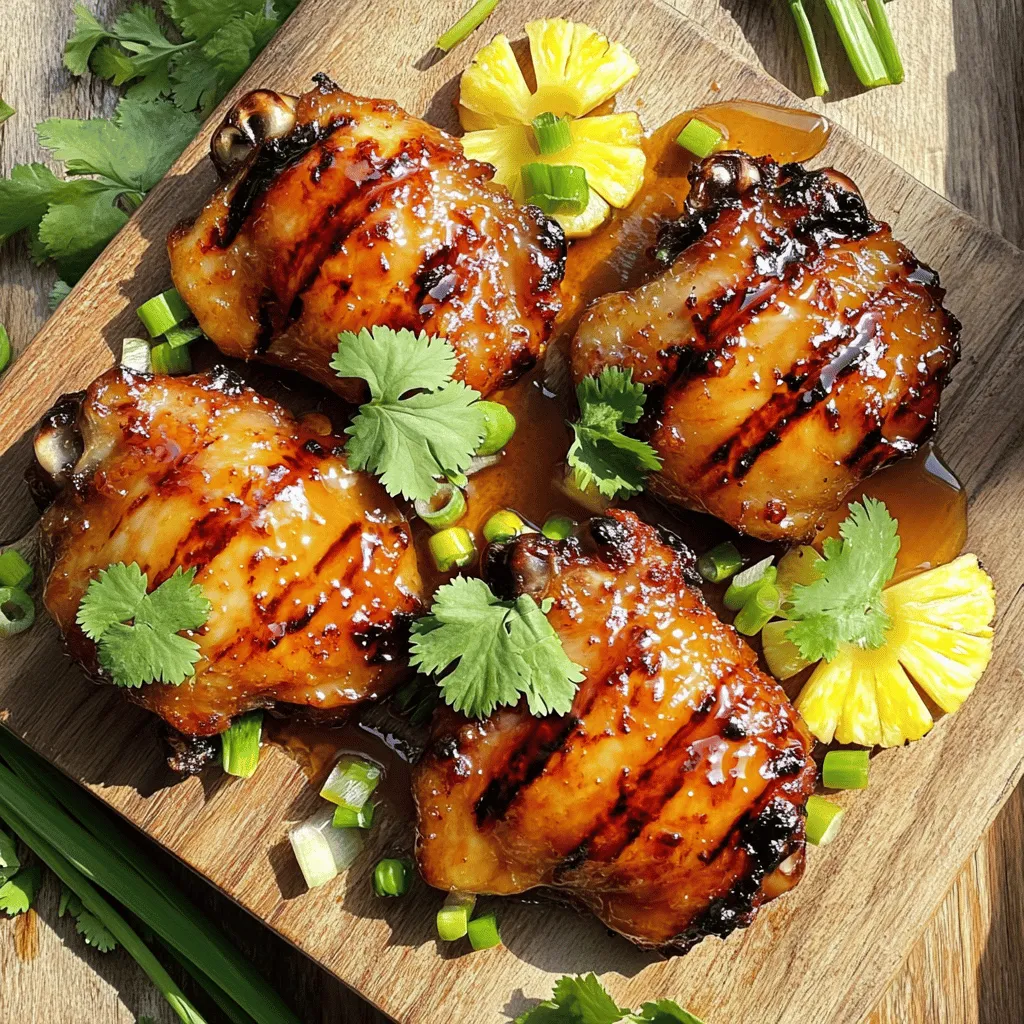
If you’re looking for a dish that perfectly balances sweet and savory flavors, then Sweet & Sticky Honey Garlic Chicken is an irresistible option that will have your taste buds dancing. This delightful dish combines the rich sweetness of honey with the robust umami of soy sauce, making it a favorite in various culinary traditions, particularly in Asian cuisine. Its unique flavor profile not only tantalizes the palate but also offers a comforting familiarity that many love.
Honey garlic chicken has gained immense popularity due to its versatility and ease of preparation. Whether you’re hosting a dinner party, celebrating a special occasion, or simply trying to whip up a quick meal for your family on a busy weeknight, this recipe fits the bill perfectly. With just a handful of ingredients, you can create a dish that feels gourmet yet is achievable for even novice home cooks.
In this article, we will explore the essential components of Sweet & Sticky Honey Garlic Chicken, delve into the health benefits of its ingredients, and walk through the preparation and cooking techniques to ensure your chicken turns out perfectly every time.
Understanding the Ingredients
To create a mouthwatering dish of Sweet & Sticky Honey Garlic Chicken, you’ll need to gather some key ingredients that work harmoniously together to build flavor. Here’s an overview of what you’ll be using:
1. Chicken: The star of the show! Boneless, skinless chicken thighs are often preferred for their juiciness and flavor, but chicken breasts can also work in a pinch. The choice of protein can affect the final texture of your dish, with thighs generally yielding a more tender result.
2. Honey: This natural sweetener not only adds a luscious sweetness but also helps in caramelizing the chicken as it cooks, creating that signature sticky glaze. Honey is also a healthier alternative to refined sugars and has various health benefits, including antibacterial properties and antioxidants.
3. Soy Sauce: This ingredient provides a rich umami flavor that perfectly balances the sweetness of the honey. Low-sodium soy sauce is often recommended to control the saltiness of the dish while still retaining that savory kick.
4. Garlic: Fresh garlic is a must for this recipe! Its pungent aroma and robust flavor add depth to the marinade and sauce. Garlic has numerous health benefits, including anti-inflammatory properties and the ability to boost the immune system.
5. Ginger: Fresh ginger brings a warm, spicy note that elevates the flavor profile of the dish. Ginger is also known for its digestive benefits and its role in reducing inflammation.
6. Red Pepper Flakes (optional): For those who enjoy a little heat, adding red pepper flakes can enhance the flavor and provide a nice contrast to the sweetness of the honey. This optional ingredient can be adjusted according to your spice tolerance.
For optimal flavor, it’s essential to use fresh ingredients when preparing Sweet & Sticky Honey Garlic Chicken. Fresh garlic and ginger will create a more vibrant taste compared to their dried counterparts, while high-quality honey can elevate the overall flavor profile of the dish.
The Flavor Profile of Honey Garlic Chicken
The magic of Sweet & Sticky Honey Garlic Chicken lies in its unique flavor combination. The pairing of honey and soy sauce creates a delightful balance of sweetness and umami, ensuring that every bite is flavorful. The honey not only sweetens the dish but also adds a beautiful sheen and stickiness that makes the chicken visually appealing.
Garlic and ginger serve as essential flavor enhancers. Garlic injects a savory depth, while ginger adds brightness and warmth to the dish. Together, these ingredients create a layered flavor experience that keeps your palate engaged.
For those who enjoy a touch of heat, the addition of red pepper flakes can be a game-changer. The subtle spice complements the sweetness of the honey and the saltiness of the soy sauce, making the dish even more dynamic. Adjust the amount according to your preference, or omit it entirely for a milder flavor.
Preparation Steps for Perfect Honey Garlic Chicken
Now that we’ve explored the ingredients and their contributions to the dish’s flavor, it’s time to dive into the preparation steps. Marinating the chicken is a critical part of the process, as it allows the flavors to penetrate the meat, leading to a more delicious final product.
Step 1: Prepare the Marinade
To start, you’ll need to combine the main ingredients in a mixing bowl. Here’s how to prepare the marinade:
– Combine Ingredients: In a medium-sized bowl, mix together 1/2 cup of honey, 1/3 cup of soy sauce, 4 cloves of minced garlic, and 1 tablespoon of freshly grated ginger. If you’re using red pepper flakes, add about 1/2 teaspoon to the mixture for an extra kick.
– Whisk Until Smooth: Use a whisk to blend the ingredients until they are well incorporated. The mixture should be smooth and slightly thickened.
Step 2: Marinate the Chicken
Once your marinade is ready, it’s time to marinate your chicken. Follow these steps for effective marination:
– Choose Your Chicken: Depending on your preference, select boneless, skinless chicken thighs or breasts.
– Coat the Chicken: Place the chicken pieces in a large zip-top bag or a shallow dish. Pour the marinade over the chicken, ensuring that each piece is well coated.
– Seal and Refrigerate: If using a zip-top bag, seal it tightly and gently massage the marinade into the chicken. If using a dish, cover it with plastic wrap. Refrigerate the chicken for at least 30 minutes, but for optimal flavor absorption, aim for 2 to 4 hours. If you’re short on time, even a brief 15-minute marination will still yield tasty results.
Step 3: Prepping for Cooking
After marinating, you’ll want to prepare for cooking. Here’s what to do:
– Preheat the Oven: Preheat your oven to 400°F (200°C). This temperature will help achieve that perfect caramelization and cook the chicken evenly.
– Prepare a Baking Sheet: Line a baking sheet with parchment paper or aluminum foil for easy cleanup. This will catch any drippings and keep your oven clean.
– Arrange the Chicken: Remove the chicken from the marinade, allowing excess marinade to drip off. Place the chicken pieces on the prepared baking sheet, ensuring they are spaced out to allow for even cooking.
Cooking Techniques
Now that your chicken is marinated and your oven is preheated, it’s time to cook! Here are the steps to ensure your Sweet & Sticky Honey Garlic Chicken turns out perfectly:
Step 1: Bake the Chicken
– Bake: Place the baking sheet in the preheated oven and bake for approximately 20-25 minutes. The cooking time may vary depending on the thickness of the chicken.
Step 2: Check for Doneness
– Use a Meat Thermometer: To ensure your chicken is cooked through, use a meat thermometer to check the internal temperature. The chicken should reach an internal temperature of 165°F (75°C) for safe consumption.
Step 3: Achieve Caramelization
– Broil for Extra Flavor: If you desire an additional layer of flavor and that perfect caramelized finish, switch your oven to broil during the last 3-5 minutes of cooking. Keep a close eye on the chicken as it can quickly burn under the broiler.
With these steps, you’ll be well on your way to creating a delicious batch of Sweet & Sticky Honey Garlic Chicken that is sure to impress your family and friends. The combination of sweet, savory, and slightly spicy flavors will make this dish a favorite at your dining table.
Stay tuned for the next part of this article, where we will delve into serving suggestions, tips for best results, and more insights into this fantastic recipe!
Creating the Glaze
One of the most critical steps in ensuring that your Sweet & Sticky Honey Garlic Chicken is bursting with flavor is mastering the glaze. The marinade that you set aside after marinating the chicken is not just a leftover; it has the potential to become a deliciously thick sauce that elevates the entire dish. Reducing the marinade allows the flavors to concentrate, creating a rich glaze that adheres beautifully to the chicken.
Step-by-Step Instructions for Preparing the Glaze
1. Strain the Marinade: Begin by pouring the marinade through a fine mesh strainer into a saucepan. This step is essential to remove any solid bits, such as garlic pieces or herbs, that could burn during cooking.
2. Simmer the Marinade: Place the saucepan on medium heat and bring the strained marinade to a gentle boil. This will help to evaporate excess moisture, thickening the sauce.
3. Reduce the Heat: Once boiling, reduce the heat to low and let the marinade simmer for about 10-15 minutes. Stir occasionally to prevent sticking. You want to reduce it until it coats the back of a spoon.
4. Check for Consistency: To test if the glaze has reached the right consistency, dip a spoon into the sauce. If it thickly coats the spoon and drips off slowly, you’ve achieved the perfect glaze ready to be drizzled over your chicken.
Tips for Achieving the Right Consistency of the Glaze
– Patience is Key: Allowing enough time for the glaze to simmer is crucial. If you rush this step, the glaze may not thicken properly.
– Adjust Sweetness: If you prefer a sweeter glaze, you can add a little more honey during the simmering process. Conversely, if you want a more savory flavor, consider adding a splash of soy sauce or vinegar.
– Thickening Agents: If you find that your glaze isn’t thickening as desired, you can whisk in a cornstarch slurry (1 tablespoon of cornstarch mixed with 1 tablespoon of cold water) towards the end of the cooking time.
Serving Suggestions
Once your Sweet & Sticky Honey Garlic Chicken is cooked and glazed to perfection, it’s time to think about how to serve it. The presentation can elevate your meal from ordinary to extraordinary.
Ideas for Side Dishes
– Steamed Rice: A classic pairing, fluffy white rice or jasmine rice is excellent for soaking up the sweet and savory glaze.
– Stir-Fried Vegetables: Colorful stir-fried vegetables like bell peppers, broccoli, and carrots add nutrition and crunch, balancing the dish’s sweetness.
– Quinoa: For a healthier alternative, serve your chicken with quinoa. This protein-packed grain complements the flavors and adds a nutty undertone.
– Noodles: Tossed with a bit of sesame oil and green onions, noodles can be a delightful base for the chicken.
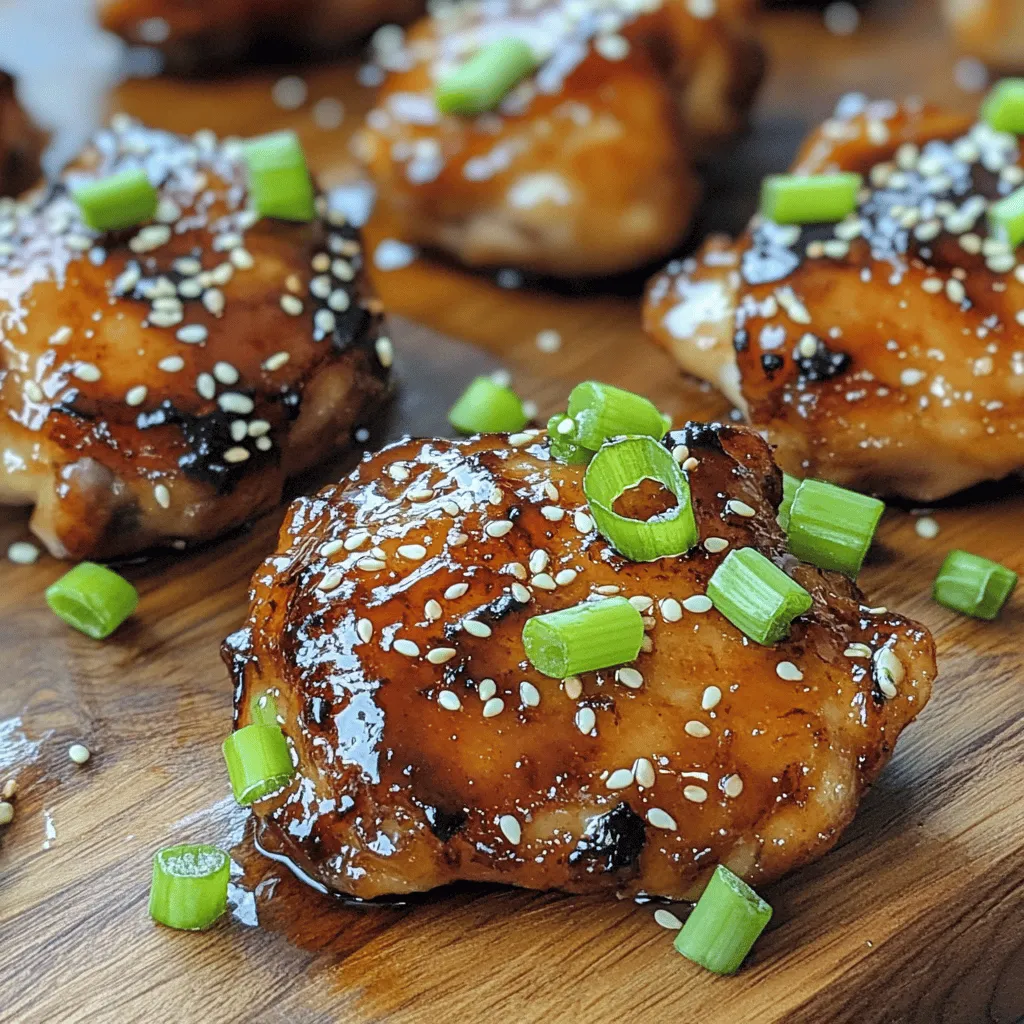
Garnishing for Enhanced Presentation
To make your dish visually appealing, consider garnishing with:
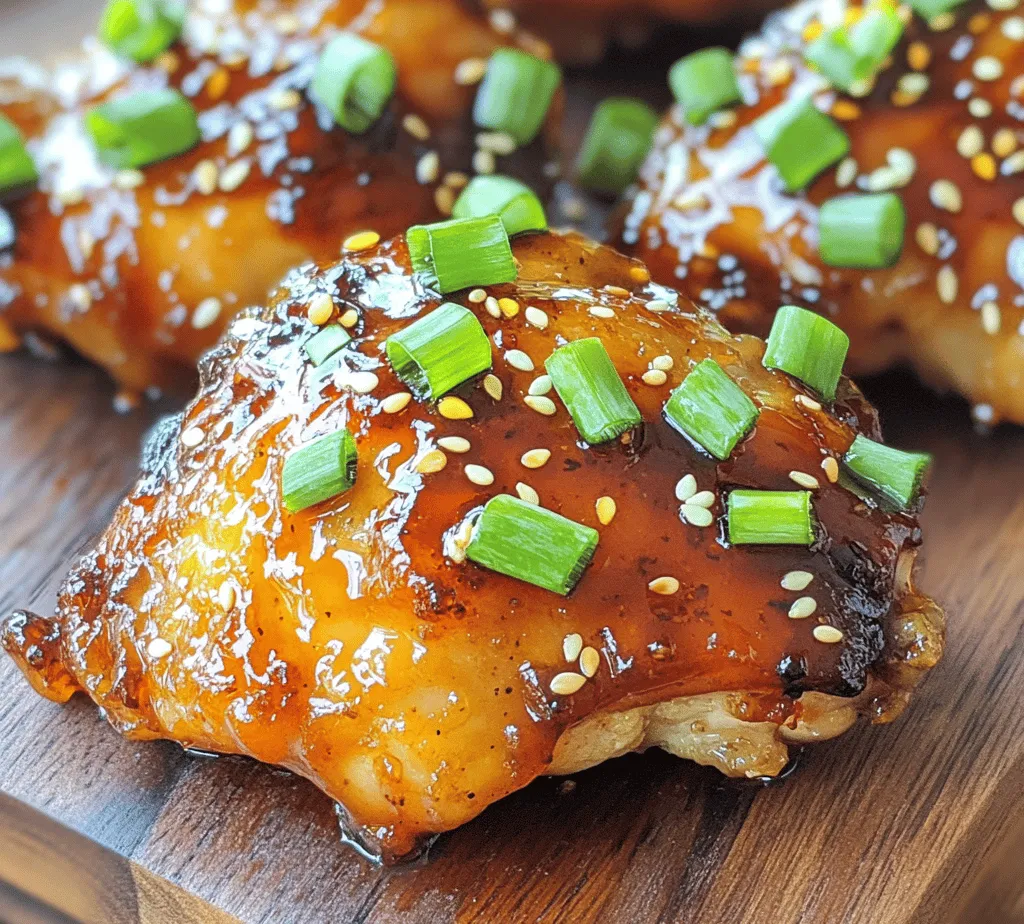
– Chopped Green Onions: Sprinkle freshly chopped green onions over the top for a pop of color and a hint of sharpness that contrasts beautifully with the sweetness.
– Sesame Seeds: A handful of toasted sesame seeds adds a nutty flavor and a touch of elegance.
– Cilantro or Parsley: Fresh herbs can brighten the dish and provide a fresh taste.
Options for Serving the Dish
– Whole: Serve the chicken pieces whole for a rustic look; this works wonderfully if you’re hosting a family gathering.
– Sliced: Slicing the chicken can make it easier to serve and is perfect for a more refined presentation.
– Shredded: For casual meals or meal prep, shredding the chicken is a great option. It can be tossed into salads, wraps, or served over rice.
Nutritional Information
Understanding the nutritional profile of your Sweet & Sticky Honey Garlic Chicken can help you enjoy it guilt-free while ensuring it’s a balanced meal.
Overview of Nutritional Value
On average, a serving of this dish (approximately 4 ounces of chicken with glaze) contains:
– Calories: 350-400
– Protein: 30g
– Carbohydrates: 40g
– Fats: 10g
Balance of Macronutrients
This dish provides a good balance of macronutrients, with a strong protein base from the chicken, moderate carbohydrates from the glaze (due to honey), and healthy fats if you choose to cook it with a bit of oil.
Dietary Considerations
– Gluten-Free: This recipe can easily be made gluten-free by using tamari instead of soy sauce.
– Low-Sodium Options: To reduce sodium, use low-sodium soy sauce and avoid adding additional salt during cooking.
Storing and Reheating Leftovers
Leftovers can be an excellent way to enjoy your Sweet & Sticky Honey Garlic Chicken beyond the initial meal. However, proper storage and reheating techniques are essential to maintaining quality.
Best Practices for Storing Leftover Honey Garlic Chicken
– Refrigeration: Allow the chicken to cool completely before transferring it to an airtight container. It can be stored in the refrigerator for up to 3-4 days.
– Freezing: For longer storage, freeze the chicken in a freezer-safe container. It can last for up to 3 months. Make sure to label with the date for reference.
Tips for Reheating to Maintain Flavor and Texture
– Microwave: If using a microwave, place the chicken in a microwave-safe dish and cover it with a damp paper towel to keep it moist. Heat in 30-second intervals until warmed through.
– Oven: For the best texture, reheat the chicken in the oven. Preheat to 350°F (175°C), cover the chicken with foil, and heat for about 15-20 minutes or until warmed throughout.
– Stovetop: You can also reheat the chicken in a skillet over low heat. Add a splash of water or leftover glaze to keep it moist.
Ideas for Using Leftovers in Other Meals
– Salads: Shredded chicken can be tossed in salads with mixed greens, cucumbers, and a light vinaigrette for a refreshing meal.
– Wraps: Use the chicken in wraps with fresh vegetables and a bit of ranch or honey mustard dressing for a quick lunch option.
– Pasta Dishes: Combine the chicken with pasta and vegetables, tossed in olive oil or a light sauce for a hearty meal.
Conclusion
The Sweet & Sticky Honey Garlic Chicken is more than just a meal; it’s a delightful culinary experience that brings together flavors everyone loves. The balance of sweetness from honey, the savory notes from garlic, and the tender juiciness of the chicken create a dish that is perfect for family dinners, gatherings, or even a simple weeknight meal.
This recipe is not only versatile but also easy to customize with various side dishes and garnishes, making it suitable for any occasion. Whether served whole, sliced, or shredded, this chicken dish will surely become a beloved staple in your household.
So why wait? Gather your ingredients, follow the simple steps, and make this Sweet & Sticky Honey Garlic Chicken at home. It’s time to indulge in a dish that’s as pleasing to the eye as it is to the palate!