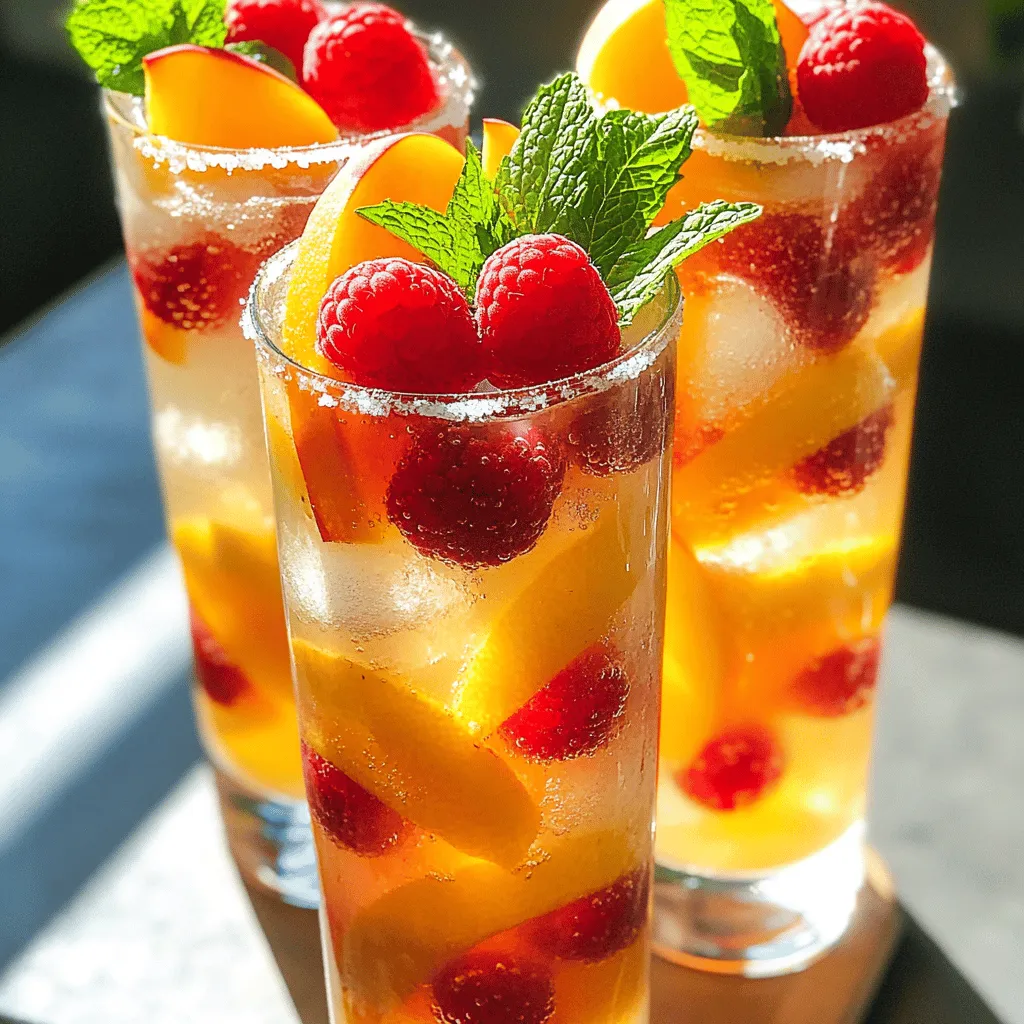
Raspberry Peach Lemonade Refreshing Summer Drink
A refreshing summer drink made with fresh raspberries, peach, and lemon juice.
Delicious recipes
Beverages and drink recipes
A refreshing summer drink made with fresh raspberries, peach, and lemon juice.
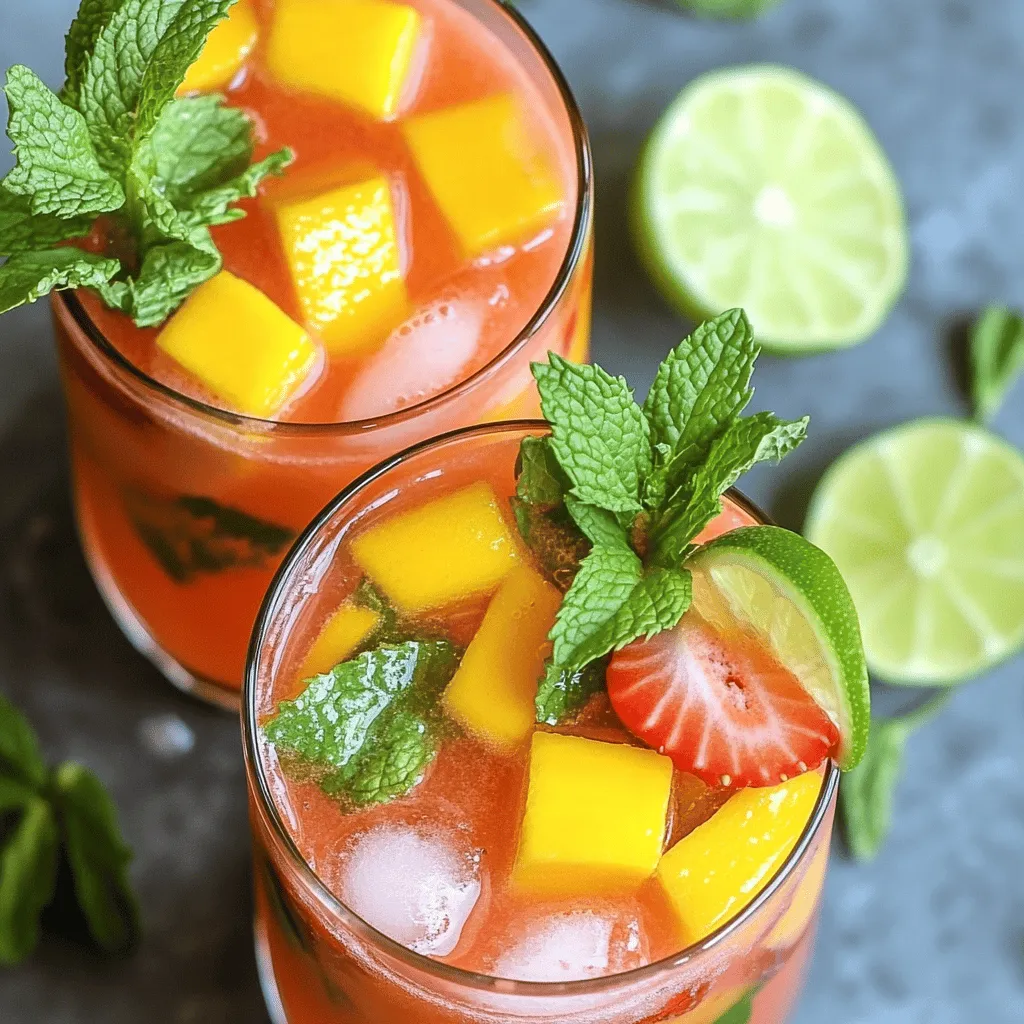
A refreshing drink made with strawberries and mango, perfect for hot days.
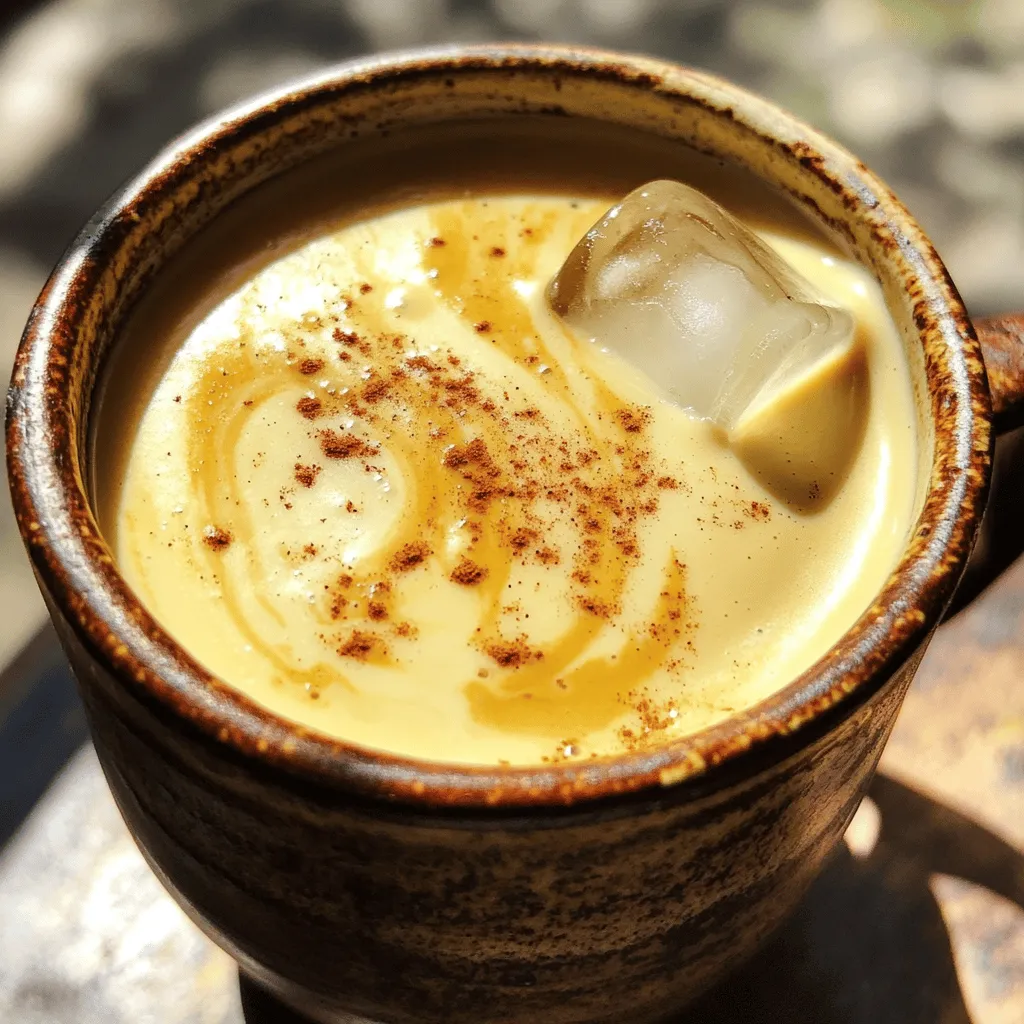
A deliciously creamy latte made with tahini, coffee, and almond milk.
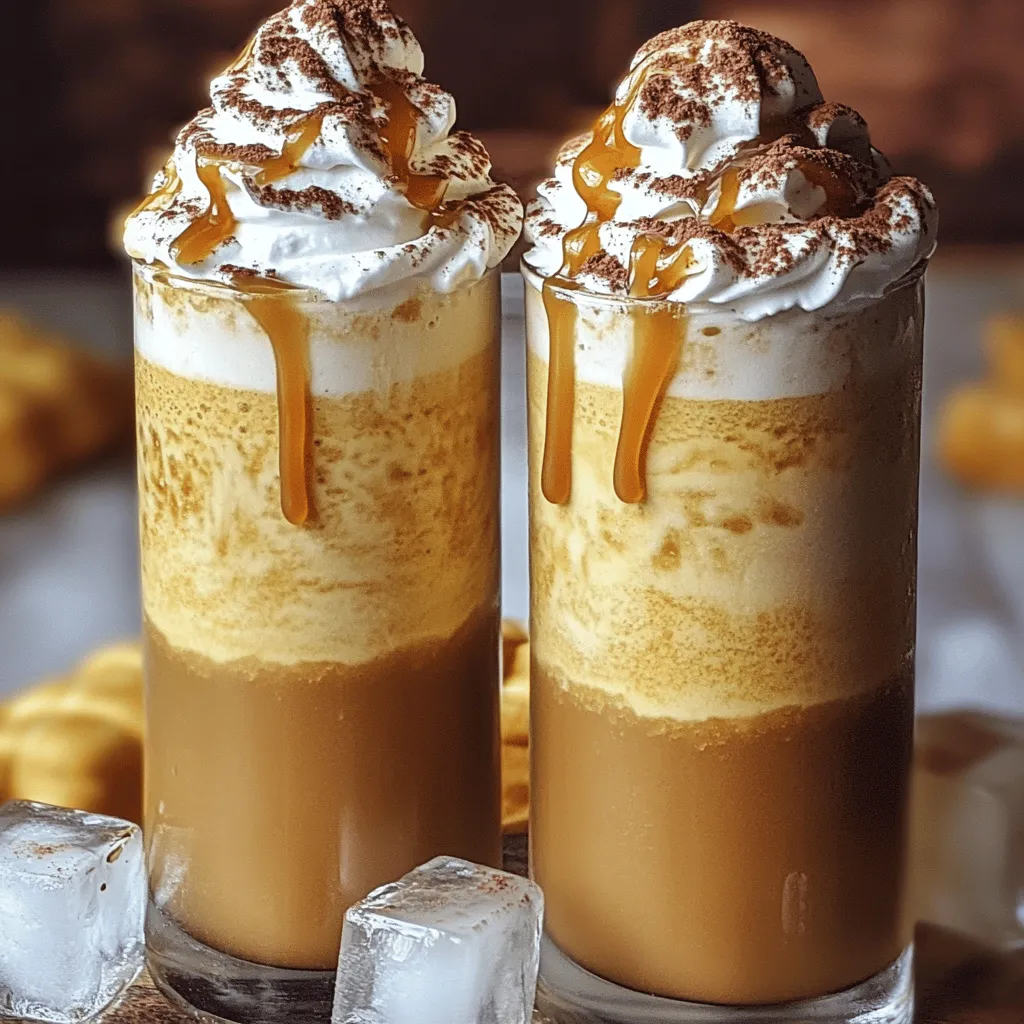
A creamy and indulgent caramel custard frappe, perfect for coffee lovers.
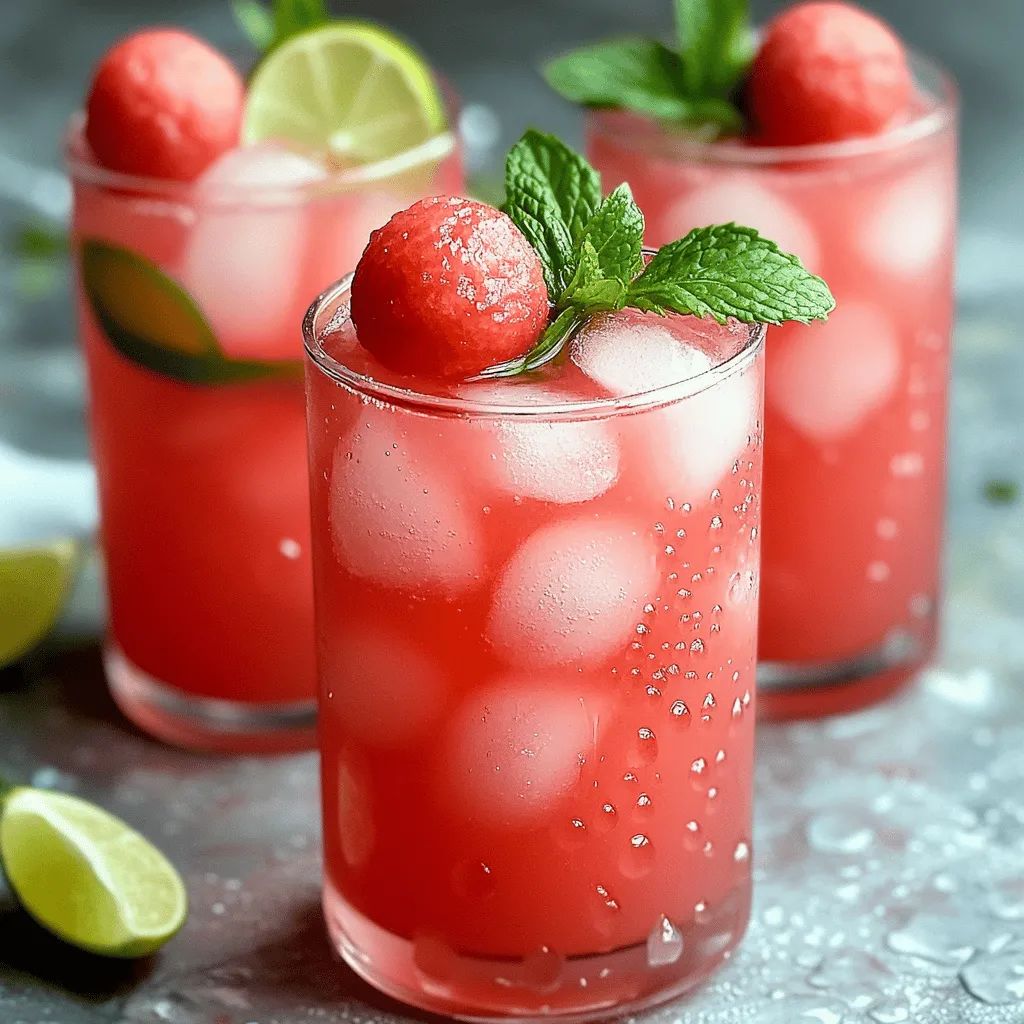
A refreshing drink made from ripe watermelon, lime juice, and agave syrup.
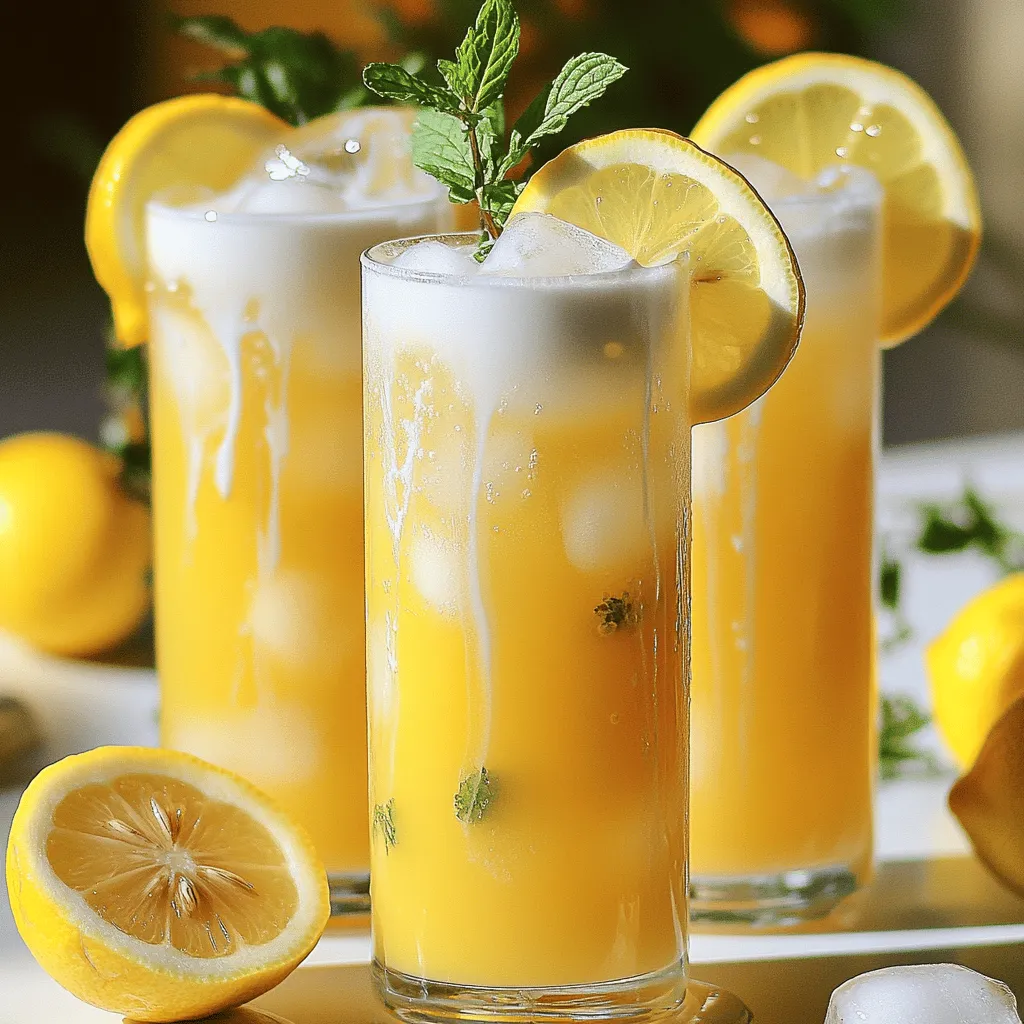
A refreshing lemonade made with fresh lemon juice and sweetened condensed milk.
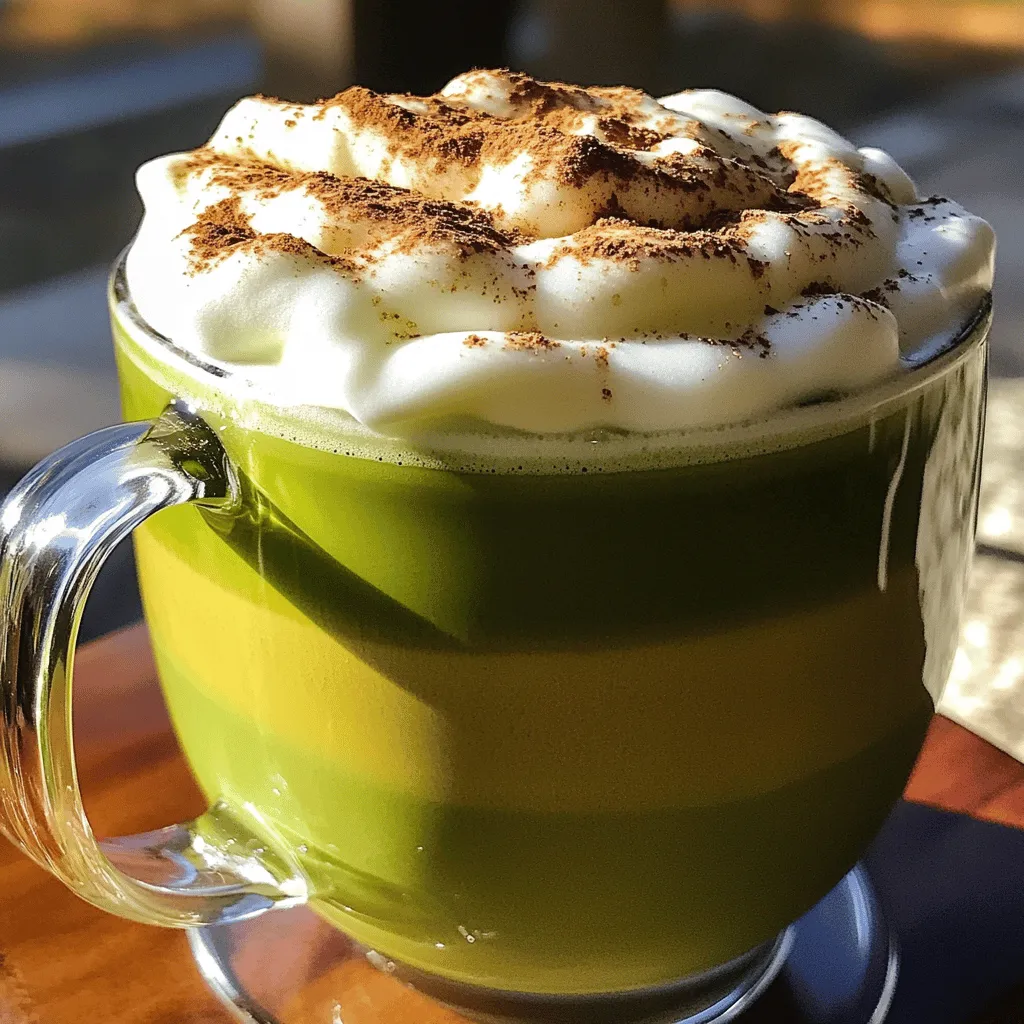
A vibrant and rich drink combining matcha and frothed milk.
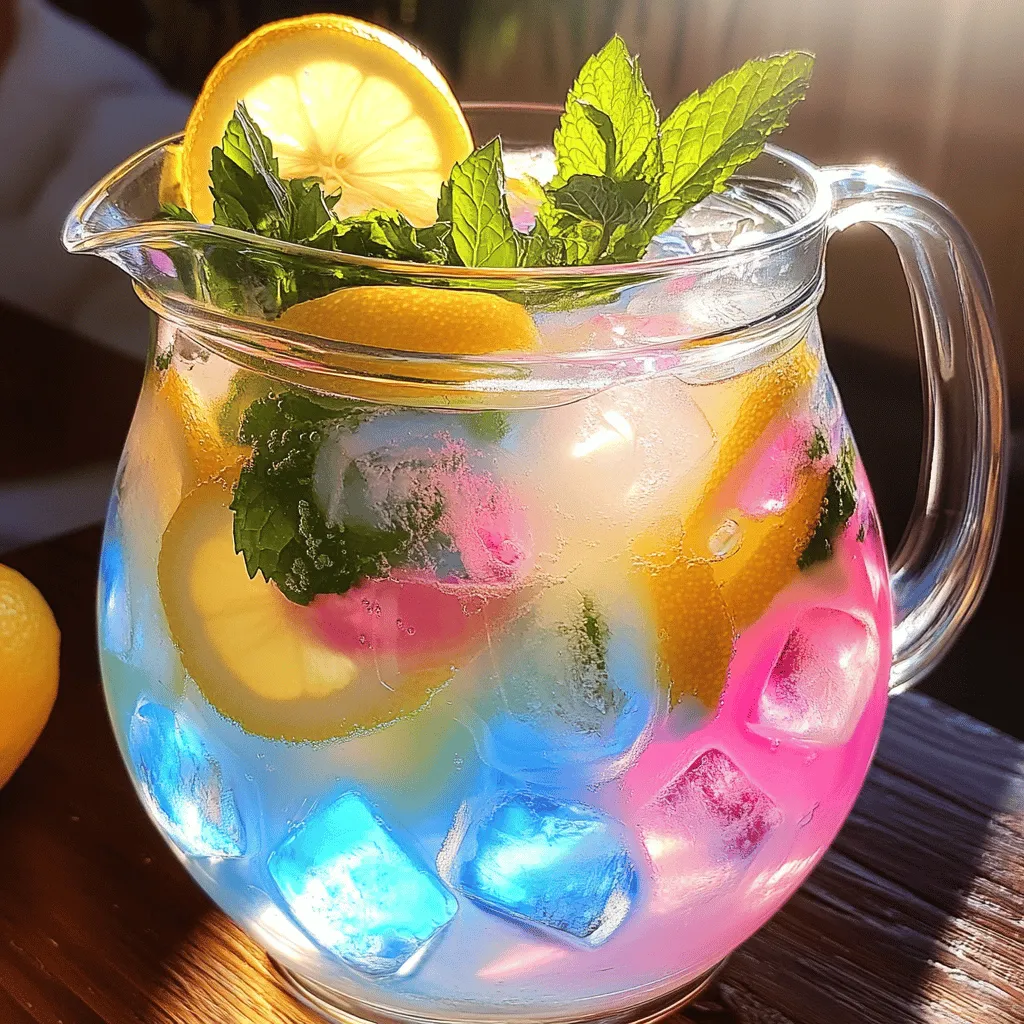
A visually stunning lemonade that changes color with the addition of baking soda.
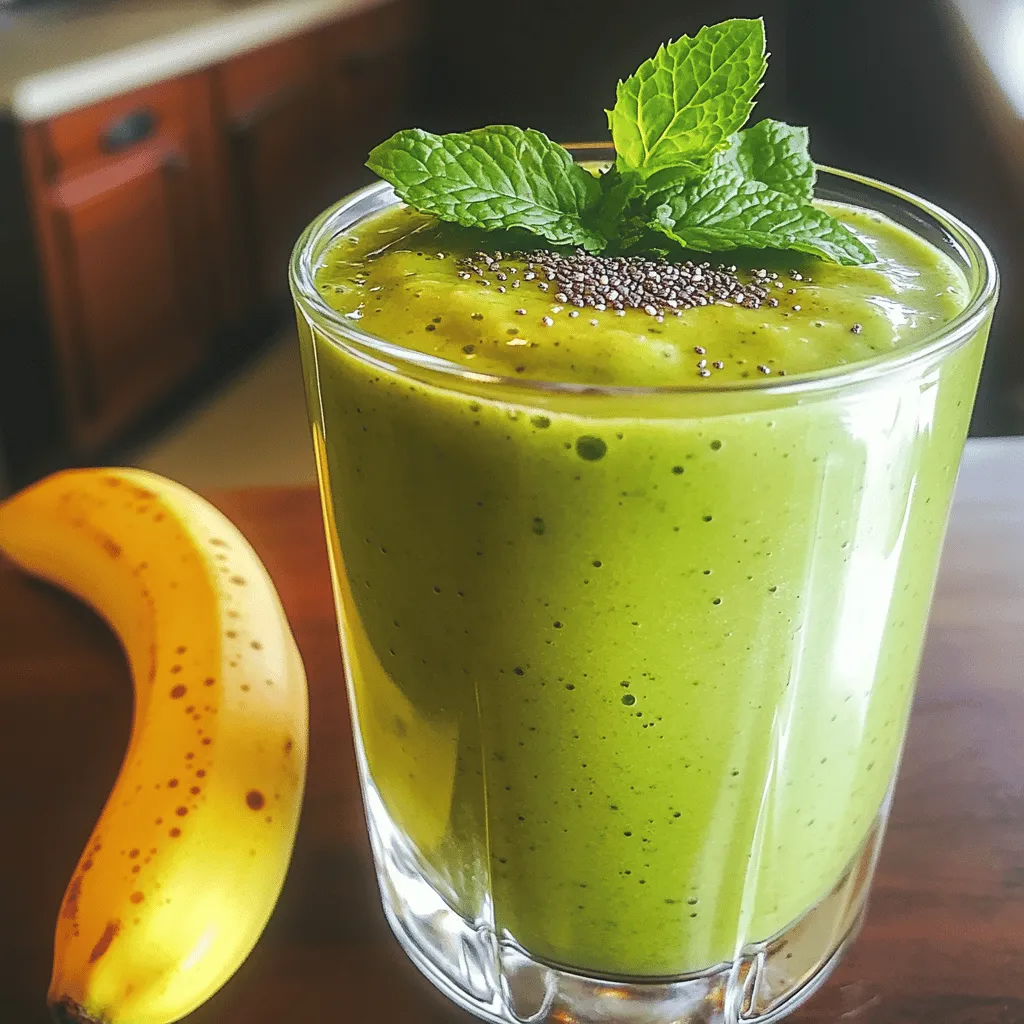
A refreshing and healthy smoothie featuring matcha green tea powder.

A delicious espresso drink enhanced with brown sugar and topped with whipped cream.
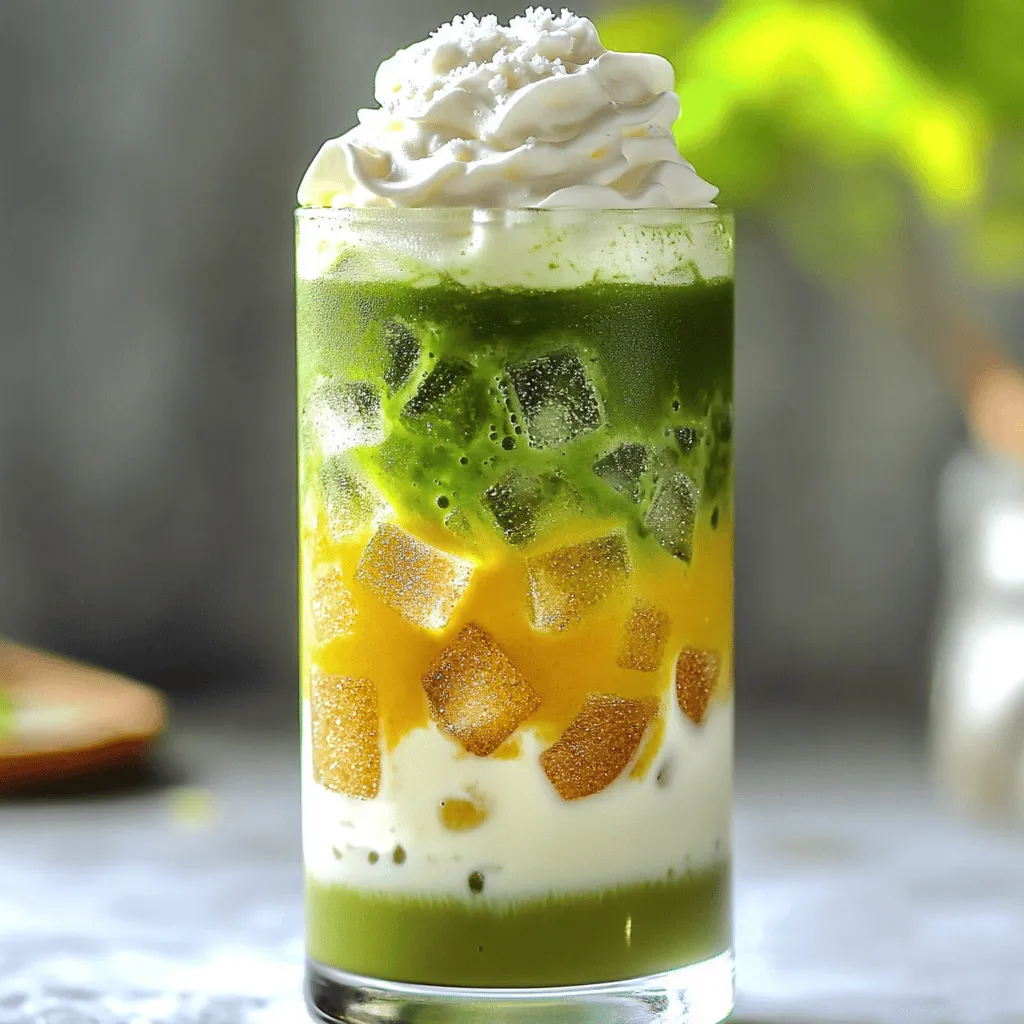
A refreshing blend of matcha green tea and sweetened milk served over ice.
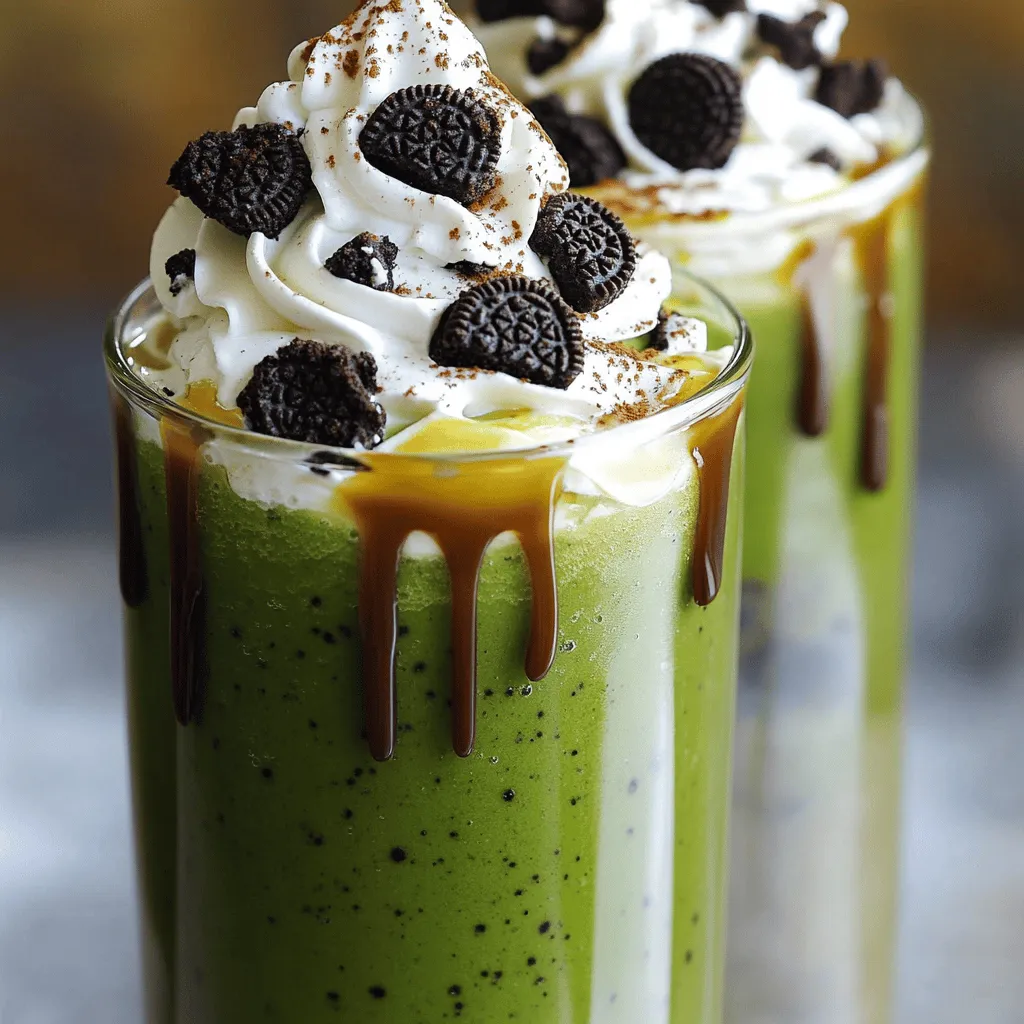
A delicious blend of vanilla ice cream, matcha, and crushed Oreo cookies, topped with whipped cream.