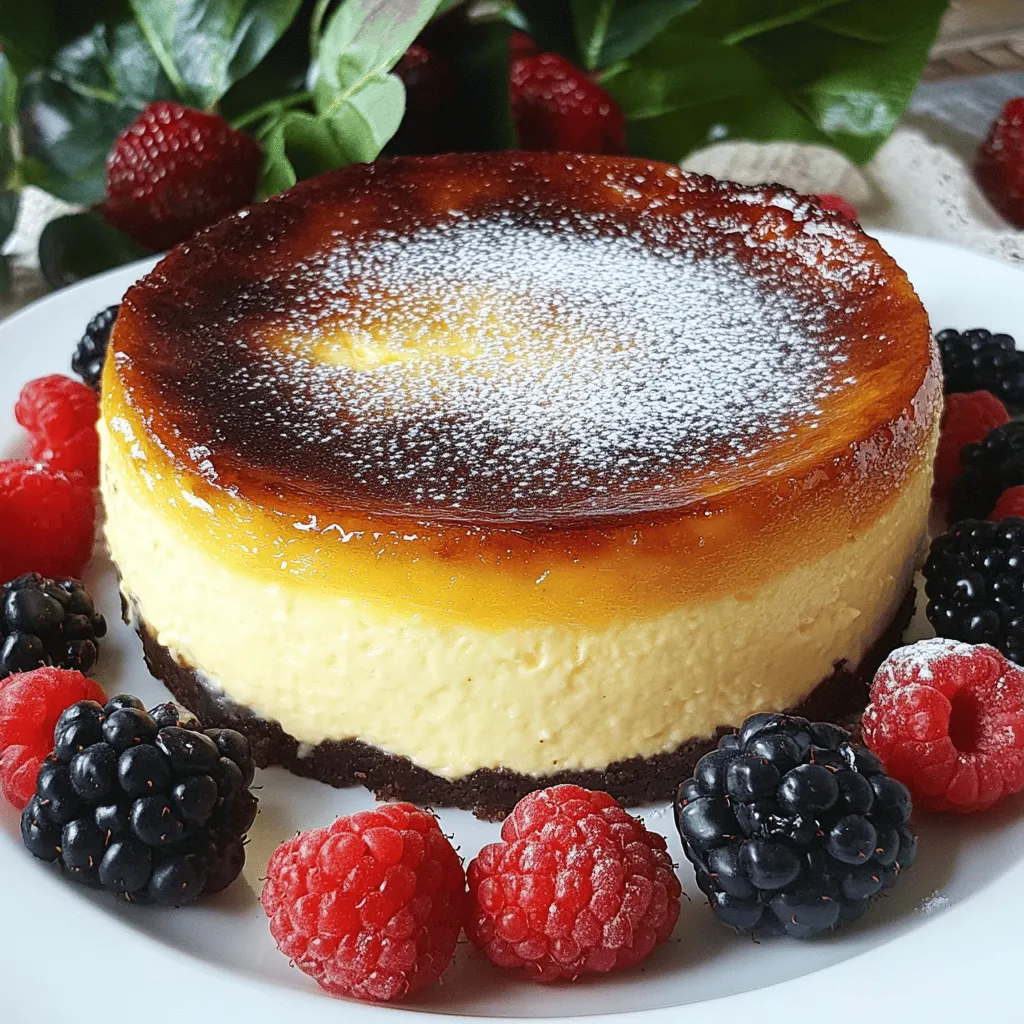
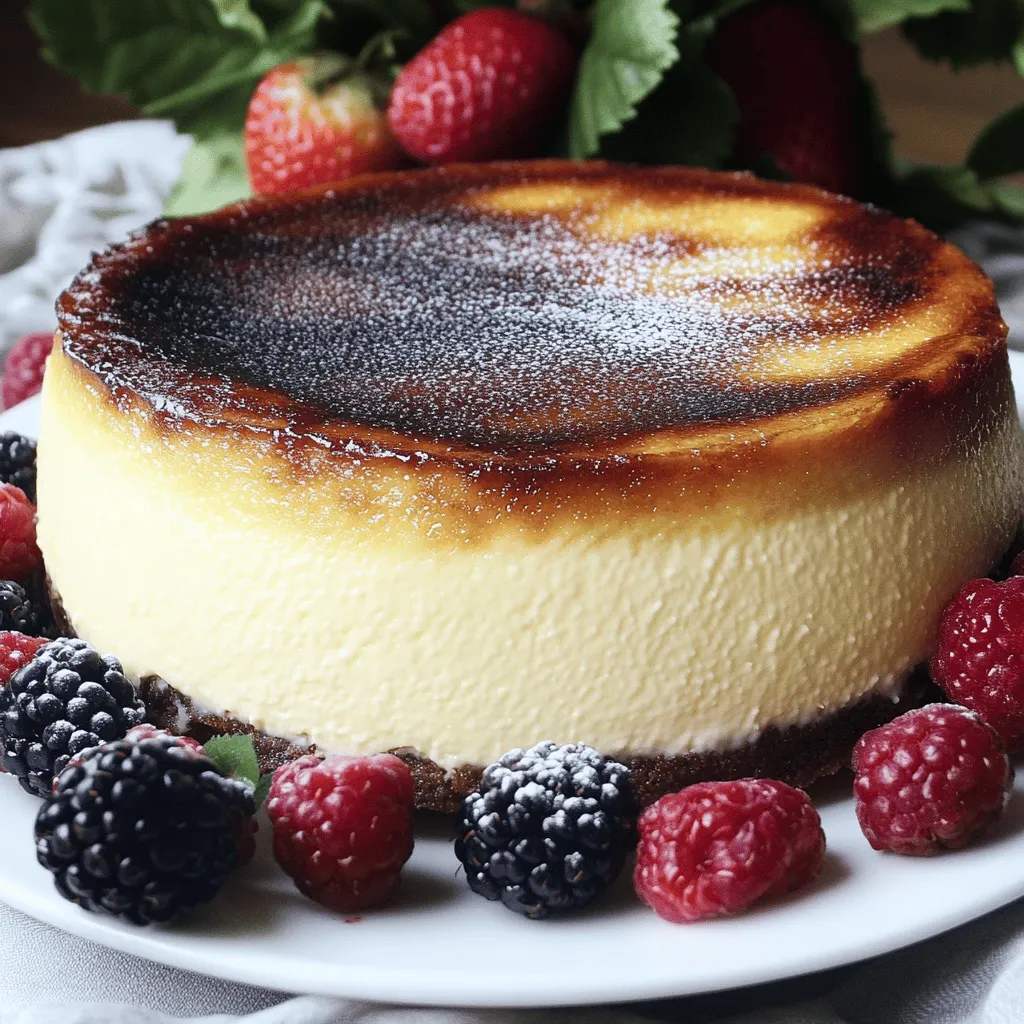
If you crave something sweet and slightly indulgent, Burnt Basque Cheesecake is for you. This rich, creamy treat boasts a unique burnt top that adds depth to its flavor. In this post, I’ll guide you through an easy recipe, step-by-step instructions, and handy tips to perfect your cheesecake. Get ready to impress your friends and family with a dessert that’s both simple and delicious!
Ingredients
Main Ingredients for Burnt Basque Cheesecake
– 500g cream cheese, softened
– 200g sugar
– 4 large eggs
– 200ml heavy cream
– 1 teaspoon vanilla extract
– 1 tablespoon all-purpose flour
– Pinch of salt
The heart of a great Burnt Basque Cheesecake lies in its ingredients. I always use high-quality cream cheese. This gives the cheesecake its smooth texture. Sugar adds sweetness and helps the cake rise. Eggs bind everything together, giving the cheesecake its rich structure. Heavy cream adds a luscious creaminess. Vanilla extract gives a warm flavor that enhances the cake. The flour helps maintain a bit of structure, and a pinch of salt balances the sweetness.
Optional Garnishes
– Fresh berries
– Powdered sugar
While the cheesecake shines on its own, you might want to add a touch of flair. Fresh berries are vibrant and add a nice tartness. A dusting of powdered sugar can make it look fancy. These garnishes can turn your cheesecake into a showstopper!
Kitchen Tools Required
– 9-inch springform pan
– Electric mixer
– Mixing bowls
– Spatula
Having the right tools makes baking easier. A 9-inch springform pan lets you release the cake easily after baking. An electric mixer helps blend the ingredients smoothly. Mixing bowls are essential for preparing the batter. A spatula is great for scraping the bowl and smoothing the top before baking.
Step-by-Step Instructions
Preparing the Oven and Pan
– Preheat oven to 210°C (410°F).
– Line your springform pan with parchment paper. Make sure the paper rises above the edges. This helps with easy removal later.
Mixing the Batter
– In a large bowl, beat the softened cream cheese and sugar until smooth.
– Add in the eggs one at a time. Mix well after each addition. Remember, don’t overmix! The batter should be fluffy.
– Slowly pour in the heavy cream. Mix until it is fully combined. Then, add the vanilla extract, flour, and a pinch of salt. Blend until it’s smooth and glossy.
Baking the Cheesecake
– Pour the cheesecake batter into the prepared springform pan. Smooth the top with a spatula.
– Bake in the preheated oven for 40-45 minutes. The top should be deep golden brown and slightly burnt. The center should jiggle slightly when shaken.
– After baking, let the cheesecake cool in the pan for 30 minutes.
– Turn off the oven. Crack the oven door open slightly. Let the cheesecake cool gradually for another hour.
– Cover the cheesecake and refrigerate it for at least 4 hours, or overnight if you can wait.
– When you’re ready to serve, carefully remove the cheesecake from the pan. Peel off the parchment paper and place it on a serving dish.
This simple process leads you to a rich, creamy cheesecake with a beautiful burnt top.
Tips & Tricks
Achieving the Signature Burnt Top
To get that perfect burnt top, focus on baking time and temperature. I recommend baking at 210°C (410°F) for 40 to 45 minutes. The top should be dark brown but not too burnt. Keep an eye on it towards the end.
Overmixing can ruin the fluffy texture you want. When you mix the batter, combine until smooth but don’t go too far. Just mix until everything is well blended.
Storing and Serving Tips
Chilling is key for your cheesecake. After baking, let it cool at room temp for 30 minutes. Then, cover it and refrigerate for at least 4 hours. Overnight is best, so the flavors can meld.
For serving, let the cheesecake sit at room temperature for about 30 minutes. This helps bring out its creamy goodness.
Enhancing Flavor and Texture
Quality matters when it comes to ingredients. Use full-fat cream cheese for a rich flavor. The heavy cream should also be good quality. This makes your cheesecake extra creamy.
For a smoother batter, use a food processor. It blends the cream cheese and sugar well, ensuring no lumps. This tip can take your cheesecake to the next level.
Variations
Flavor Infusions
You can easily add zest to your cheesecake. Try using lemon or orange zest. This adds a bright flavor that pairs well with the creaminess. You can also swirl in chocolate or caramel. Just drop some melted chocolate or caramel into the batter. Then, use a knife to create swirls. This gives a fun twist and adds richness.
Crust Options
A traditional crust is made with crushed cookies and butter. Some love this crunchy base. But you can also make it crustless. This keeps the focus on that creamy filling. If you need a gluten-free option, use gluten-free cookies for the crust. You can also skip the crust altogether for a lighter dessert.
International Twists
This cheesecake has Spanish roots. You can explore Spanish-style variations by adding local flavors, like cinnamon or almond. You can also create vegan alternatives. Use plant-based cream cheese and coconut cream instead of dairy. This makes the cheesecake creamy and delicious while being dairy-free.
Storage Info
Refrigeration Details
You can store Burnt Basque Cheesecake in the fridge for up to five days. Use an airtight container to keep it fresh. If you do not have one, wrap the cheesecake tightly in plastic wrap. This will help prevent it from drying out.
Freezing Guidelines
Yes, you can freeze Burnt Basque Cheesecake! Wrap it tightly with plastic wrap and then with aluminum foil. This helps to keep the flavor and texture intact. When you’re ready to enjoy it, thaw it in the fridge overnight. This slow thaw keeps the cheesecake creamy and smooth.
Serving After Storage
When serving from the fridge, let the cheesecake sit at room temperature for about 30 minutes. This helps bring back its creamy texture. If it feels a bit firm, you can slice it and microwave it for about 10 seconds. Just don’t overdo it! You want to keep that delicious, soft center.
FAQs
What is Burnt Basque Cheesecake?
Burnt Basque cheesecake comes from Spain. It has a rich, creamy filling and a dark brown top. The burnt exterior gives it a unique flavor. The center is soft and smooth, creating a perfect contrast. This dessert is simple yet elegant, making it popular worldwide.
How can I avoid cracks in my cheesecake?
To keep your cheesecake smooth, avoid overmixing the batter. Mix until combined, but don’t whip it too much. Also, use room temperature cream cheese. This helps blend everything easily. Bake your cheesecake until it jiggles slightly in the center. Let it cool gradually to prevent cracks.
Can I use low-fat cream cheese?
Using low-fat cream cheese changes the taste and texture. It can make the cheesecake less creamy and rich. Regular cream cheese creates that classic flavor we love. If you want a lighter version, try mixing low-fat with regular cream cheese.
How long does it take to chill?
For the best results, chill your cheesecake for at least 4 hours. I recommend chilling it overnight for full flavor. This helps the cheesecake set properly. The longer it chills, the better it tastes. Enjoying a perfectly chilled slice is worth the wait!
Burnt Basque cheesecake is rich and creamy, with a unique burnt top. We covered the key ingredients, step-by-step instructions, and tips for the best results. You can customize flavors and even explore crust options. Proper storage helps keep the cheesecake fresh and tasty. Enjoy making this dessert in your kitchen, and don’t be afraid to experiment. The right techniques will make each slice a delight!


