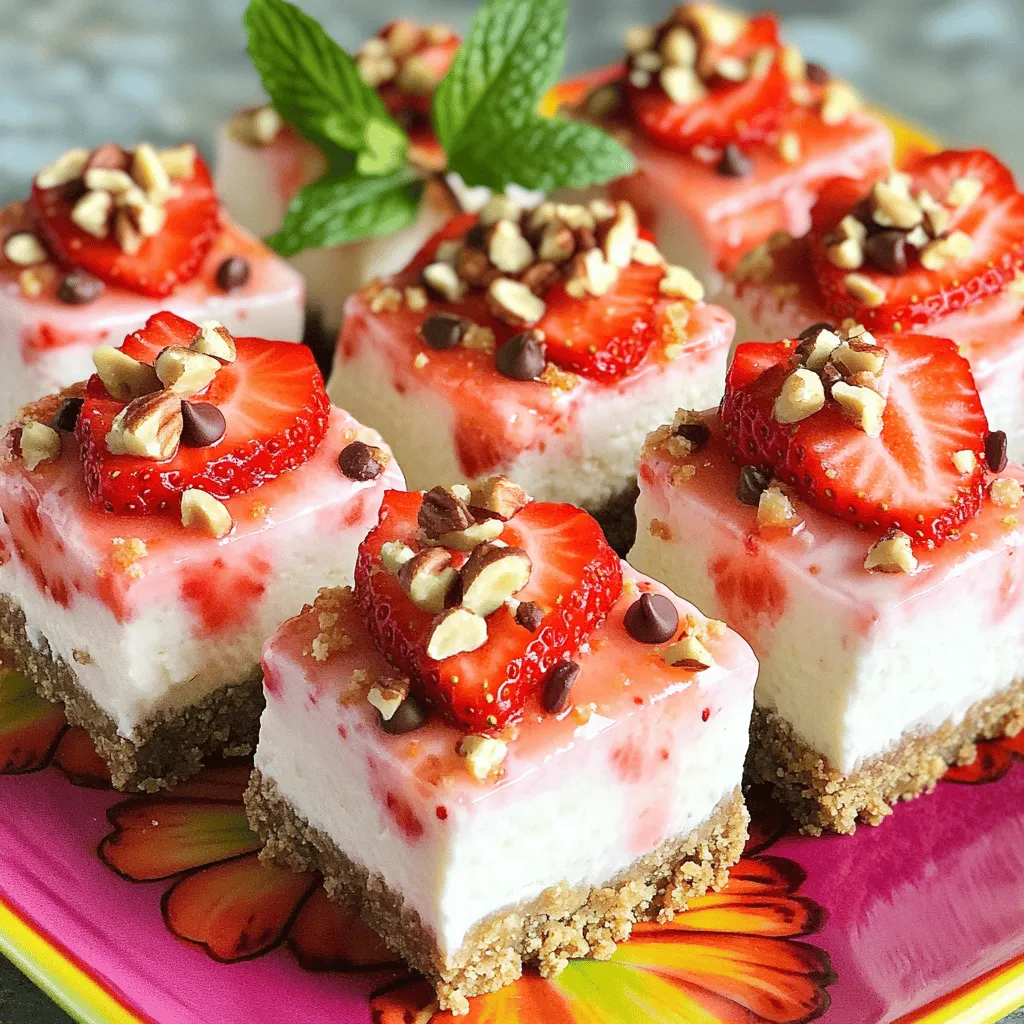
Do you crave something sweet and simple? Strawberry Cheesecake Crunch Bites are the perfect fix! These easy treats combine creamy cheesecake with the crunch of graham crackers and fresh strawberries. You can make them quickly, and everyone loves them! Whether for a party or a snack, I’ll share the easy steps and tips to get perfect bites every time. Ready to treat yourself? Let’s dive in!
Ingredients
Essential Ingredients for Strawberry Cheesecake Crunch Bites
To make these bites, you need a few key items. Here’s what you should gather:
– 1 cup graham cracker crumbs
– 1/2 cup unsalted butter, melted
– 1 cup cream cheese, softened
– 1/2 cup powdered sugar
– 1 teaspoon vanilla extract
– 1 cup strawberries, hulled and chopped
– 1/2 cup whipped cream
These ingredients form the base of your tasty treats. The graham cracker crumbs give a sweet crunch, while the cream cheese creates that rich, creamy filling.
Optional Ingredients for Customization
Want to make your bites even more fun? Here are some optional items you can add:
– 1/4 cup chopped nuts (almonds or pecans)
– 1/4 cup mini chocolate chips
Chopped nuts add a nice crunch, while mini chocolate chips bring a sweet surprise. You can mix and match these to suit your taste.
Ingredient Substitutions
Don’t have an ingredient on hand? Don’t worry! Here are some swaps you can try:
– Use coconut oil instead of butter for a dairy-free option.
– Swap cream cheese for a vegan cream cheese for a plant-based treat.
– Substitute strawberries with blueberries or raspberries for a fruity twist.
These substitutions keep the flavors while catering to different diets. You can enjoy these bites no matter what!
Step-by-Step Instructions
Preparing the Graham Cracker Crust
Start by gathering the graham cracker crumbs and melted butter. In a medium bowl, mix the crumbs and butter. Use a fork or your hands to combine them well. The crumbs should look wet and sandy.
Next, grab a lined 9×9 inch baking dish. Press the crumb mixture into the bottom evenly. Use your fingers or a flat object to make it compact. This step is key to a good crust. Set the dish aside while you work on the filling.
Making the Cheesecake Filling
In a large bowl, beat the softened cream cheese with an electric mixer. Mix until it becomes smooth and creamy. This should take about 2 minutes. Then, slowly add the powdered sugar and vanilla extract. Keep mixing until everything combines well.
Now, it’s time for the fun part! Gently fold in the chopped strawberries and whipped cream. Use a spatula and be careful not to stir too hard. You want to keep the whipped cream fluffy.
Assembling and Chilling the Bites
Pour the cheesecake mixture over the prepared graham cracker crust. Spread it out evenly with a spatula. This helps every bite taste great.
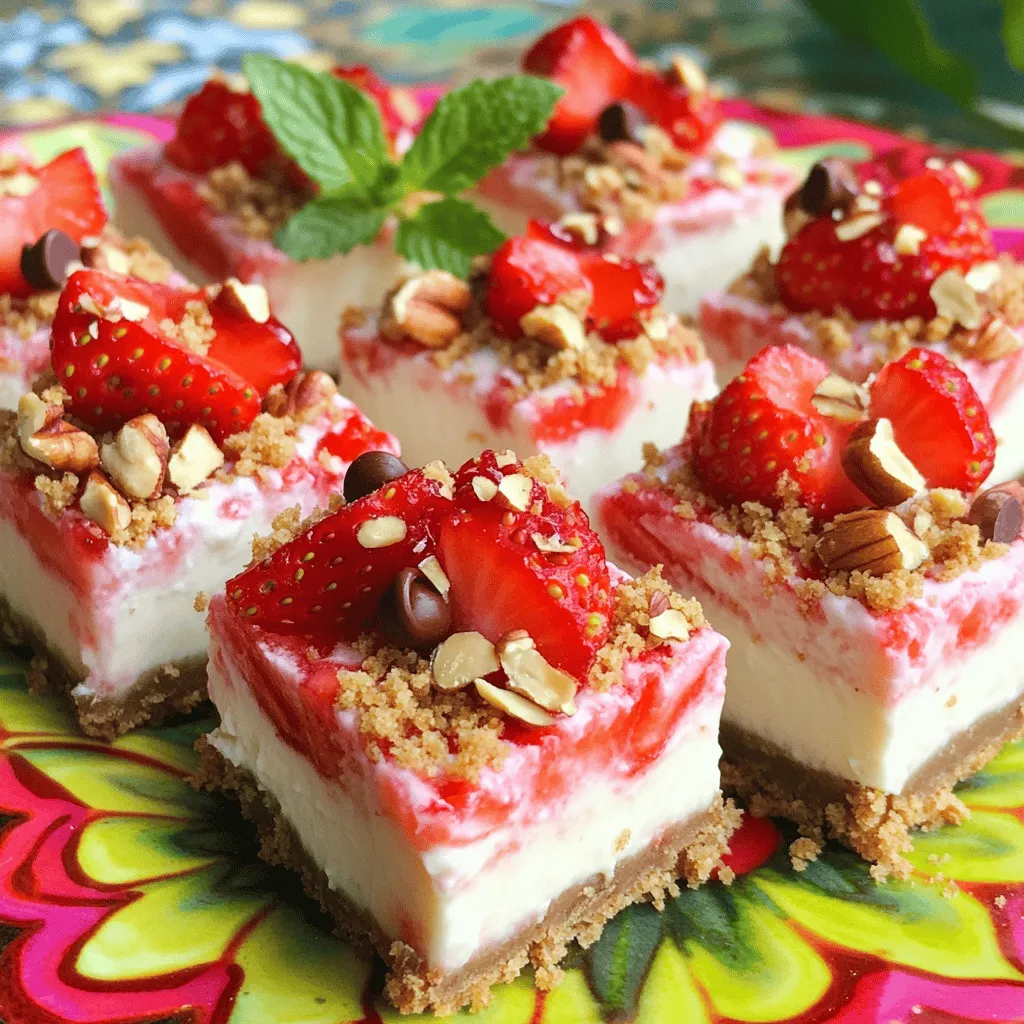
If you want a bit of crunch, sprinkle the top with chopped nuts and mini chocolate chips. Now, cover the dish with plastic wrap. Place it in the fridge for at least 4 hours. This chilling time helps the bites set well.
Once chilled, take the dish out of the fridge. Use a sharp knife to cut it into bite-sized squares. Arrange the bites on a platter. You can even add fresh strawberries on the side for a nice touch.Enjoy your sweet Strawberry Cheesecake Crunch Bites!
Tips & Tricks
Perfecting the Cheesecake Texture
To get the best cheesecake texture, always use room temperature cream cheese. Cold cream cheese clumps up and does not mix well. Beat the cream cheese until it is smooth. Gradually add the powdered sugar and vanilla, then mix again. This helps create a creamy filling. Folding in the whipped cream gently adds air. This keeps your bites light and fluffy.
Refrigeration Time and Temperature Tips
Chill your bites for at least four hours. This time allows the cheesecake to set properly. If you are in a hurry, try chilling them for a minimum of two hours. But the longer, the better! Make sure your fridge is at a cool temperature. This helps the bites firm up nicely.
Enhancing Flavor with Toppings
Toppings can add fun flavors and textures. Adding fresh strawberries on top is a great idea. Try drizzling chocolate or caramel sauce for extra sweetness. Chopped nuts add a nice crunch. You can mix and match toppings to find what you like best. For a twist, use mini chocolate chips or a sprinkle of sea salt.
Variations
Chocolate Strawberry Cheesecake Crunch Bites
To make chocolate strawberry cheesecake crunch bites, swap some graham crackers for chocolate cookies. Use 1 cup of chocolate cookie crumbs instead of graham cracker crumbs. This change adds a rich chocolate flavor. You can also mix in mini chocolate chips into the cheesecake filling. The extra chocolate will make each bite even more delicious.
Vegan or Dairy-Free Options
If you want a vegan or dairy-free version, use plant-based cream cheese. You can find this at most grocery stores. Replace the whipped cream with coconut whipped cream. For the crust, use vegan butter instead of regular butter. This way, everyone can enjoy these tasty bites without dairy.
Seasonal Fruit Alternatives
You can customize your bites with different fruits. In spring and summer, use fresh blueberries or raspberries. In the fall, try using apples or pears. Just chop the fruit into small pieces and fold them into the cheesecake mix. Each season brings new flavors to enjoy.
Storage Info
Best Practices for Storing Leftovers
To keep your Strawberry Cheesecake Crunch Bites fresh, place them in an airtight container. This helps maintain their taste and texture. You can layer them with parchment paper to prevent sticking. Store them in the fridge if you plan to eat them within a few days. For best results, enjoy them within three days.
Freezing Instructions for Strawberry Cheesecake Crunch Bites
If you want to save some bites for later, freezing is a great option. First, cut them into squares and place them on a baking sheet. Freeze them for about an hour until firm. Then, transfer them to a freezer-safe container. They can last in the freezer for up to three months. When you want to enjoy them, thaw them in the fridge overnight.
Shelf Life and Signs of Spoilage
Properly stored, these bites can last in the fridge for about three days. If they start to smell off or the crust becomes soggy, it’s time to toss them. Look for changes in color or texture. If the strawberries lose their vibrant red hue or become mushy, they may no longer be good. Always trust your senses when checking for spoilage.
FAQs
Can I use a different fruit in the recipe?
Yes, you can easily swap strawberries for other fruits. Raspberries, blueberries, or even peaches work well. Just chop the fruit into small pieces, just like you do with strawberries. This small change keeps the flavor amazing and fresh.
How do I make these bites gluten-free?
To make these bites gluten-free, you need gluten-free graham crackers. You can find these at most grocery stores. Check the label to ensure they are truly gluten-free. The rest of the ingredients are already gluten-free, so you are all set.
Where can I buy pre-made Strawberry Cheesecake Crunch Bites?
You can find pre-made Strawberry Cheesecake Crunch Bites at some bakeries or specialty stores. Some grocery stores may also carry them in the dessert section. If you want a quick treat, check the frozen dessert aisle.
In this article, I shared how to make delicious Strawberry Cheesecake Crunch Bites. We covered essential and optional ingredients, plus substitutions for your needs. You learned a step-by-step process to create a tasty dessert, along with helpful tips to perfect your bites. I also discussed fun variations and the best ways to store leftovers. With this knowledge, you can enjoy, share, and customize your cheesecake bites as you wish. Now, it’s time to get cooking and make your own unique treats!


