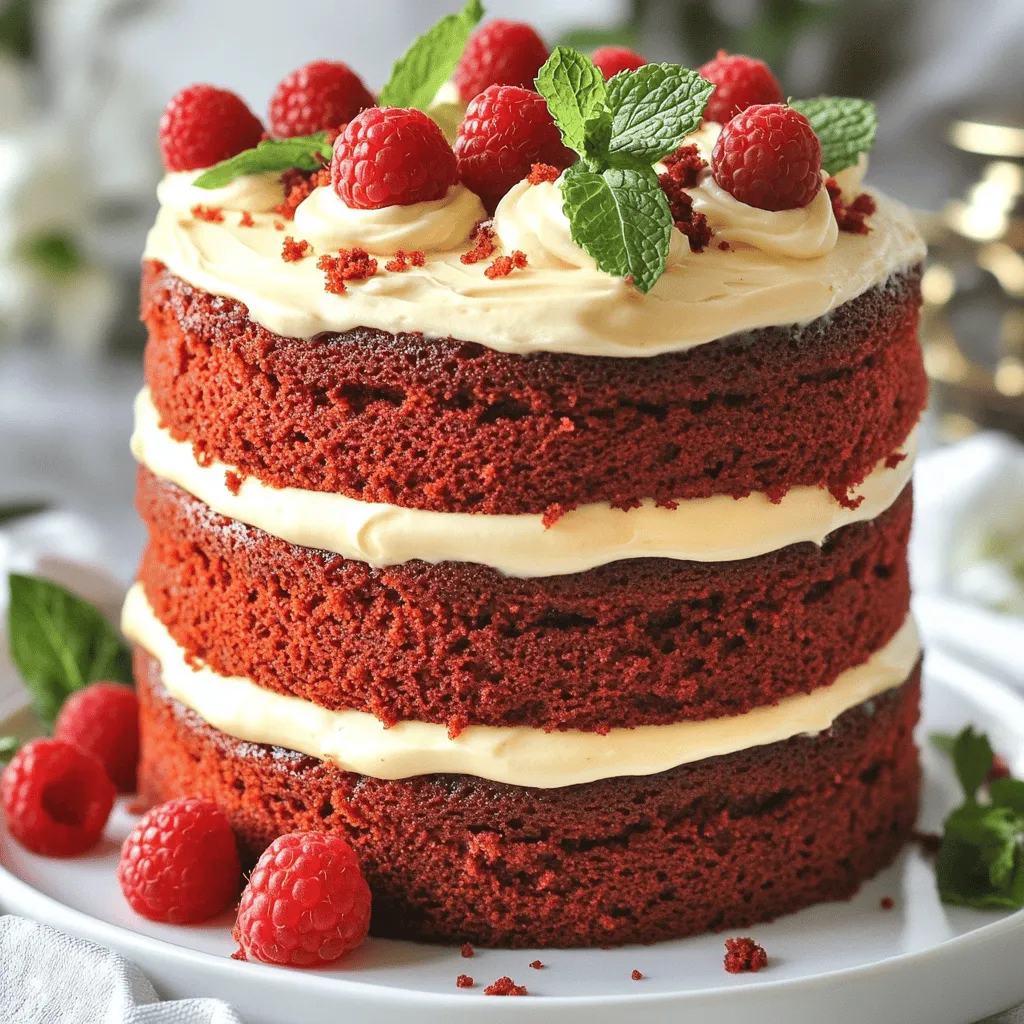
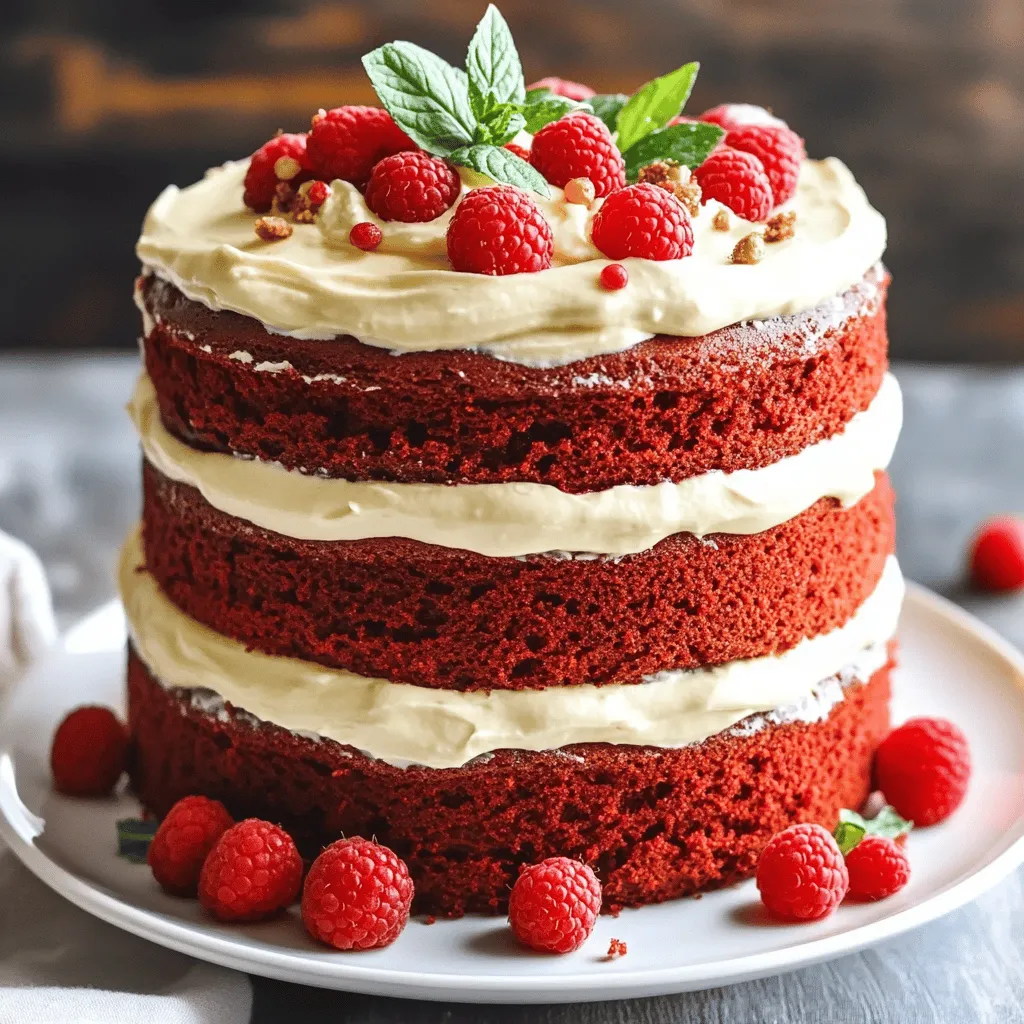
If you’ve been searching for a show-stopping dessert that’s both easy to make and oh-so-delicious, you’re in the right place! This Red Velvet Layer Cake recipe will guide you through each simple step, from gathering ingredients to applying the frosting. Whether it’s for a special occasion or a treat to share with loved ones, this cake will impress everyone. Ready to bake a masterpiece? Let’s get started!
Ingredients
All-Purpose Ingredients
For this red velvet layer cake, you will need:
– 2 ½ cups all-purpose flour
– 1 ½ cups granulated sugar
– 1 teaspoon baking soda
– 1 teaspoon baking powder
– 1 teaspoon salt
– 1 teaspoon cocoa powder
These ingredients form the base of your cake. The flour gives it structure, while the sugar makes it sweet. Baking soda and baking powder help it rise, and salt enhances the flavors. The cocoa powder adds a hint of chocolate flavor, balancing the sweetness.
Baking Essentials
Next, gather your baking essentials:
– 1 ½ cups vegetable oil
– 1 cup buttermilk, at room temperature
– 2 large eggs, at room temperature
– 2 tablespoons red food coloring
– 1 teaspoon vanilla extract
– 1 teaspoon white vinegar
The vegetable oil keeps the cake moist. Buttermilk adds a tangy flavor and makes the cake tender. Room temperature eggs help the batter mix smoothly. Red food coloring gives that classic look. Vanilla extract adds depth, and vinegar balances the flavors.
Frosting Components
To top your cake, you need these frosting components:
– 1 cup unsalted butter, softened
– 8 oz cream cheese, softened
– 4 cups powdered sugar
– 1 teaspoon vanilla extract
– A pinch of salt
Cream cheese frosting is rich and tangy. The butter adds creaminess, while powdered sugar sweetens it up. Vanilla extract boosts the flavor, and salt balances the sweetness. Together, they make a smooth, delicious topping for your cake.Enjoy making your red velvet layer cake!
Step-by-Step Instructions
Prepping the Oven
First, we need to get the oven ready. Preheat your oven to 350°F (175°C). This step is key for baking. While it heats up, grease and flour three 9-inch round cake pans. This ensures our cakes won’t stick when we bake them.
Mixing Dry Ingredients
Now, let’s work on the dry mix. In a large bowl, add 2 ½ cups of all-purpose flour, 1 ½ cups of granulated sugar, 1 teaspoon of baking soda, 1 teaspoon of baking powder, 1 teaspoon of salt, and 1 teaspoon of cocoa powder. Whisk these ingredients together until they blend well. This mix gives our cake the right texture.
Combining Wet Ingredients
Next, we’ll tackle the wet mix. In another bowl, combine 1 ½ cups of vegetable oil, 1 cup of buttermilk, 2 large eggs, 2 tablespoons of red food coloring, 1 teaspoon of vanilla extract, and 1 teaspoon of white vinegar. Mix these ingredients until everything is smooth. This step adds moisture and flavor to the cake.
Merging Mixtures
Now, it’s time to bring both mixes together. Gradually add the wet mix to the dry mix. Stir gently until just combined. It’s okay if there are a few lumps; we don’t want to overmix. This will keep our cake light and fluffy.
Baking the Cake
Once combined, divide the batter evenly among the three prepared pans. Place them in the oven and bake for about 25-30 minutes. To check if they are done, insert a toothpick into the center. If it comes out clean, they are ready.
Cooling and Frosting
After baking, let the cakes cool in the pans for about 10 minutes. Then, turn them out onto wire racks to cool completely. While they cool, prepare the cream cheese frosting. Beat 1 cup of softened unsalted butter with 8 oz of softened cream cheese until smooth. Gradually add 4 cups of powdered sugar, 1 teaspoon of vanilla extract, and a pinch of salt. Mix until creamy. Once the cakes are cool, layer and frost them with the cream cheese frosting. Enjoy your beautiful Red Velvet Layer Cake!
Tips & Tricks
Perfecting the Batter
To get the best batter, mix the dry and wet ingredients well. Whisk your flour, baking powder, and cocoa powder together first. This helps spread the dry parts evenly. When you blend the wet parts, make sure your eggs and buttermilk are at room temperature. This makes the batter smooth and creamy. Don’t overmix! A few lumps are fine. Overmixing can make the cake tough.
Ensuring Even Baking
Even baking is key for a great red velvet layer cake. Use three 9-inch round pans for even layers. Make sure to grease and flour them well. This helps the cakes release easily. Rotate the pans halfway through baking. This ensures each cake bakes evenly. Check doneness with a toothpick. If it comes out clean, the cakes are ready.
Frosting Techniques
Frosting can make or break your cake. For the best cream cheese frosting, beat butter and cream cheese until smooth. Add powdered sugar slowly for a creamier texture. Frost the cooled cakes layer by layer. Start with the first layer, add frosting, and then place the next layer on top. Use a spatula for a smooth finish. For a fun look, sprinkle some cake crumbs on top. This adds a nice touch!
Variations
Cream Cheese Frosting Alternatives
If you want to switch up the frosting, try these ideas:
– Buttercream Frosting: Use butter, powdered sugar, and vanilla. It’s smooth and sweet.
– Whipped Cream: Light and fluffy, whipped cream adds a airy touch.
– Ganache: Melted chocolate mixed with cream will give a rich flavor.
These options can change the whole cake experience. You can mix and match too!
Flavor Modifications
Red velvet has a unique taste, but you can add more fun:
– Chocolate: Add extra cocoa powder for a chocolatey twist.
– Mint: A few drops of mint extract can give a fresh taste.
– Citrus: Lemon or orange zest can brighten the flavor.
Experiment with these additions to make the cake your own.
Dietary Adjustments
You can make this cake fit different diets:
– Gluten-Free: Use a gluten-free flour blend instead of regular flour.
– Dairy-Free: Swap buttermilk with a plant-based milk and vinegar mix.
– Vegan: Replace eggs with flax eggs and use vegan butter for frosting.
These adjustments let everyone enjoy red velvet cake, no matter their needs.
Storage Info
Refrigeration Tips
To keep your Red Velvet Layer Cake fresh, store it in the fridge. Use an airtight container or cover it tightly with plastic wrap. This prevents the cake from drying out. The cool temperature helps maintain the cream cheese frosting’s texture. Always serve it chilled for the best taste.
Freezing Instructions
You can freeze leftover cake for later. First, slice it into pieces. Wrap each slice tightly in plastic wrap, then place them in a freezer bag. Label the bag with the date. This keeps the cake fresh for up to three months. When you’re ready to enjoy it, thaw in the fridge overnight.
Shelf Life
When stored properly, the cake lasts about five days in the fridge. If you freeze it, you can enjoy it for up to three months. Just remember, the longer it sits, the more the texture and taste may change. Always check for any signs of spoilage before eating.
FAQs
What is Red Velvet Cake?
Red velvet cake is a rich, soft cake with a deep red color. It has a mild chocolate flavor and is often paired with cream cheese frosting. The cake is known for its striking look and tender texture. The red color comes from cocoa powder and red food dye. Many people enjoy this cake for celebrations and special occasions.
Can I substitute ingredients?
Yes, you can substitute some ingredients in red velvet cake. For example, you can use almond milk instead of buttermilk. You may also use coconut oil in place of vegetable oil. If you’re avoiding eggs, a flaxseed mixture can work as a substitute. Just remember, each swap may change the taste or texture slightly.
How do I prevent the cake from drying out?
To keep your red velvet cake moist, avoid overbaking it. Check with a toothpick around 25 minutes. If it comes out clean, take it out right away. Adding oil to the batter helps keep it moist. Also, use room temperature ingredients for better mixing. Finally, frost the cake soon after it cools to lock in moisture.
What are the best decoration ideas for Red Velvet Layer Cake?
For decoration, you can sprinkle red velvet cake crumbs on top for a fun touch. Fresh berries like raspberries or strawberries also look great and add flavor. Edible flowers can make your cake more elegant. Drizzling some chocolate sauce or white chocolate can give it a beautiful finish.
Where did Red Velvet Cake originate?
Red velvet cake has roots in the southern United States. It gained popularity during the 1920s. Some say the cake’s color comes from reactions between cocoa and acidic ingredients. The cake became famous after being featured in a popular cookbook. Today, it remains a favorite at parties and gatherings.
This blog post covered the key steps to make a great Red Velvet Layer Cake. We discussed essential ingredients, detailed instructions, and helpful tips. Variations allow for fun twists, while storage info ensures freshness.
Baking this cake can be fun and rewarding. Use these tips to boost your skills and impress your friends. Enjoy sharing your delicious creation with others! Happy baking!


