Introduction
The Oreo Bliss Milkshake is an indulgent dessert that takes the beloved flavors of Oreo cookies and transforms them into a creamy, dreamy treat. Perfect for any occasion, this milkshake combines the iconic chocolate and cream flavors of Oreos with rich vanilla ice cream and milk, resulting in a thick and satisfying beverage. Whether you’re hosting a summer party, celebrating a special occasion, or simply craving something sweet on a cozy night in, this milkshake is guaranteed to please both kids and adults alike.
What makes this recipe particularly appealing is its simplicity. With just a handful of ingredients and minimal preparation time, you can whip up a deliciously rich milkshake that feels both decadent and nostalgic. The Oreo Bliss Milkshake not only satisfies your sweet tooth but also evokes memories of childhood treats, making it a delightful addition to any dessert menu.
As we delve deeper into this recipe, you’ll find that making your own milkshake at home is not only rewarding but also allows you to customize the flavors and textures to your liking. Let’s explore the key ingredients that make the Oreo Bliss Milkshake a must-try.
Understanding the Ingredients
Oreo Cookies
At the heart of the Oreo Bliss Milkshake lies the iconic Oreo cookie. Known for its unique flavor profile, the Oreo consists of two dark chocolate wafers sandwiching a sweet, creamy filling. This combination creates a delightful contrast between the crunchy texture of the cookies and the smoothness of the filling, making it a nostalgic favorite for many. When blended into a milkshake, the cookies impart a rich chocolate flavor and a satisfying crunch, elevating the entire dessert experience. Whether you prefer classic Oreos or variations like Double Stuf or seasonal flavors, they all contribute to the overall taste, making each milkshake a personalized delight.
Vanilla Ice Cream
Vanilla ice cream is another essential component of the Oreo Bliss Milkshake. Its creamy and rich texture pairs perfectly with the chocolatey crunch of the Oreos, creating a harmonious balance of flavors. The mild sweetness of vanilla ice cream acts as the perfect base, allowing the bold flavors of the cookies to shine through. Moreover, the ice cream adds a luxurious creaminess that transforms the milkshake into a decadent treat. For those who may prefer alternatives, consider using dairy-free ice creams made from coconut, almond, or cashew milk to accommodate dietary preferences without sacrificing flavor.
Milk
Milk plays a crucial role in achieving the desired consistency of the Oreo Bliss Milkshake. It not only helps to blend the ingredients into a smooth and creamy mixture but also determines the thickness of the final product. The amount of milk you add can be adjusted based on personal preference—use less for a thicker milkshake or more for a thinner consistency. For those with dietary restrictions, almond milk, oat milk, or soy milk are excellent alternatives that can be used without compromising the rich flavor of the milkshake.
Step-by-Step Instructions
Preparation Overview
Making the Oreo Bliss Milkshake is a quick and straightforward process, making it an ideal choice for both novice cooks and experienced bakers. In just a few steps, you can create a delightful dessert that’s sure to impress. Before diving into the blending process, gather all your ingredients and equipment, including a blender, measuring cups, and serving glasses. Having everything ready will streamline the preparation process and allow you to enjoy the experience fully.
Blending the Ingredients
To begin, you will need to measure out your ingredients accurately. Start with about 4-5 Oreo cookies, which will provide a generous amount of flavor and texture to the milkshake. Next, scoop approximately 2 cups of vanilla ice cream into the blender. This will form the creamy base of your milkshake. Finally, pour in about 1 cup of milk to help facilitate the blending process.
When you’re ready to blend, secure the lid on your blender and start at a low speed to avoid splattering. Gradually increase the speed until the mixture is smooth and creamy. The goal is to blend the cookies into small pieces while achieving a thick, milkshake-like consistency. If you find that the mixture is too thick, feel free to add a little more milk—just be cautious, as adding too much can make the milkshake too runny. Blend until you reach your desired texture, which should take about 30 seconds to a minute.
Adjusting Sweetness
Once you’ve blended the ingredients, it’s time to taste your Oreo Bliss Milkshake. This step is crucial because it allows you to adjust the sweetness to suit your preferences. If you feel the milkshake could use a little more sweetness, consider adding a splash of vanilla syrup or a drizzle of chocolate sauce. Blend again briefly to incorporate any additional ingredients. Remember that the cookies already provide a significant amount of sweetness, so taste as you go to avoid overpowering the milkshake.
Serving the Milkshake
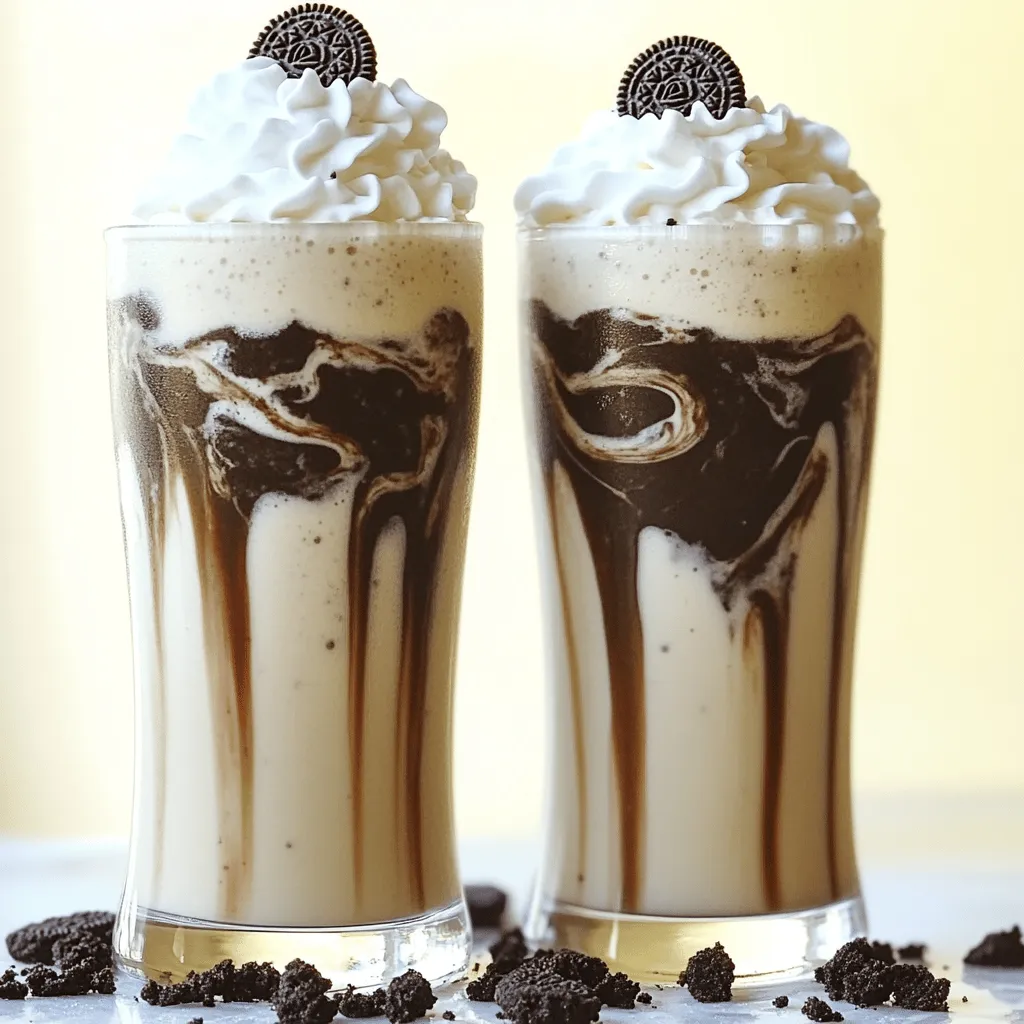
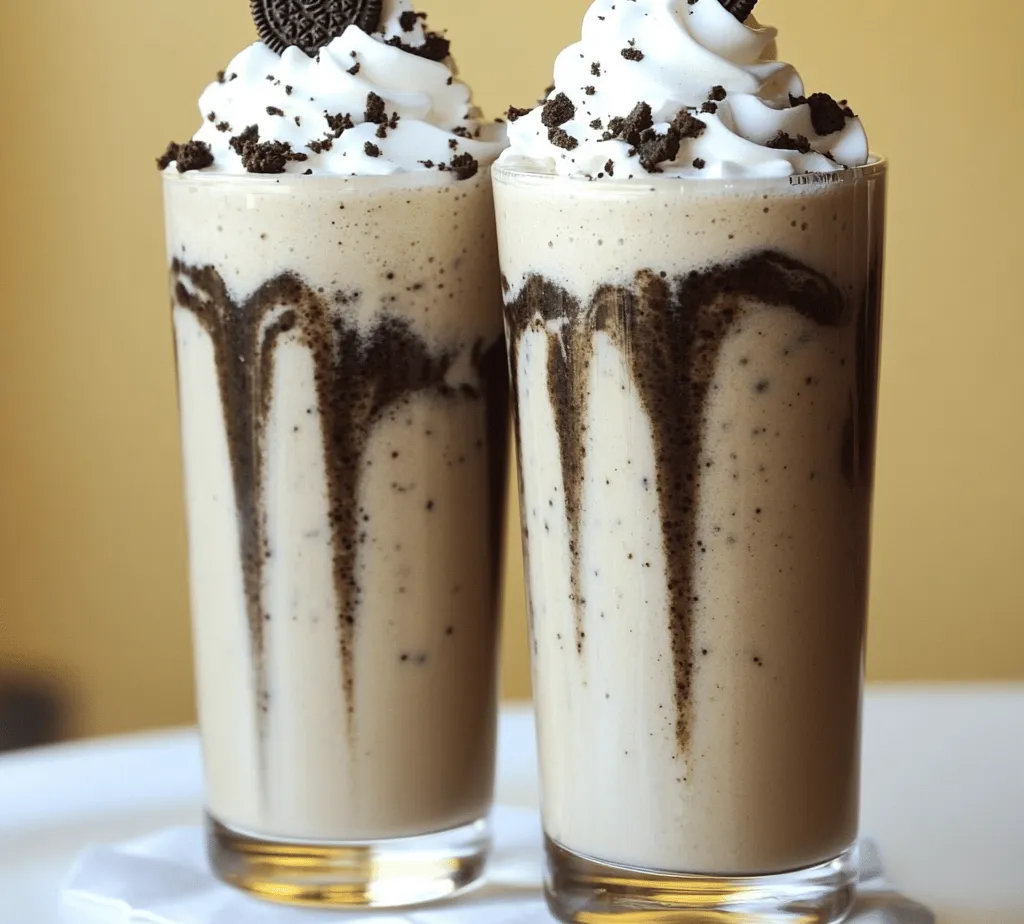
After achieving the perfect consistency and flavor, it’s time to serve your Oreo Bliss Milkshake. Pour the milkshake into tall glasses, filling them to the brim for a generous serving. Presentation can elevate the overall experience, so take a moment to make it visually appealing. Consider garnishing the milkshake with a dollop of whipped cream on top, which not only adds a delightful texture but also enhances the aesthetic. For an extra touch, you can place a mini Oreo cookie on top of the whipped cream or sprinkle crushed Oreos around the rim of the glass.
Presentation Ideas
To further elevate the presentation of your Oreo Bliss Milkshake, consider using fun and festive glasses. Mason jars or tall milkshake glasses can add a charming touch to your dessert. You can also drizzle chocolate syrup down the inside of the glass before pouring in the milkshake for a visually stunning effect. Another option is to serve the milkshake with a side of extra Oreos on a small plate, allowing guests to enjoy more of their favorite cookie alongside their drink.
Incorporating these creative presentation ideas will not only make your Oreo Bliss Milkshake look impressive but will also enhance the overall dining experience. Whether you’re serving it at a party or enjoying it at home, these small touches can make a big difference.
By following these steps, you’ll be well on your way to creating a delightful Oreo Bliss Milkshake that is both easy to make and delicious to enjoy. As we continue with this recipe, we’ll explore additional tips and variations to take your milkshake to the next level. Stay tuned for more insights into perfecting this creamy and indulgent treat!
Extra Oreo Crumbles
To take your Oreo Bliss Milkshake to the next level, consider adding extra Oreo crumbles as a topping. Not only does this enhance the texture with a delightful crunch, but it also creates an appealing visual presentation. Simply crush a few extra Oreos using a rolling pin or food processor and sprinkle them generously on top of your milkshake just before serving. You can also mix in some cookie pieces within the shake itself for an even more indulgent experience. The contrast between the creamy milkshake and the crunchy Oreos is sure to elevate every sip, making it a treat that you won’t soon forget.
Glassware Choices
The presentation of your Oreo Bliss Milkshake can significantly impact the overall experience. Choosing the right glassware can turn a simple dessert into an upscale treat. Here are a few recommendations for the best types of glasses to serve your milkshake in:
1. Milkshake Glasses: Tall and slender glasses specifically designed for milkshakes can add an authentic touch. Their shape allows for ample room for whipped cream and toppings.
2. Mason Jars: For a rustic and trendy look, serving your milkshake in mason jars adds a personal touch. They are also great for sharing, as they come in larger sizes.
3. Footed Sundae Glasses: These add a classic dessert feel, perfect for special occasions or when you want to impress your guests with a more sophisticated presentation.
4. Clear Plastic Cups: If you’re serving a crowd, opt for clear plastic cups with lids. They are convenient and keep your milkshake intact while being portable.
No matter which glass you choose, don’t forget to garnish your milkshake with whipped cream, a drizzle of chocolate syrup, and those delicious Oreo crumbles for a stunning finish.
Nutritional Information
Understanding the nutritional content of your Oreo Bliss Milkshake can help you enjoy it more mindfully. Here’s a breakdown of what to expect from a typical serving:
– Caloric Breakdown: A standard Oreo Bliss Milkshake made with traditional ingredients (vanilla ice cream, milk, and Oreos) can range from 600 to 800 calories per serving, depending on the quantities used. If you’re looking to lighten it up, consider using low-fat ice cream or reducing the number of Oreos to balance flavor and calorie count without sacrificing too much indulgence.
– Dietary Considerations: For those with dietary restrictions, there are several modifications you can make. Swap regular ice cream for dairy-free ice cream made from almond, coconut, or oat milk to create a vegan version. Additionally, using unsweetened almond milk instead of regular milk can cut down on calories while still providing a creamy texture. You can also experiment with sugar-free Oreos and ice cream to create a low-calorie alternative that doesn’t compromise on taste.
Variations of the Oreo Bliss Milkshake
The beauty of the Oreo Bliss Milkshake lies in its versatility. You can easily customize the recipe to suit different tastes and preferences. Here are some creative variations to consider:
– Mint Oreo Milkshake: For a refreshing twist, swap out regular Oreos for Mint Oreos. This variation adds a delightful minty flavor that pairs perfectly with the creaminess of the milkshake. Blend in some peppermint extract for an extra kick.
– Chocolate Oreo Milkshake: If you’re a chocolate lover, this variation is for you. Add a generous drizzle of chocolate syrup into the blender along with your other ingredients. This enhances the chocolatey flavor and makes for a richer milkshake experience.
– Vegan Oreo Milkshake: To make a vegan version, choose a plant-based ice cream and milk. Almond, coconut, or soy milk work well as substitutes. Ensure you use vegan Oreos (which are naturally dairy-free) and blend everything until smooth for a delicious treat that everyone can enjoy.
Why This Milkshake is Perfect for Any Occasion
The Oreo Bliss Milkshake is not just a delicious treat; it’s also incredibly versatile and suitable for various occasions. Here’s why it’s the perfect dessert for any situation:
– Quick Dessert for Busy Days: One of the best features of this milkshake is how quickly it can be whipped up. In just five minutes, you can have a rich and creamy dessert ready to serve, making it ideal for those last-minute gatherings or an indulgent snack after a long day.
– Family-Friendly Treat: This milkshake appeals to all ages, making it a great choice for family events. Kids will love the fun flavor and the chance to help with the preparation, while adults can appreciate the nostalgic taste of Oreos in a new form.
– Customizable for Celebrations: The Oreo Bliss Milkshake can easily be dressed up for special occasions. For birthdays, add colorful sprinkles or themed decorations. For holidays, incorporate festive toppings or flavors like pumpkin spice or peppermint, turning this simple treat into a celebration centerpiece.
Conclusion
In summary, the Oreo Bliss Milkshake is a delightful blend of nostalgia and indulgence that is simple to make yet impressive enough to serve at gatherings. With its creamy texture, rich chocolate flavor, and the classic crunch of Oreos, this milkshake brings joy in every sip. Whether you opt for the traditional recipe or experiment with creative variations, this milkshake promises to satisfy your sweet tooth while offering a fun and customizable dessert experience. So grab your ingredients, choose your favorite glassware, and treat yourself to a homemade Oreo Bliss Milkshake that will surely delight!