Introduction
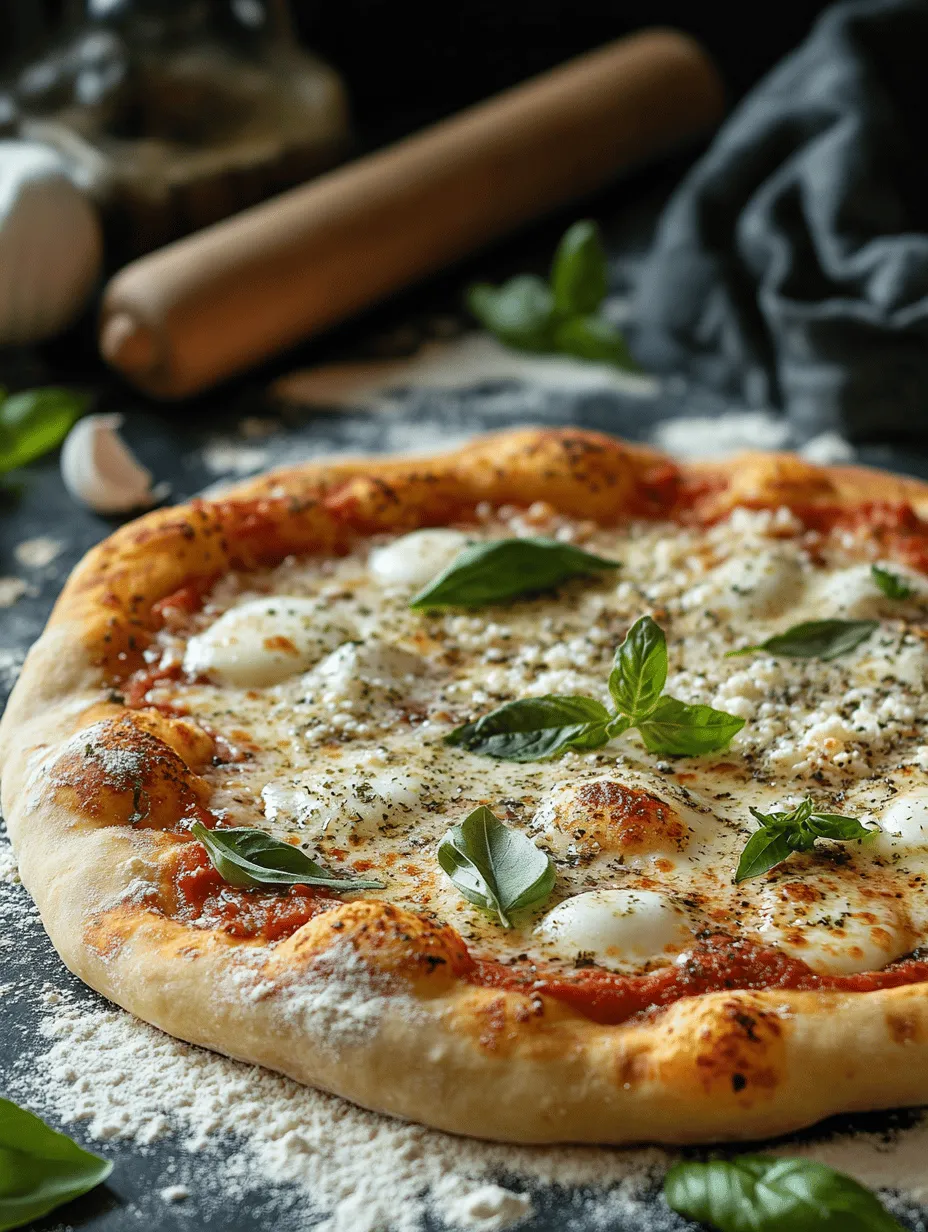
Homemade pizza dough is not just a staple for pizza lovers; it’s a culinary adventure that transforms simple ingredients into something extraordinary. Crafting your own pizza from scratch allows you to control every aspect of the process, from the thickness of the crust to the combination of toppings. The joy of smelling freshly baked bread wafting through your kitchen is unparalleled, and it brings a sense of accomplishment that store-bought alternatives simply cannot match.
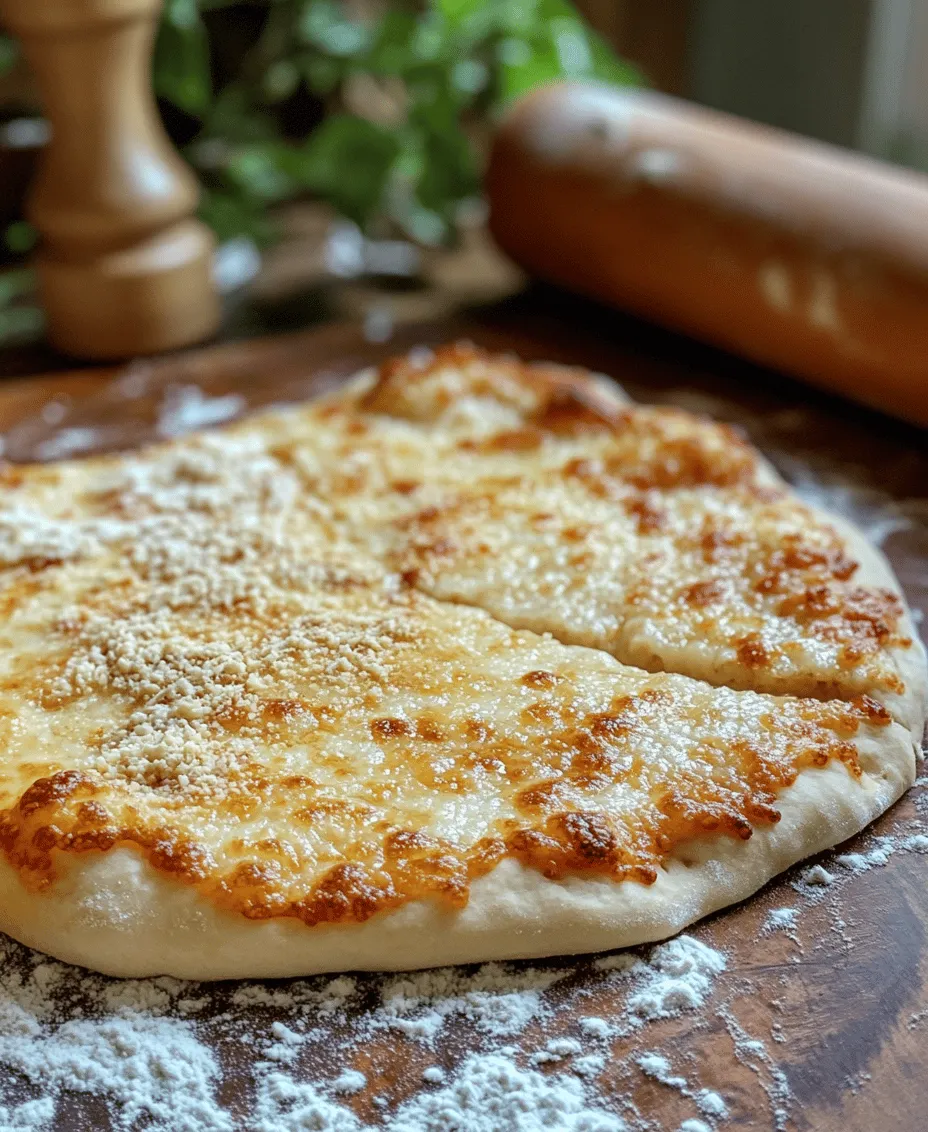
One recipe that stands out as a classic favorite among home cooks and pizza aficionados alike is Master Gordon’s Homemade Pizza Dough. This recipe is celebrated for its simplicity and the incredible flavor it imparts to any pizza creation. Using fresh ingredients, you can make a dough that is not only delicious but also perfectly chewy and crisp—ideal for holding all your favorite toppings. Whether you’re hosting a gathering, enjoying a family night, or simply indulging in a personal pizza-making session, this dough recipe will elevate your experience.
Today, we will explore the steps involved in making this amazing pizza dough, starting with a deep understanding of the key ingredients that work together to create the perfect base for your pizza masterpiece.
Understanding the Ingredients
When it comes to making pizza dough, each ingredient plays a vital role in achieving the desired texture and flavor. Here’s a closer look at what goes into Master Gordon’s Homemade Pizza Dough:
All-Purpose Flour
The backbone of any pizza dough is flour, and all-purpose flour is often the go-to choice for many home cooks. The type of flour you use will significantly affect the dough’s texture and gluten development. All-purpose flour strikes a balance between protein content and versatility, allowing you to create a dough that is strong enough to stretch but soft enough to bite into. The proteins in the flour combine with water to form gluten, which provides elasticity and structure—two essential characteristics of a great pizza crust.
Salt
Salt is more than just a seasoning; it plays an integral role in flavor enhancement and dough structure. In pizza dough, salt helps to control yeast fermentation, ensuring that the dough rises at a steady rate. It also strengthens gluten bonds, resulting in a more resilient dough that can hold its shape during baking. The right amount of salt can elevate the overall flavor of your pizza, making every bite delicious.
Sugar
While sugar is often associated with sweetness, its primary function in pizza dough is to activate yeast and contribute to browning during baking. When yeast consumes sugar, it produces carbon dioxide and alcohol, which cause the dough to rise. This process not only creates a light and airy texture but also enhances the crust’s golden-brown color. A small amount of sugar in the dough can make a significant difference in the final product, adding a subtle depth of flavor that balances the savory elements of your pizza.
Active Dry Yeast
Yeast is the unsung hero of pizza dough, responsible for fermentation and the rise. Active dry yeast is a popular choice among home bakers due to its ease of use and long shelf life. When activated using warm water, yeast begins to feed on sugars, producing carbon dioxide gas that causes the dough to expand. Understanding how to properly activate yeast is crucial, as the temperature of the water plays a pivotal role in this process. Too hot, and you risk killing the yeast; too cold, and it won’t activate effectively.
Warm Water
Water is essential in pizza dough, as it hydrates the flour and helps to develop gluten. The temperature of the water is crucial when it comes to activating the yeast. Ideally, you want to use warm water that is around 110°F (43°C). This temperature is warm enough to encourage yeast activity without overheating, which can kill the yeast. The right water temperature will set the stage for a successful rise and a fluffy crust.
Olive Oil
Incorporating olive oil into your pizza dough provides both flavor and texture. The oil helps to tenderize the dough, resulting in a softer crust that is still capable of holding its shape. Additionally, it adds a rich, savory flavor that complements the other ingredients beautifully. Olive oil also contributes to a crispier crust when baked, creating that perfect contrast between a soft interior and a crunchy exterior.
Cornmeal
While cornmeal may not be a primary ingredient in the dough itself, it plays a crucial role in the baking process. Sprinkling cornmeal on your pizza peel or baking surface helps prevent the dough from sticking, making it easier to transfer your pizza to the oven. It also adds a delightful crunch to the crust, enhancing the overall texture of your homemade pizza.
Step-by-Step Guide to Making Pizza Dough
Now that we have a solid understanding of the ingredients that make up Master Gordon’s Homemade Pizza Dough, let’s dive into the step-by-step process of creating this delectable dough.
Activating the Yeast
The first step in making pizza dough is to activate the yeast. Start by measuring out 1 packet of active dry yeast, which is typically about 2 ¼ teaspoons. In a small bowl, combine the yeast with 1 cup of warm water (around 110°F). To give the yeast a little boost, add a teaspoon of sugar. Stir gently and let it sit for about 5–10 minutes until it becomes frothy. This foamy layer indicates that the yeast is alive and ready to work its magic in your dough.
Mixing Dry Ingredients
While the yeast is activating, it’s time to prepare the dry ingredients. In a large mixing bowl, combine 3 cups of all-purpose flour and 1 teaspoon of salt. It’s important to evenly distribute the salt throughout the flour to ensure that every part of the dough is flavored properly. Use a whisk or fork to mix the flour and salt until well combined.
Combining Ingredients
Once the yeast is activated, it’s time to bring everything together. Make a well in the center of the flour mixture and pour in the yeast mixture along with 2 tablespoons of olive oil. Using a wooden spoon or your hands, gradually incorporate the flour into the wet ingredients, mixing until a shaggy dough begins to form. The goal is to combine the ingredients without overworking the dough at this stage.
Kneading the Dough
After the ingredients are combined, it’s time to knead the dough. Transfer it to a lightly floured work surface and begin kneading by pushing the dough away from you with the heel of your hand, folding it back over itself, and repeating the process. Kneading helps to develop gluten, which gives the dough its elasticity. Continue kneading for about 8–10 minutes, or until the dough is smooth and elastic. If the dough feels too sticky, you can sprinkle a little extra flour as needed.
First Rise
Once kneaded, shape the dough into a ball and place it in a lightly greased bowl. Cover the bowl with a clean kitchen towel or plastic wrap to prevent the dough from drying out. Allow it to rise in a warm, draft-free area for about 1 to 1.5 hours, or until it has doubled in size. This fermentation process is crucial, as it develops the flavor and texture of the dough.
Shaping the Dough
After the first rise, it’s time to shape the dough. Gently punch down the risen dough to release the air, then transfer it to a floured surface. Divide the dough into two equal portions if you plan to make two pizzas. Shape each portion into a ball by tucking the edges under and rolling it gently against the surface. This technique helps to create surface tension, which contributes to a better rise during the baking process.
Second Rise
Place the shaped dough balls on a floured surface or in a lightly greased bowl, ensuring they are spaced apart to allow for expansion. Cover them again with a towel or plastic wrap and let them rise for another 30 minutes to 1 hour, or until they have puffed up. This second rise is essential for developing flavor and texture, resulting in a more enjoyable pizza crust.
With these steps completed, you now have a versatile and delicious homemade pizza dough ready to be transformed into your perfect pizza creation.
Preparing the Oven and Rolling Out the Dough
Preheating the Oven
Preheating your oven is a critical step that cannot be overlooked when baking pizza. Ideally, aim to preheat your oven to its highest temperature setting, typically around 475°F to 500°F (245°C to 260°C). This high heat is essential for achieving that restaurant-quality pizza crust that is crispy on the outside yet tender on the inside.
For the best results, allow your oven to preheat for at least 30 minutes. This ensures that the heat is evenly distributed throughout the oven, resulting in a consistent baking environment. If you are using a pizza stone, place it in the oven while it preheats. This will help create a hot surface for the pizza to bake on, further enhancing the crust’s texture.
Using a Pizza Stone vs. Baking Tray
When it comes to baking your pizza, the choice between a pizza stone and a baking tray can significantly affect the outcome.
Pizza Stone: A pizza stone retains heat exceptionally well, providing a reliable cooking surface that mimics the conditions of a traditional pizza oven. The porous material absorbs moisture from the dough, resulting in a crispier crust. However, pizza stones can be heavy and require careful handling, as they are prone to cracking if subjected to sudden temperature changes.
Baking Tray: A baking tray is a more accessible option for many home cooks. They are lightweight, easy to handle, and versatile for various cooking methods. While they may not yield the same level of crispiness as a pizza stone, a well-preheated baking tray can still produce satisfying results. If using a tray, consider lining it with parchment paper to prevent sticking and facilitate easy removal.
Rolling Out the Dough
Once your dough has risen and is ready to go, it’s time to roll it out. When rolling out pizza dough, achieving the perfect thickness is crucial.
1. Flour Your Surface: Start by generously dusting your work surface and rolling pin with flour to prevent sticking.
2. Divide the Dough: If you’re making multiple pizzas, divide the dough into portions, typically about 8 to 12 ounces each for individual pizzas.
3. Shape the Dough: Begin by pressing the dough ball down with your hands to create a disc. Then, using your rolling pin, gently roll out from the center outward, rotating the dough periodically to maintain a circular shape. Aim for a thickness of about 1/4 inch for a chewy crust, or thinner if you prefer a crispier base.
4. Transfer to Baking Surface: Carefully transfer the rolled-out dough to your prepared pizza stone or baking tray. If you find the dough sticking, lift it gently and sprinkle a little more flour underneath.
Topping Your Pizza
Choosing the Right Sauce
The sauce you choose can make or break your pizza. Traditional tomato sauce is a classic choice, offering a balance of acidity and sweetness. However, don’t shy away from alternative sauces that can elevate your pizza game.
– Tomato Sauce: Opt for a simple, high-quality canned tomato sauce. You can enhance it with herbs, garlic, and olive oil for extra flavor.
– Pesto: For a fresh and vibrant twist, consider using pesto as a base. It pairs well with lighter toppings like mozzarella and vegetables.
– White Sauce: A creamy garlic or Alfredo sauce can create a rich foundation for your pizza, particularly when topped with chicken or spinach.
Selecting Cheese
The right cheese selection is crucial for ensuring a deliciously gooey and flavorful pizza. Mozzarella is the traditional choice, known for its melting qualities and mild taste.
– Fresh Mozzarella: Offers a creamy texture and rich flavor, but be sure to drain it well to avoid excess moisture.
– Low-Moisture Mozzarella: This cheese melts beautifully and doesn’t release too much water during baking, making it ideal for achieving that classic stretchy cheese pull.
– Other Cheese Options: Consider blending mozzarella with provolone for a sharper flavor, or add a sprinkle of Parmesan for a salty kick. Goat cheese or feta can also bring a unique tanginess, especially when paired with roasted vegetables.
Creative Toppings
Topping your pizza is where you can truly let your creativity shine. Here are some classic and innovative topping combinations to consider:
– Classic Margherita: Fresh mozzarella, sliced tomatoes, and fresh basil.
– Pepperoni and Mushroom: A timeless favorite that balances the spice of pepperoni with the earthiness of mushrooms.
– Mediterranean Delight: Feta cheese, Kalamata olives, spinach, and artichokes create a vibrant, flavorful option.
– BBQ Chicken: Shredded chicken, barbecue sauce, red onions, and cilantro make for a hearty and tangy pizza.
– Veggie Supreme: A mix of bell peppers, onions, mushrooms, olives, and spinach for a colorful and healthy option.
Baking the Pizza
Slide Technique
Transferring your assembled pizza to the oven can be tricky, but mastering the slide technique will ensure a smooth transition. If using a pizza stone, sprinkle a little cornmeal or flour on the stone before placing your pizza. This acts as a barrier to prevent sticking.
1. Use a Pizza Peel: If you have one, a pizza peel is a great tool for sliding your pizza in and out of the oven. Dust the peel with flour or cornmeal before placing your pizza on it.
2. Quick Movements: Position the pizza near the edge of the peel, then with a quick jerking motion, slide the pizza directly onto the stone or tray. If it begins to stick, gently lift it and add a bit more flour or cornmeal underneath.
Baking Time and Temperature
As previously mentioned, bake your pizza at a high temperature. Generally, baking time will range from 10 to 15 minutes, depending on your oven and the thickness of your crust. Keep an eye on your pizza as it bakes; you want to achieve a golden-brown crust and bubbling cheese.
Recognizing Doneness
Knowing when your pizza is perfectly baked involves a few visual and textural cues:
– Crust Color: Look for a golden-brown crust that is firm to the touch.
– Cheese Texture: The cheese should be melted and bubbly, with a slight browning on top.
– Toppings: Any meat toppings should be cooked through, while vegetables should be tender but not overly wilted.
Serving and Enjoying Your Homemade Pizza
Cooling the Pizza
After removing your pizza from the oven, it’s essential to let it cool for a few minutes before slicing. This allows the cheese to set slightly and makes for easier cutting. If you slice it too early, the toppings may slide off, and the cheese could create a messy situation.
Presentation Ideas
When serving your homemade pizza, presentation can enhance the dining experience. Consider these creative serving ideas:
– Rustic Style: Serve the pizza directly on a wooden cutting board for a rustic, homey feel.
– Individual Slices: Cut the pizza into squares or wedges and serve on a platter for easy sharing.
– Garnish: Add a sprinkle of fresh herbs or a drizzle of balsamic glaze for an extra touch.
Pairing Suggestions
To create a complete meal, consider pairing your homemade pizza with complementary beverages and sides. Here are a few ideas:
– Wine: A chilled white wine, such as Pinot Grigio, or a light red like Chianti, pairs well with most pizzas.
– Salads: A fresh arugula salad with lemon vinaigrette can balance the richness of the pizza.
– Appetizers: Serve with garlic knots or bruschetta to kick off your meal.
Conclusion
Making Master Gordon’s Homemade Pizza Dough is an enriching experience that allows you to create a delicious meal from scratch. From the satisfying process of kneading the dough to the joy of topping and baking your pizza, each step brings a sense of accomplishment.
Don’t hesitate to experiment with various toppings and sauces to discover your personal favorites and make each pizza night unique. Sharing your homemade pizzas with family and friends not only enhances your culinary skills but also strengthens connections through the joy of food. So fire up your oven, get your dough ready, and enjoy the delightful journey of pizza-making!