Introduction
Milkshakes have long stood as a beloved treat, combining rich flavors and smooth textures that evoke a sense of nostalgia and joy. From classic diners to modern cafes, milkshakes have remained a staple on dessert menus, appealing to both the young and the young at heart. Among the myriad of milkshake varieties, the Chocolate Dream Milkshake reigns supreme as a decadent delight that elevates any occasion. Whether it’s a hot summer day or a cozy winter evening, this chocolate-infused indulgence promises to satisfy your sweet tooth in the most delightful way.
One of the most enticing aspects of the Chocolate Dream Milkshake is its simplicity. With just a handful of quality ingredients and minimal preparation time, you can whip up this heavenly treat in no time. The secret to crafting an unforgettable milkshake lies in the quality of the ingredients used. Each component plays a crucial role in achieving the perfect blend of flavor and creaminess, creating a drink that is both satisfying and refreshing.
The Allure of Chocolate Milkshakes
The history of milkshakes dates back to the early 1900s when they were originally served as a wholesome drink made with milk, eggs, and flavorings. Over the decades, the recipe evolved, and milkshakes transformed into the creamy, sweet beverages we know today. The introduction of ice cream brought about a new wave of popularity, turning milkshakes into decadent desserts that could be enjoyed by all.
Chocolate, in particular, has always held universal appeal. Its rich, sweet, and slightly bitter flavor profile makes it a perfect candidate for dessert. When combined with the creamy texture of milk and ice cream, chocolate creates an indulgent experience that tantalizes the taste buds. The sensory experience of sipping a Chocolate Dream Milkshake is hard to beat—the cold, velvety texture glides over the palate, while the chocolate flavor lingers, leaving you craving more.
This delightful drink not only satisfies cravings but also serves as a reminder of the simple pleasures in life. It’s a treat that can be shared with friends or enjoyed on your own, making it a versatile choice for any occasion. Whether you’re celebrating a special milestone or simply indulging in a moment of self-care, the Chocolate Dream Milkshake is the perfect companion.
Key Ingredients for Your Chocolate Dream Milkshake
To create the ultimate Chocolate Dream Milkshake, it’s essential to gather the right ingredients. Each element contributes to the overall flavor and texture, ensuring a milkshake that is truly dreamy. Here’s a closer look at the key ingredients that will elevate your milkshake experience:
Chocolate Ice Cream
The foundation of any great milkshake is the ice cream. For a Chocolate Dream Milkshake, the choice of chocolate ice cream is paramount. When selecting your ice cream, consider the types available—ranging from rich dark chocolate to creamy milk chocolate. High-quality ice creams often have a higher cocoa content, resulting in a more intense chocolate flavor. Look for brands that use real ingredients without artificial additives for the best results.
Whole Milk
Whole milk plays a crucial role in achieving the desired texture and creaminess of your milkshake. Using whole milk instead of low-fat or skim options ensures a richer mouthfeel and a more satisfying drink. The fat content in whole milk helps to create a smooth, velvety consistency that complements the thickness of the ice cream.
Chocolate Syrup
Chocolate syrup is an essential ingredient that adds depth and sweetness to your milkshake. You have the option to choose between store-bought varieties or make your own at home. Homemade chocolate syrup can be made with simple ingredients like cocoa powder, sugar, and water, allowing you to control the sweetness and flavor intensity. If you opt for store-bought, look for a high-quality syrup that contains real cocoa for a richer taste.
Vanilla Extract
Vanilla extract is a secret weapon in many dessert recipes, as it enhances the overall flavor profile. Just a splash of vanilla extract in your Chocolate Dream Milkshake can elevate the chocolate flavor, adding a subtle warmth that rounds out the taste. Choose pure vanilla extract for the best flavor—artificial vanilla can have a chemical taste that detracts from your milkshake’s indulgence.
Whipped Cream
No milkshake is complete without a generous topping of whipped cream. You can either use store-bought whipped cream for convenience or make your own at home for a fresher taste. Homemade whipped cream is easy to prepare and allows you to control the sweetness. Simply whip heavy cream with a bit of sugar and vanilla extract until soft peaks form. The light and airy texture of whipped cream complements the thick milkshake, creating a delightful contrast.
Chocolate Shavings or Sprinkles
To take your Chocolate Dream Milkshake to the next level, consider adding chocolate shavings or sprinkles as a finishing touch. These additions not only enhance the presentation but also contribute an extra layer of chocolate flavor and texture. You can make chocolate shavings by using a vegetable peeler on a chocolate bar or opt for store-bought sprinkles for a fun and colorful twist.
Sea Salt
While it may seem unconventional, adding a pinch of sea salt can elevate the flavor of your Chocolate Dream Milkshake. The salt helps to enhance the sweetness of the chocolate, creating a more balanced and complex flavor profile. The science behind this is based on the fact that salt can heighten certain taste sensations, making your milkshake even more enjoyable.
Step-by-Step Guide to Making the Perfect Chocolate Dream Milkshake
Now that you’re familiar with the key ingredients, let’s dive into the step-by-step process of crafting your Chocolate Dream Milkshake. Before you start blending, it’s essential to set up your preparation area. Gather your ingredients, measuring tools, and a high-powered blender to ensure a smooth and seamless experience.
Preparation Setup
1. Gather Your Ingredients: Make sure you have all the key ingredients on hand—chocolate ice cream, whole milk, chocolate syrup, vanilla extract, whipped cream, chocolate shavings or sprinkles, and sea salt.
2. Choose Your Blender: A high-powered blender is ideal for achieving the perfect consistency. If you have a traditional blender, make sure it is clean and ready for use.
3. Chill Your Glasses: For an extra refreshing experience, consider chilling your milkshake glasses in the freezer for about 15 minutes before serving. This will help keep your milkshake cold for longer.
Detailed Instructions for Blending
1. Add Ice Cream and Milk: Start by scooping 2-3 generous scoops of chocolate ice cream into your blender. Next, pour in about 1 cup of whole milk. The amount of milk can be adjusted based on your desired thickness; less milk will result in a thicker shake, while more will create a thinner consistency.
2. Incorporate Chocolate Syrup: Drizzle in 2-3 tablespoons of chocolate syrup. You can adjust this quantity to suit your taste preference—more syrup will result in a sweeter, more chocolatey flavor.
3. Add Vanilla Extract: Pour in a splash of vanilla extract (about 1 teaspoon). This addition will enhance the overall flavor, making your milkshake even more indulgent.
4. Blend Until Smooth: Secure the lid on your blender and blend the mixture on high speed until it reaches a smooth, creamy consistency. Depending on your blender, this should take about 30 seconds to 1 minute. Stop and scrape down the sides of the blender if necessary to ensure all ingredients are well combined.
5. Taste and Adjust: Once blended, taste your milkshake and make any adjustments as needed. If you prefer a sweeter taste, add more chocolate syrup or a bit of sugar. For a thicker shake, add an extra scoop of ice cream.
6. Prepare for Serving: Once you’re satisfied with the flavor and texture, it’s time to prepare for serving. If you chilled your glasses, remove them from the freezer and pour the milkshake into each glass, filling them to the brim.
7. Top with Whipped Cream: Finish your Chocolate Dream Milkshake with a generous swirl of whipped cream on top. Feel free to get creative with the presentation!
8. Add Finishing Touches: Sprinkle chocolate shavings or sprinkles over the whipped cream for that extra touch of decadence. Finally, add a pinch of sea salt on top to enhance the chocolate flavor.
Now that you’ve completed the first steps of creating your Chocolate Dream Milkshake, you’re well on your way to indulging in this delightful treat. The next part of this recipe will cover additional tips for achieving the best results and answer some common questions about milkshake preparations. Stay tuned for the continuation of this chocolatey journey!
Ideal Blender Settings and Tips for Achieving the Perfect Consistency
To achieve that velvety smooth texture that makes the Chocolate Dream Milkshake truly irresistible, the right blender settings are essential. Start by using a high-speed blender, which is ideal for pulverizing ice and blending all ingredients uniformly. Here’s how to make the most of your blending process:
1. Layer Ingredients Wisely: Begin by adding the liquid ingredients first (milk and chocolate syrup). This helps the blades move freely and ensures that the thicker ingredients blend properly. Follow with the ice cream and any additional solid ingredients.
2. Pulse First: Use the pulse function for the first few seconds. This breaks down the ice and incorporates the ingredients without overworking the blender.
3. Blend on High: After pulsing, switch to a high-speed setting for about 30-45 seconds. Stop occasionally to scrape down the sides of the blender to ensure everything is mixed evenly.
4. Check Consistency: Aim for a thick but pourable consistency. If it’s too thick, add a splash more milk; if it’s too thin, add a bit more ice cream. Keep blending until you reach your desired texture.
5. Avoid Over-Blending: Be cautious not to over-blend, as this can cause the milkshake to become too frothy and lose its creamy texture.
Creative Presentation Ideas for Serving
Presentation can elevate your Chocolate Dream Milkshake from simple to stunning. Here are some creative ideas to make your milkshake visually appealing:
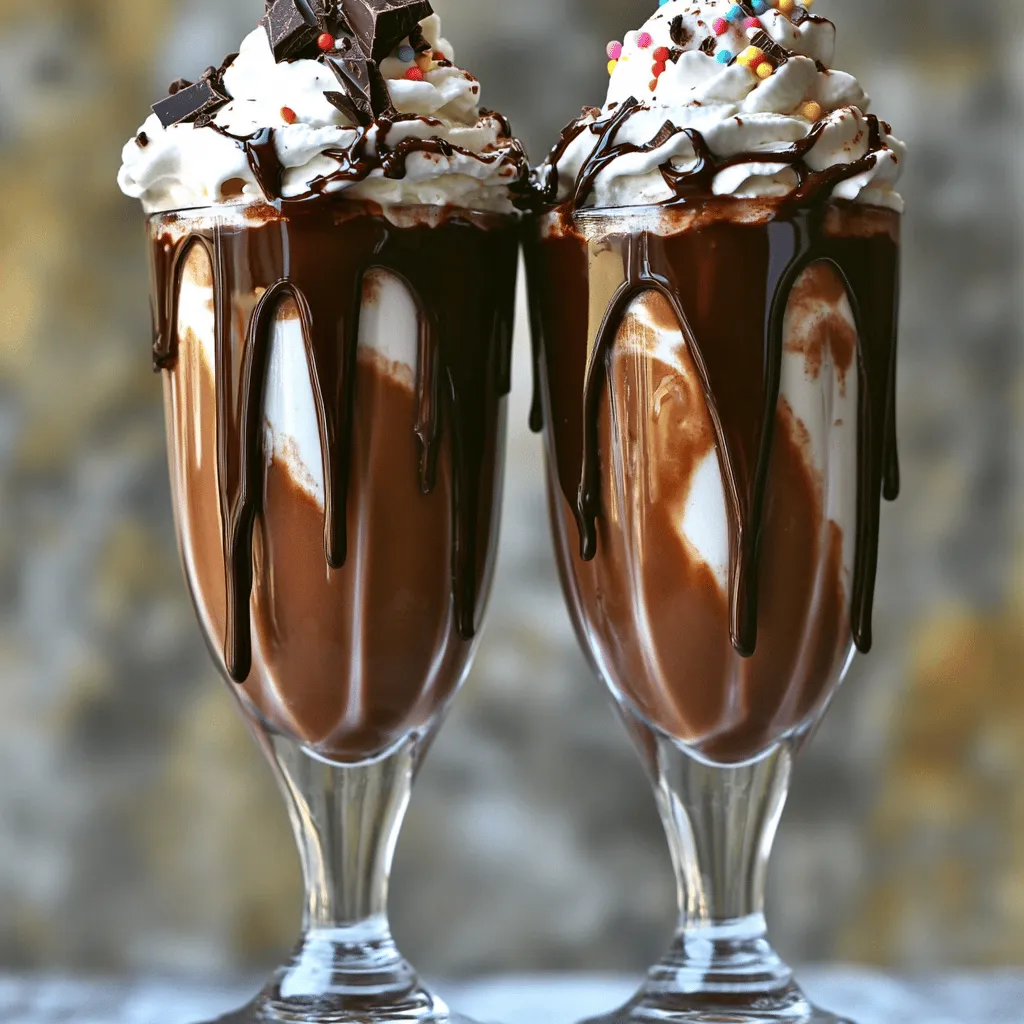
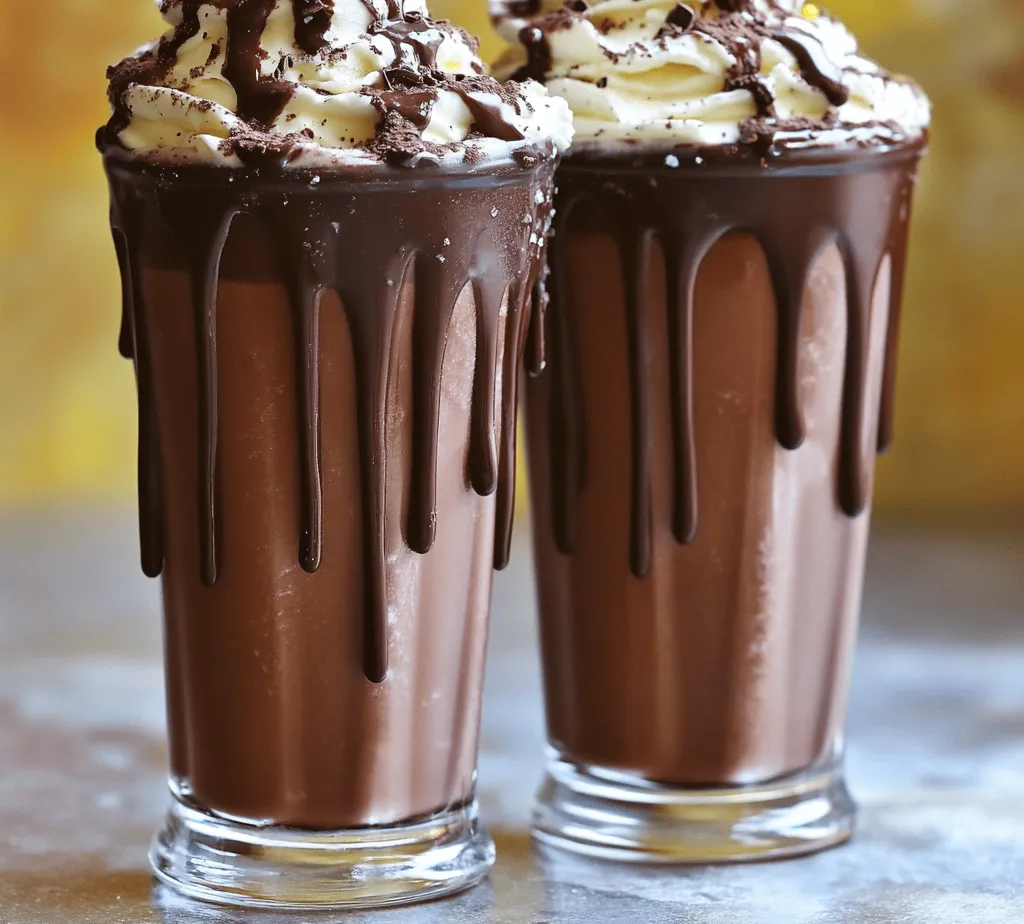
– Glassware: Use tall, clear glasses or mason jars to showcase the beautiful layers and colors of your milkshake. The transparency allows the chocolate swirl and whipped cream to shine through.
– Garnishing: Top your milkshake with a generous dollop of whipped cream. For an extra touch, sprinkle chocolate shavings or cocoa powder on top. You can also add a whole chocolate bar, a cookie, or even a cherry as a garnish.
– Chocolate Rim: For added flair, rim your glass with melted chocolate and dip it in crushed cookies or sprinkles before pouring in the milkshake. This not only adds a decorative touch but also enhances the chocolate flavor.
Techniques for Drizzling Chocolate Syrup and Garnishing
Drizzling chocolate syrup is an art that can transform your milkshake into a masterpiece. Here’s how to do it effectively:
1. Warm the Syrup: For a more fluid consistency, slightly warm the chocolate syrup in the microwave for about 10-15 seconds. This makes it easier to drizzle.
2. Squeeze Bottle: Pour the warm syrup into a squeeze bottle or a ziplock bag with a corner snipped off for precise drizzling.
3. Swirl Patterns: Before adding the milkshake to the glass, swirl the chocolate syrup inside the glass. You can create a spiral or zigzag pattern for visual impact.
4. Top with Extras: After drizzling, finish with a sprinkle of crushed cookies, nuts, or sprinkles to add texture and color.
Customization Options
One of the best features of the Chocolate Dream Milkshake is its versatility. You can easily adapt the recipe to fit various dietary preferences and flavor profiles. Here are some customization options:
– Alternative Ingredients: For those with dietary restrictions, consider alternative dairy products such as almond milk, coconut milk, or oat milk. These options can provide a unique flavor and texture while accommodating lactose intolerance.
– Dairy-Free or Vegan Alternatives: Swap out the traditional ice cream for a plant-based version made from coconut, almond, or cashew milk. There are also delicious dairy-free chocolate syrups available that can enhance the flavor without compromising on dietary needs.
– Low-Sugar or Sugar-Free Options: Use sugar-free ice cream or yogurt and opt for sugar-free chocolate syrup to keep the sweetness without the extra calories. Natural sweeteners like stevia or monk fruit can also be great alternatives.
– Flavor Variations: Get creative with flavor profiles by adding different extracts. A dash of vanilla or almond extract can elevate the taste, while a hint of cinnamon can add warmth.
– Seasonal Variations: Tailor your milkshake to the seasons by incorporating holiday flavors. For example, during the winter months, try adding peppermint extract or crushed candy canes for a festive twist.
The Joy of Sharing: Making Milkshakes a Social Experience
Milkshakes are not just a treat; they’re an experience that can bring people together. Here’s how to turn your Chocolate Dream Milkshake into a social delight:
– Serving During Gatherings: Offer your milkshake as a signature drink at parties or family gatherings. Create a milkshake bar where guests can customize their flavors and toppings, making it a fun interactive experience.
– Themed Milkshake Parties: Consider hosting a themed milkshake party where guests can bring their favorite toppings, flavors, or even create unique combinations. This encourages creativity and conversation.
– Pairing with Food Items: Enhance the experience by pairing your milkshake with complementary snacks. Think brownies, cookies, or even a slice of chocolate cake. These pairings can make for a delightful dessert spread.
Nutritional Considerations
While a Chocolate Dream Milkshake is an indulgent treat, it’s important to be mindful of nutritional considerations:
1. Nutritional Breakdown: A typical serving (about 16 oz) of a Chocolate Dream Milkshake made with whole milk and regular ice cream can contain approximately 600-800 calories, depending on the ingredients. The sugar content can vary greatly based on the chocolate syrup and additional toppings.
2. Moderation and Balance: Enjoying a milkshake doesn’t have to be guilt-inducing. It’s essential to balance indulgent treats with healthy choices throughout the day. Consider enjoying the milkshake as an occasional treat rather than a daily dessert.
3. Mindful Indulgence: Savoring your milkshake is key to enjoying it fully. Take your time to appreciate the flavors and textures, which can enhance satisfaction and reduce the desire for excessive servings.
Conclusion
The Chocolate Dream Milkshake is more than just a delicious drink; it’s a versatile treat that can adapt to any occasion, dietary preference, or flavor craving. With its rich chocolatey goodness and creamy texture, it promises to satisfy your sweet tooth while offering endless possibilities for customization.
Whether you’re enjoying it on a hot summer day, sharing it at a festive gathering, or simply treating yourself to a moment of indulgence, this milkshake is sure to delight. We encourage you to experiment with the recipe, try out different variations, and share your creations with loved ones. The joy of creating and enjoying homemade treats is unparalleled, and with the Chocolate Dream Milkshake, you’re bound to make lasting memories with every sip.