Introduction
There’s something truly magical about the aroma of freshly baked dinner rolls wafting through your kitchen. Homemade dinner rolls, in particular, bring a sense of warmth and comfort that store-bought options simply can’t match. They are fluffy, tender, and can elevate any meal from ordinary to extraordinary. Whether paired with a hearty stew, served alongside a holiday feast, or simply enjoyed with a pat of butter, dinner rolls are a staple that never goes out of style.
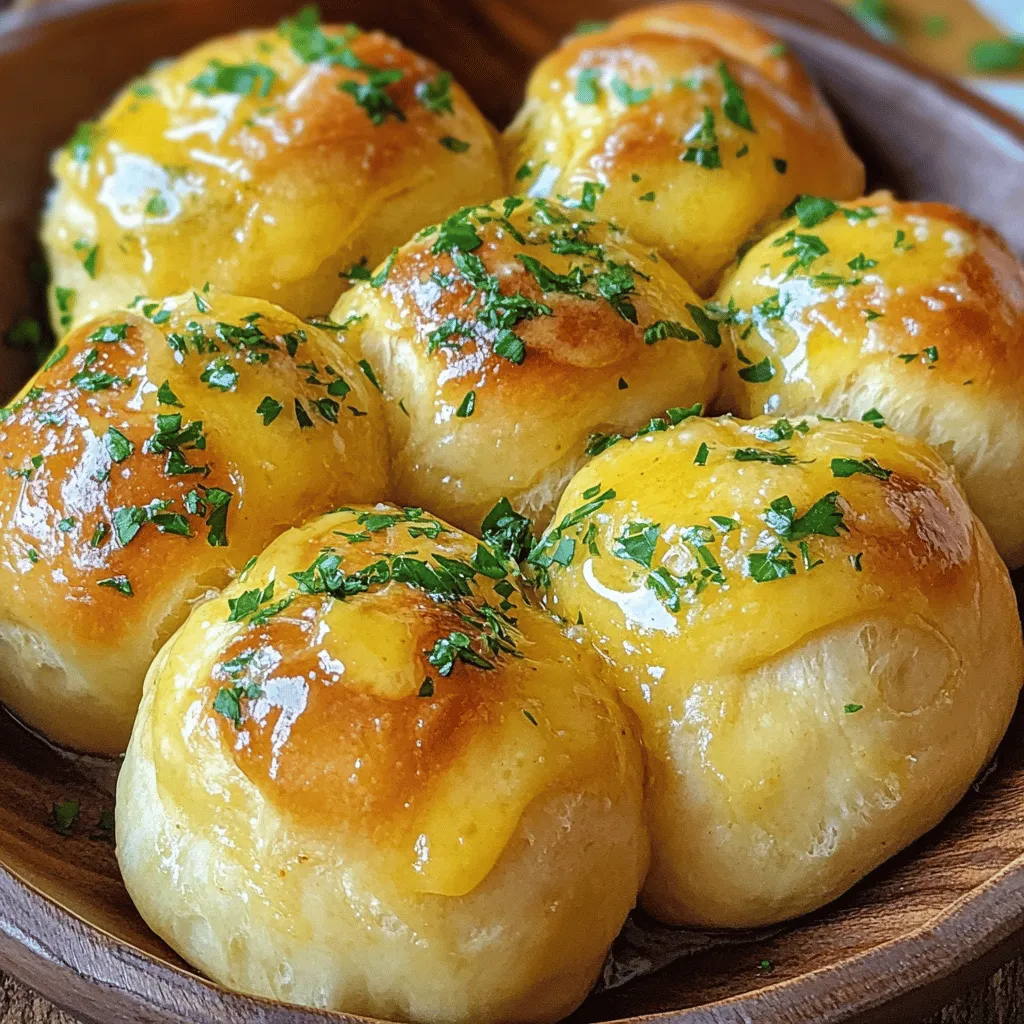
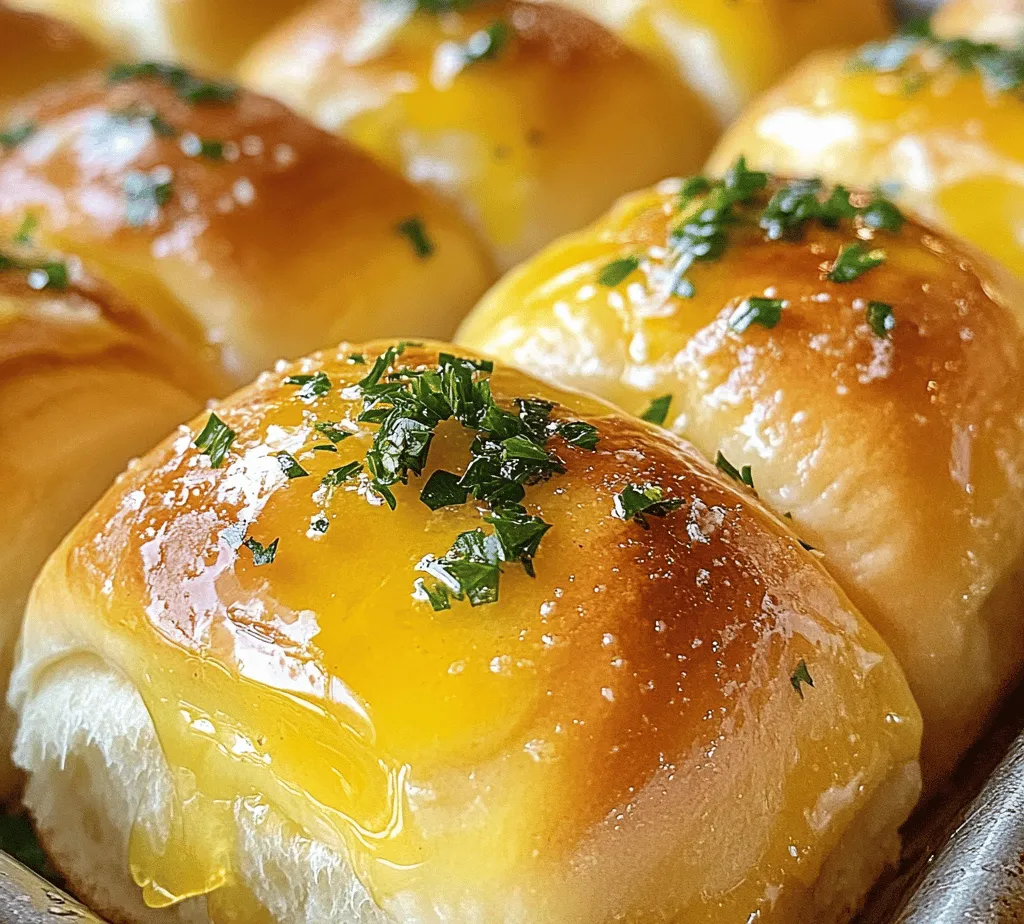
Now, imagine taking that classic experience and infusing it with the bold, irresistible flavor of garlic butter. These Heavenly Garlic Butter Dinner Rolls offer a delightful twist that will tantalize your taste buds and leave your guests begging for seconds. The combination of warm, buttery rolls with the rich, savory notes of garlic and herbs is nothing short of divine. Not only are these rolls perfect for family dinners, but they also shine at gatherings, potlucks, and special occasions.
One of the best things about dinner rolls is their versatility. They can complement virtually any dish, from roasted meats and creamy soups to vegetarian delights. Plus, they are easy to make, making them an excellent choice for both novice bakers and seasoned chefs looking to impress. So, let’s dive into the delicious world of Heavenly Garlic Butter Dinner Rolls!
Understanding the Ingredients
To create these delectable rolls, it’s essential to understand the role of each ingredient in the recipe. Let’s break down the key components that contribute to the flavor and texture of these rolls.
All-Purpose Flour
All-purpose flour serves as the backbone of the dinner rolls. Its moderate protein content is ideal for bread-making, providing the right balance between strength and tenderness. When mixed with water and kneaded, the proteins in the flour form gluten, a network that gives the rolls their structure and chewiness. For the best results, opt for a high-quality, unbleached all-purpose flour, as it will yield superior results in your baking.
Active Dry Yeast
The star of the leavening process, active dry yeast is crucial for achieving that light, fluffy texture we all love in dinner rolls. When activated properly, yeast ferments the sugars in the dough, producing carbon dioxide gas that causes the dough to rise. This leavening effect creates air pockets within the dough, resulting in a soft and airy roll. Ensuring your yeast is fresh and properly activated is key to a successful rise.
Granulated Sugar
While it’s often thought of as just a sweetener, granulated sugar plays a vital role in the bread-making process. Not only does it enhance the flavor of the rolls, but it also helps activate the yeast. Sugar feeds the yeast, encouraging it to produce more carbon dioxide, which contributes to the dough’s rise. Additionally, sugar aids in browning the rolls during baking, giving them a beautiful golden hue.
Unsalted Butter
Unsalted butter adds richness and depth of flavor to the rolls. It also contributes to the dough’s moisture, resulting in tender, melt-in-your-mouth dinner rolls. By using unsalted butter, you have better control over the salt content in your recipe, allowing you to adjust it according to your taste preferences. Make sure the butter is softened to room temperature for easy incorporation into the dough.
Eggs
Eggs are an essential ingredient in this recipe, providing structure, moisture, and richness. They help bind the ingredients together and create a tender crumb. The protein in eggs also contributes to the overall structure of the rolls, helping them rise beautifully. For the best results, ensure your eggs are at room temperature before adding them to the dough.
Garlic and Herbs
No garlic butter dinner roll would be complete without the star flavoring: garlic! Fresh minced garlic infuses the rolls with a robust, savory flavor that pairs perfectly with the buttery goodness. To elevate the flavor even further, consider adding fresh herbs like parsley or rosemary to the garlic butter mixture. These herbs not only add visual appeal but also enhance the overall aroma and taste of the rolls.
Step-by-Step Guide to Making Heavenly Garlic Butter Dinner Rolls
Now that we have a solid understanding of the ingredients, let’s move on to the step-by-step process for making these Heavenly Garlic Butter Dinner Rolls. The journey begins with activating the yeast, which is a critical first step.
Activating the Yeast
The first step in creating your dinner rolls is to activate the yeast. This process is essential for ensuring that your rolls rise properly and have that sought-after fluffy texture. To begin, combine warm milk (about 110°F or 43°C) with granulated sugar in a mixing bowl. The warmth of the milk helps to awaken the yeast, while the sugar provides the necessary food for fermentation.
Next, sprinkle the active dry yeast over the surface of the warm milk mixture. Allow it to sit undisturbed for about 5 to 10 minutes. During this time, you should see the yeast begin to foam and bubble, indicating that it is alive and ready to work its magic. If you don’t see any activity after this time, it’s best to start over with fresh yeast, as this could impact the rise of your rolls.
Preparing the Dough
Once your yeast is activated, it’s time to combine the dry and wet ingredients to create the dough. In a large mixing bowl, whisk together the all-purpose flour and salt. The salt is important as it enhances the flavor of the rolls, but it should not come into direct contact with the yeast at this stage, as it can inhibit its activity.
Create a well in the center of the flour mixture, and pour in the activated yeast mixture, softened unsalted butter, and eggs. Using a wooden spoon or a stand mixer fitted with a dough hook, mix the ingredients until they start to come together. At this point, you may notice that the dough appears shaggy and somewhat sticky; this is perfectly normal.
Kneading the Dough
Kneading is a crucial step in bread-making that helps develop the gluten structure, resulting in a chewy and well-formed roll. To knead the dough, turn it out onto a lightly floured surface and begin to fold and press the dough with the palms of your hands. Push the dough away from you, fold it back over itself, and rotate it a quarter turn. Repeat this process for about 8 to 10 minutes.
As you knead, keep an eye on the texture of the dough. It should become smoother and elastic, forming a cohesive ball. A good test for proper kneading is the “windowpane test”: take a small piece of dough and stretch it between your fingers. If it stretches thin enough to see light without tearing, you’ve kneaded it sufficiently.
First Rise: What to Expect
After kneading, place the dough in a lightly greased bowl, covering it with a damp cloth or plastic wrap. This first rise is essential for allowing the dough to double in size, which will take about 1 to 2 hours, depending on the temperature of your kitchen. Ideally, you want to place the dough in a warm, draft-free area. A turned-off oven with a bowl of hot water can create a cozy environment for rising.
As the dough rises, it will expand and become puffy, indicating that the yeast is doing its job. Once it has doubled in size, gently punch it down to release the air, then proceed with shaping the rolls. Understanding this process and the signs of successful rising will set you on the path to creating perfect dinner rolls every time.
Stay tuned for the next part, where we will delve into shaping the rolls, the second rise, and the final baking process that will bring your Heavenly Garlic Butter Dinner Rolls to life.
Shaping the Rolls
After the dough has completed its first rise, it’s time to shape the rolls. This step is crucial, as it sets the foundation for the rolls’ appearance and texture. To shape the dough into rolls, start by lightly flouring your work surface to prevent sticking. Gently punch down the dough to release the air bubbles and divide it into equal portions. The size of each portion should be about 2 ounces (or roughly the size of a golf ball), ensuring uniformity for even baking.
Taking each piece of dough, flatten it slightly with your fingertips and then fold the edges toward the center, pinching to seal. Turn the dough over so the seam side is facing down, and roll it gently in a circular motion on the work surface to create a smooth, taut ball. This process helps create surface tension, which is essential for achieving fluffy rolls.
Uniformity in size is particularly important because it ensures that all rolls bake evenly. If some are smaller or larger than others, they will have different baking times, resulting in an inconsistent texture. Once shaped, place the rolls on a greased baking sheet or in a prepared baking dish, leaving enough space between them for expansion during the second rise.
Second Rise: Building Flavor and Texture
The second rise, also known as proofing, is vital in the bread-making process. It allows the yeast to continue fermenting, which enhances the flavor and creates a lighter, airier texture in the rolls. After shaping the rolls, cover them with a clean kitchen towel or plastic wrap to prevent them from drying out. The covered dough should be placed in a warm, draft-free area for about 30-45 minutes, or until they have doubled in size.
Creating a warm environment is key for the dough’s success. If your kitchen is cool, consider placing the rolls in an oven that has been preheated to 200°F (93°C) for just a few minutes, then turned off. The residual warmth will encourage the dough to rise beautifully. During this time, the yeast will produce carbon dioxide, contributing to the rolls’ fluffiness and flavor.
Preparing the Garlic Butter
While the rolls are rising, you can prepare the delicious garlic butter that will elevate their flavor. For this recipe, you’ll need the following ingredients:
– 1/2 cup unsalted butter, melted
– 4-6 cloves of fresh garlic, minced
– 1 tablespoon fresh parsley, finely chopped
– Salt, to taste
Using fresh garlic is essential for achieving a robust flavor. While garlic powder can work in a pinch, fresh garlic delivers a more vibrant and aromatic profile. When chopping the garlic, aim for a fine mince to ensure it distributes evenly throughout the butter.
To prepare the garlic butter, melt the unsalted butter in a small saucepan over medium-low heat. Once melted, add the minced garlic. Stir continuously and be careful to monitor the heat. You want the garlic to become fragrant and lightly golden, which usually takes around 1-2 minutes. Avoid browning the garlic, as burnt garlic can impart a bitter taste to the butter.
After the garlic has cooked, remove the saucepan from the heat and stir in the chopped parsley and salt. Taste the mixture, adjusting the salt as needed to balance the flavors.
Baking the Rolls
Once the rolls have completed their second rise, it’s time to bake them. Begin by preheating your oven to 375°F (190°C). Preheating is important because it allows the rolls to start baking at the right temperature, promoting a proper rise and ensuring a nice, golden exterior.
Carefully place the baking sheet in the preheated oven and set a timer for about 20-25 minutes. Keep an eye on the rolls as they bake. You’ll know they are done when they have risen beautifully and taken on a golden brown color. The internal temperature should reach around 190°F (88°C) for optimal doneness.
When you tap on the bottom of a roll, it should sound hollow, indicating that they are fully cooked. If they need more time, continue baking, checking every few minutes until they reach the desired appearance.
Finishing Touches: Brushing with Garlic Butter
As soon as the rolls come out of the oven, brush them generously with the prepared garlic butter. Timing is key here; brushing the rolls while they are still warm allows the butter to melt into the crevices, enhancing flavor and providing a beautiful sheen. The garlic butter not only adds a delicious taste but also contributes to the rolls’ texture, creating a delightful crust.
Let the rolls cool for a few minutes on the baking sheet before transferring them to a wire rack. This helps prevent the bottoms from becoming soggy, allowing for the perfect bite when served.
Enjoying Your Heavenly Garlic Butter Dinner Rolls
These heavenly garlic butter dinner rolls are versatile and pair wonderfully with a variety of meals. They are perfect for serving alongside hearty soups, stews, or salads, making them an excellent addition to any dinner table. Consider serving them with a side of marinara sauce for dipping or alongside a rich and creamy alfredo sauce.
For storage, keep any leftovers in an airtight container at room temperature. They are best enjoyed fresh but can last for up to 2 days. If you want to enjoy them longer, consider freezing them. Place the cooled rolls in a freezer-safe bag and use them within 1-2 months.
Reheating Instructions
To reheat the rolls, preheat your oven to 350°F (175°C). Place the rolls on a baking sheet and cover them loosely with aluminum foil to prevent them from drying out. Bake for about 10-15 minutes, or until warmed through. For a crispy exterior, remove the foil for the last few minutes of baking.
Conclusion
Making homemade heavenly garlic butter dinner rolls is a rewarding experience that fills your kitchen with an irresistible aroma and provides a delightful accompaniment to any meal. The process of shaping, rising, and baking these rolls is not only enjoyable but also leads to a result that far surpasses store-bought options in both flavor and texture.
As you indulge in the warm, buttery goodness of these rolls, take a moment to appreciate the artistry of baking. Sharing these rolls with friends and family can bring joy and create lasting memories around the dinner table. So roll up your sleeves, embrace the process, and enjoy the satisfaction that comes from creating something truly special in your own kitchen.