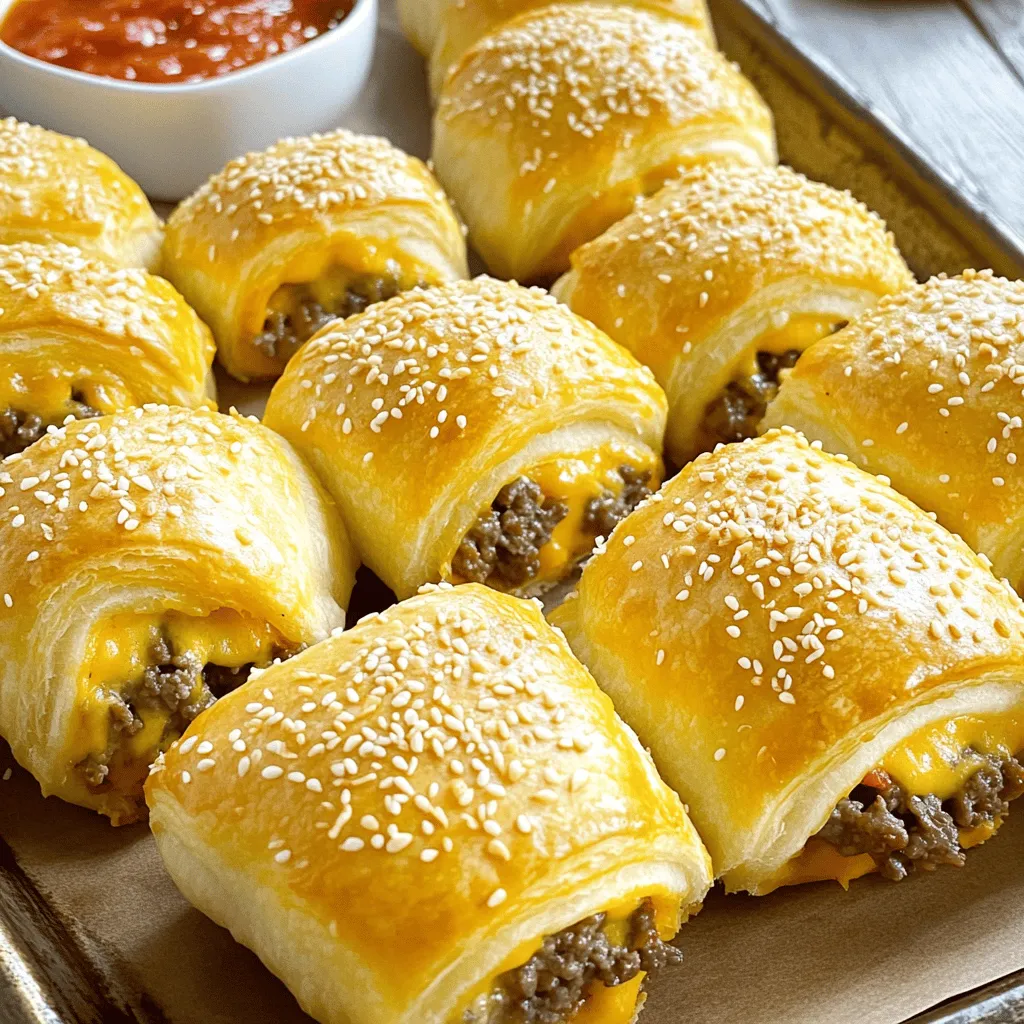
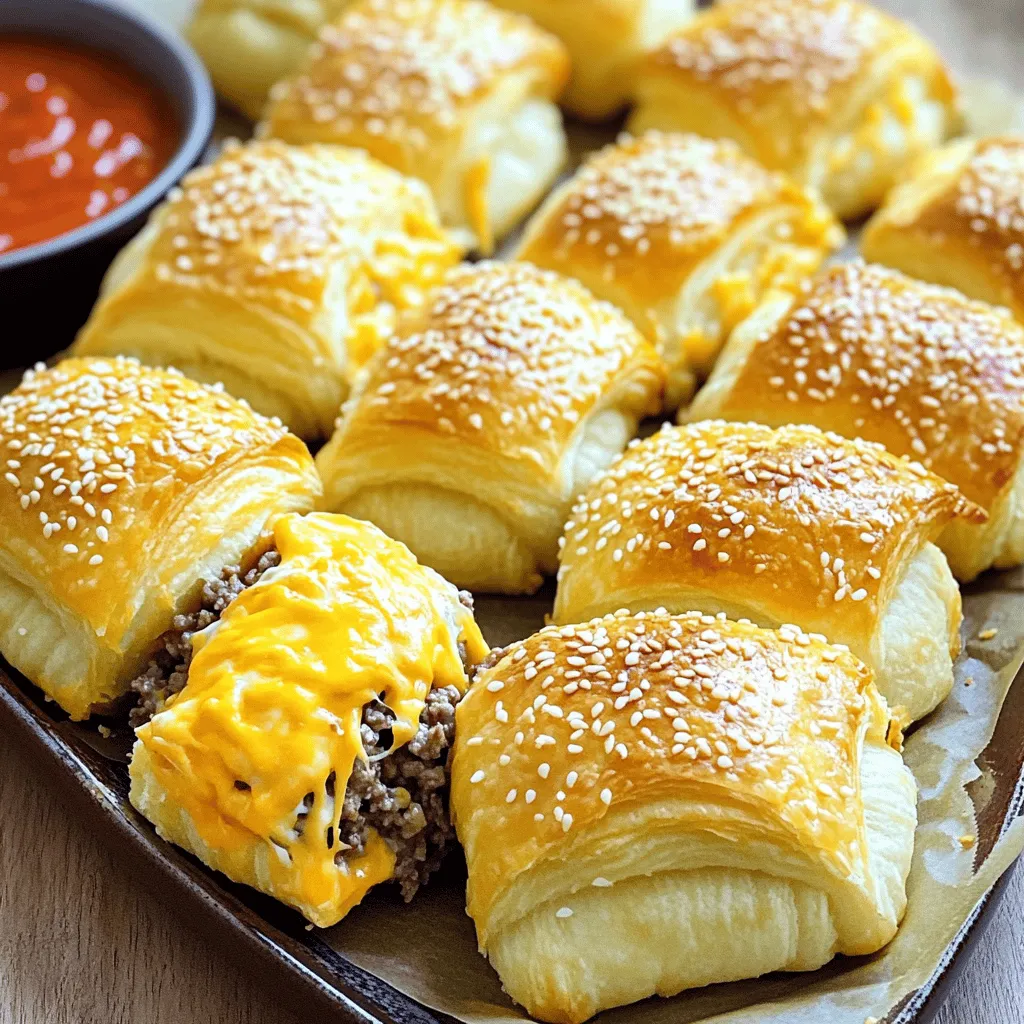
Get ready to elevate your snack game with my Golden Crust Cheesy Beef Bombs! These tasty bites combine seasoned ground beef, melting cheese, and a golden, flaky crust that will keep everyone coming back for more. Whether you’re preparing for a game day feast or a family dinner, this recipe is simple and satisfying. Let’s dive into the ingredients and get cooking!
Ingredients
List of Ingredients
To make Golden Crust Cheesy Beef Bombs, gather these ingredients:
– 1 lb ground beef
– 1 cup shredded cheddar cheese
– ½ cup cream cheese, softened
– 2 cloves garlic, minced
– 1 small onion, finely chopped
– 1 teaspoon Worcestershire sauce
– 1 teaspoon smoked paprika
– Salt and pepper to taste
– 1 can refrigerated crescent roll dough
– 1 egg, beaten (for egg wash)
– Sesame seeds for garnish
Each ingredient plays a key role in the flavor and texture of the beef bombs. Ground beef is the base, providing a hearty filling. Cheddar and cream cheese create a rich, cheesy interior. Garlic and onion add depth, while Worcestershire sauce and smoked paprika give a savory kick.
If you want to adjust for dietary needs, consider these swaps:
– Use ground turkey or chicken for a leaner option.
– Try dairy-free cream cheese and cheese for a vegan choice.
– Use gluten-free dough if you need a gluten-free recipe.
For a spicy twist, add jalapeños or hot sauce to the beef mix. You can also experiment with different spices to find your favorite flavor profile.
Step-by-Step Instructions
Preheat and Prepare
Start by preheating your oven to 375°F (190°C). This step is crucial for getting that perfect golden crust. While the oven heats, gather your tools. Use a large baking sheet and line it with parchment paper. This helps the beef bombs cook evenly and makes cleanup a breeze.
Cooking the Beef Mixture
In a large skillet, add 1 pound of ground beef. Turn the heat to medium. Then, add 2 minced garlic cloves and 1 small chopped onion. Cook this mixture until the beef is brown and the onion is clear, which takes about 5 to 7 minutes.
Make sure to drain any excess fat from the skillet. This step keeps your beef bombs from becoming greasy. Next, stir in 1 teaspoon of Worcestershire sauce, 1 teaspoon of smoked paprika, and salt and pepper to taste. Mix well and remove the skillet from the heat. Let it cool slightly before adding the cheeses.
Assembling the Beef Bombs
Roll out your can of crescent roll dough on a floured surface. Divide it into triangle sections as shown on the can. This will be the outer layer of your beef bombs.
Take a heaping tablespoon of the beef and cheese mixture and place it at the wide end of each triangle. Fold the sides over the filling, then roll from the wide end to the point. Make sure the dough tightly seals the filling inside.
Place the formed bombs on your prepared baking sheet. Brush each one with a beaten egg for a shiny finish. Add sesame seeds on top for extra crunch and flavor.
Now, bake in the preheated oven for 15 to 18 minutes. Watch for that lovely golden brown color. Once baked, let them cool for a few minutes before diving in. Enjoy these delicious bites!
Tips & Tricks
Perfecting the Flavor
To boost the taste of your cheesy beef bombs, try adding fresh herbs. Chopped parsley or cilantro can brighten the dish. You might also enjoy a pinch of cayenne for heat. If you switch cheeses, cheddar works great, but mozzarella adds a stretchy texture. For a bolder flavor, use pepper jack or a sharp cheese.
Baking Secrets
A golden crust makes your beef bombs look irresistible. Bake them until they are a deep golden brown. An egg wash is key; it gives shine and color. If you want a little crunch, sprinkle sesame seeds or even everything bagel seasoning on top before baking. This adds texture and flavor.
Serving Suggestions
Serve your cheesy beef bombs with fun dips. Ranch or marinara sauce pairs perfectly. You can also try spicy mustard or a creamy garlic dip for a twist. For presentation, use a large platter. Arrange the bombs in a circle and add fresh herbs for color. This makes your dish pop at any gathering.

Variations
Ingredient Swaps
You can swap ground beef for turkey or chicken. Both options work well and stay juicy. Use 1 pound of either meat for the same taste. You can also try different cheeses. Mozzarella gives a mild taste, while pepper jack adds spice. Experiment with feta for a tangy twist!
Healthy Versions
For a healthy twist, choose low-carb or gluten-free dough. You can use almond flour dough or cauliflower crust. Add veggies to your filling. Spinach, bell peppers, or mushrooms add great flavor and nutrition. This way, you make a hearty meal that’s also good for you.
Flavor Inspired Variants
Make your beef bombs even more fun! Try BBQ sauce for a smoky flavor. Add jalapeños for a spicy kick, or use Italian herbs for an Italian flair. This recipe adapts well with seasonal ingredients. Use fresh herbs in spring or roasted veggies in fall. Enjoy the endless possibilities with your Golden Crust Cheesy Beef Bombs!
Storage Info
How to Store
To keep your Golden Crust Cheesy Beef Bombs fresh, store them right. First, let the bombs cool completely. This step helps to avoid moisture buildup. Place them in an airtight container. You can refrigerate them for up to three days. If you want to save them longer, freezing is a great option. Wrap each bomb tightly in plastic wrap, then place them in a freezer bag. They will last for up to three months in the freezer.
Reheating Instructions
When it’s time to enjoy your cheesy beef bombs again, reheating them the right way keeps them crispy. Preheat your oven to 350°F (175°C). Place the bombs on a baking sheet and cover them lightly with foil. This protects the tops while they heat. Bake for about 10-15 minutes or until warmed through. You can also use an air fryer for a crispy finish. Heat them in the air fryer at 320°F (160°C) for about 5-7 minutes. This method works well to keep that golden texture.
FAQs
What can I use instead of crescent roll dough?
You can try several dough options if you lack crescent roll dough. Here are a few good picks:
– Pizza dough
– Puff pastry
– Biscuit dough
– Homemade bread dough
Each choice brings its own taste and texture. Pizza dough gives a chewy bite. Puff pastry adds a flaky crunch. Biscuit dough makes the bombs fluffy.
How do I know when the beef bombs are fully cooked?
You’ll want to look for a few signs to know your beef bombs are ready. Here’s what to check:
– The bombs should be golden brown on top.
– The filling should reach at least 160°F (71°C).
– The dough should feel firm to the touch.
Cut one open to see the melted cheese and cooked beef. If it looks good, they are ready to eat!
Can I make these ahead of time?
Yes, you can prepare these ahead of time. Here are some tips for making them in advance:
– Assemble the bombs and place them on a baking sheet.
– Cover and refrigerate for up to 24 hours.
– Bake them fresh when ready to serve.
You can also freeze them. Just bake them for a few minutes less. When you’re ready, bake from frozen for about 20-25 minutes.
What dips pair well with Cheesy Beef Bombs?
Dips can elevate your cheesy beef bombs. Here are some tasty options:
– Ranch dressing
– Marinara sauce
– BBQ sauce
– Honey mustard
Try one or mix them to find your favorite combination. Each dip brings out different flavors in the beef bombs. Enjoy exploring your options!
Today, you learned how to make delicious Cheesy Beef Bombs. We covered the right ingredients and the steps to cook them perfectly. I shared helpful tips for flavor and baking secrets. You can also explore tasty variations and healthy versions to suit your needs. Remember to store and reheat them wisely for the best taste. Enjoy impressing friends and family with your new cooking skills!


