
Are you ready to bake something adorable and delicious? These Red Velvet Bear Cookies are perfect for any occasion, from birthdays to holidays. With their rich color and soft texture, they make a festive treat that everyone will love. I’ll share the recipe, fun decorating tips, and ideas for variations. Get excited to mix, bake, and decorate these sweet little bears that are sure to bring smiles!
What are Red Velvet Bear Cookies?
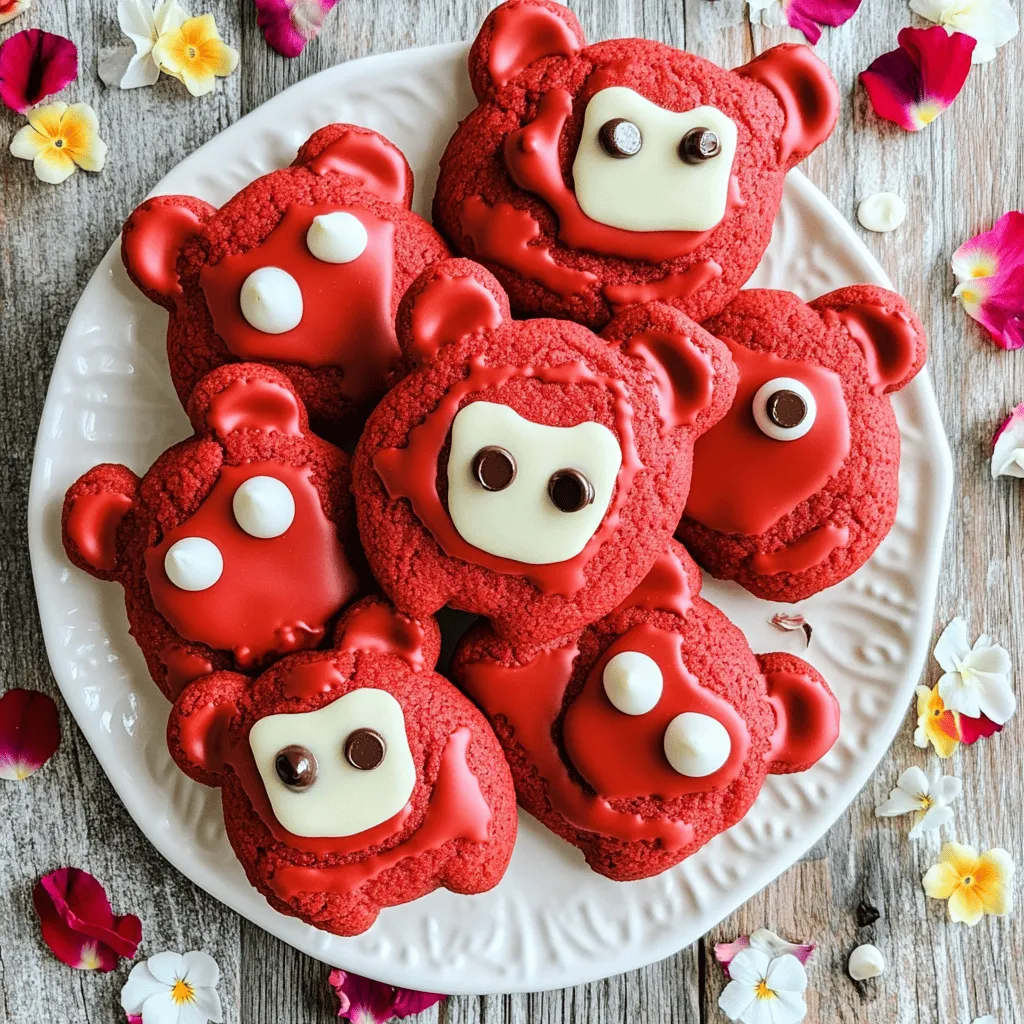
Red velvet bear cookies are a fun twist on the classic red velvet cake. These cookies bring joy with their bright color and cute bear shape. They are soft, chewy, and loaded with white chocolate chips. Each bite feels like a little hug.
What is the origin of Red Velvet Cookies?
Red velvet cookies come from the red velvet cake trend. This cake became popular in the United States in the 1920s. The bright red color comes from cocoa powder and food coloring. People loved the flavor and the look, so they made cookies too.
Why are Red Velvet Bear Cookies unique?
What makes these cookies special is their bear shape. Using a bear-shaped cookie cutter makes them perfect for kids’ parties. The white chocolate chips add a creamy taste. The cookies also have a hint of cocoa flavor, which sets them apart from other cookies.
What occasions are perfect for Red Velvet Bear Cookies?
These cookies are great for many occasions. You can serve them at holidays, like Christmas or Valentine’s Day. They work well for birthdays and school events too. Red velvet bear cookies make any gathering feel festive. They are sure to make people smile and feel happy.Enjoy making them and sharing with friends and family!
How do you make Red Velvet Bear Cookies?
Making red velvet bear cookies is fun and easy. First, you need some key ingredients. You will need 2 ½ cups of all-purpose flour, 1 tablespoon of cocoa powder, 1 teaspoon of baking soda, and ½ teaspoon of salt. For the sweet part, get 1 cup of softened unsalted butter, 1 ½ cups of granulated sugar, 1 large egg, and 2 tablespoons of buttermilk. You will also need 2 teaspoons of vanilla extract, 2 teaspoons of red food coloring, and 1 cup of white chocolate chips. Mini chocolate chips work great for decoration.
Next, let’s go over the step-by-step instructions. Start by preheating your oven to 350°F (175°C). Line two baking sheets with parchment paper. In a medium bowl, mix the flour, cocoa powder, baking soda, and salt. Set this aside. In a large bowl, cream the softened butter and sugar. This should take about 3-4 minutes. Now, add the egg, buttermilk, vanilla extract, and red food coloring. Mix until everything is combined. Gradually mix in the dry ingredients until just combined. Be careful not to overmix!
Now, gently fold in the white chocolate chips. Chill the dough for about 30 minutes. This helps with shaping. Scoop tablespoon-sized balls of dough and press them down lightly with a bear-shaped cookie cutter. Place the cookies on the baking sheets, leaving about 2 inches between them. Decorate with mini chocolate chips for eyes and a nose.
Bake for 10–12 minutes. The edges should be set and the cookies slightly puffy. After baking, let the cookies cool on the sheets for about 5 minutes. Then, transfer them to a wire rack to cool completely.
The dough’s consistency is key. It should be soft but not sticky. Chilling the dough helps it hold its shape while baking. If the dough is too soft, the cookies may spread and lose their shape. Following these steps will help you create the perfect red velvet bear cookies.
What are some creative decorating ideas for Red Velvet Bear Cookies?
Decorating your Red Velvet Bear Cookies can be fun and easy. You can use frosting and toppings in many ways. Start with a simple cream cheese frosting. Spread it on top of each bear cookie. Use a spatula for a smooth finish. For extra flair, sprinkle colored sugar or edible glitter on top. This adds sparkle and makes your cookies pop.
Themed decoration suggestions can make your cookies stand out. For birthdays, add colorful sprinkles or use frosting to write names. For holidays, use chocolate melts to create hats or scarves. You can also use candy eyes for a cute touch. Imagine a bear in a Santa hat for Christmas or a flower crown for spring.
Involving kids in decorating cookies is a great way to make memories. Let them choose their favorite toppings. Provide mini chocolate chips, gummy bears, or candies. They can have fun making silly faces on each bear. Encourage creativity! You might end up with a cookie zoo of fun shapes and colors.
These simple ideas will make your Red Velvet Bear Cookies a hit at any event.
What variations exist for Red Velvet Bear Cookies?
Red velvet bear cookies can take many forms. You can change flavors, textures, and even the look of these delightful treats.
What are some alternative flavor profiles?
You can add almond extract for a nutty twist. It pairs well with the cocoa and adds a unique taste. Another option is to mix in orange zest. This gives a bright, fresh flavor that balances the richness. You can also try using different types of chocolate chips. Dark chocolate chips add a rich depth, while butterscotch chips offer a sweet surprise.
How can you make vegan Red Velvet Bear Cookies?
To make vegan red velvet bear cookies, swap the egg for a flax egg. Mix one tablespoon of flaxseed meal with three tablespoons of water. Let it sit for five minutes until it thickens. Replace buttermilk with almond milk or soy milk and add a splash of vinegar to mimic the tang. Use vegan butter in place of regular butter for a rich, creamy texture. With these changes, you still get a soft and tasty cookie.
What are some ideas for cookie shapes and sizes?
While bear shapes are fun, you can also use other cookie cutters. Stars, hearts, or circles work great too. For a fun twist, make mini cookies for parties. They are perfect bite-sized treats. You can also create a giant bear cookie for a special occasion. Just adjust the baking time to make sure it cooks evenly. With different shapes and sizes, you can make each batch unique.
What tips can enhance your Red Velvet Bear Cookie baking experience?
Baking Red Velvet Bear Cookies can be fun and easy with the right tips. Here are some key cookie baking tips to help you succeed.Gather all your baking supplies for cookies. This way, you won’t miss any ingredients. Measure everything accurately. It helps keep the cookies from spreading too much.
For beginners, essential baking techniques include creaming butter and sugar well. This step adds air and makes your cookies light. Mix your wet and dry ingredients separately first. Then combine them gently to avoid tough cookies.
Storing cookies for freshness is simple. Let them cool completely. Place them in an airtight container. You can also add a slice of bread to keep them soft. The bread helps to absorb excess moisture.
For success in baking, use quality baking equipment. A good mixing bowl, measuring cups, and a spatula are must-haves. A bear-shaped cookie cutter is key for this recipe. Use parchment paper on your baking sheets for easy cleanup.
With these tips, your Red Velvet Bear Cookies will turn out great! Enjoy the process and share your tasty treats with friends and family.
How can Red Velvet Bear Cookies be presented or gifted?
Red Velvet Bear Cookies not only taste great, but they also look cute. You can use their fun bear shape for creative presentations. Arrange the cookies on a colorful plate or a themed platter. Add some edible flower petals around them for a lovely touch. You can even scatter a few white chocolate chips on the plate for extra flair.
For gifting, you can pack these cookies in clear bags. Tie them with a bright ribbon for a festive look. Use decorative boxes or tins to make your gift special. You could add a small note or recipe card inside the box. This personal touch makes your gift even better.
When it comes to events, pairing these cookies with other treats is a great idea. Serve them with milk, hot cocoa, or coffee. They also go well with festive desserts like cupcakes or brownies. This mix will impress your guests and make your table look delightful.
Red velvet bear cookies are fun, tasty, and perfect for any occasion. We explored their origin and unique qualities. I shared a simple recipe and step-by-step instructions to make them. I also provided decorating ideas, variations, and baking tips. Whether for parties or gifts, these cookies stand out.
Now, you can create delicious treats that will impress everyone. Happy baking!


