
Introduction
Red velvet cake has become a beloved dessert, celebrated for its striking crimson hue and velvety texture. This iconic cake, with its rich flavor and cream cheese frosting, has captivated dessert lovers for generations. But what if we took this classic treat and transformed it into a fun, bite-sized dessert? Enter the decadent red velvet cake balls—an innovative twist on the traditional cake that invites indulgence in every delightful bite.
The concept of cake balls has gained immense popularity in recent years, appealing to both seasoned bakers and those just venturing into the kitchen. These delightful morsels are not only easy to make but also incredibly versatile. They can be enjoyed at any occasion, from birthday parties and weddings to holiday celebrations and casual get-togethers. The festive nature of red velvet cake balls makes them a perfect treat for sharing, while the rich flavors are sure to impress your guests.
One of the most exciting aspects of this recipe is its simplicity. Even if you’re a novice baker, you can whip up a batch of these cake balls with relative ease, thanks to the use of a cake mix. For experienced bakers, this recipe offers a chance to showcase your skills and creativity, allowing for modifications and personal touches. Whether you’re looking for a sweet treat for yourself or a crowd-pleasing dessert for a special occasion, red velvet cake balls are a fantastic choice.
Understanding the Ingredients
To create these delicious red velvet cake balls, we’ll work with a few key ingredients that come together to produce the perfect balance of flavor and texture. Understanding how each component contributes to the final product is essential for achieving the best results.
Red Velvet Cake Mix
Using a quality red velvet cake mix is crucial for flavor and texture. While you can certainly make the cake from scratch, a mix simplifies the process without compromising on taste. Look for a mix that boasts rich cocoa flavor and vibrant red color, as these elements are key to a classic red velvet experience.
Buttermilk
Buttermilk plays a vital role in achieving the moisture and richness that red velvet cake is known for. Its acidity helps to tenderize the cake, resulting in a softer crumb. If you don’t have buttermilk on hand, you can easily create a substitute by mixing regular milk with a splash of vinegar or lemon juice and letting it sit for about five minutes.
Eggs
Eggs are essential for providing structure to the cake. They help bind the ingredients together and contribute to the overall texture. For the best results, use large eggs at room temperature, as this will allow them to incorporate more easily into the batter.
Vegetable Oil
Using vegetable oil instead of butter in the cake mix is a game-changer. Oil creates a tender crumb and keeps the cake moist for longer. It allows the flavors to shine through while providing the perfect base for our cake balls.
Cream Cheese
When it comes to frosting, cream cheese is the star of the show. Its tangy flavor pairs beautifully with the sweetness of the cake, creating a delightful contrast. For the frosting, you’ll want to use softened cream cheese to ensure a smooth and creamy texture.
Powdered Sugar
Powdered sugar is crucial for achieving the right sweetness and texture in your frosting. It dissolves easily, allowing you to create a smooth, velvety frosting that can be easily combined with the cake. Be sure to sift the powdered sugar before adding it to the cream cheese for the best results.
White Chocolate Chips
To coat the cake balls, white chocolate chips are an excellent choice. They add a touch of sweetness and a beautiful glossy finish to your treats. Melting white chocolate can be tricky, so following best practices will ensure a smooth coating that enhances the overall presentation of your cake balls.
Optional Sprinkles
While not required, sprinkles can take your red velvet cake balls to the next level. They add a pop of color and a festive touch, making them even more appealing for special occasions. Choose sprinkles that complement the vibrant red of the cake for a stunning visual effect.
Step-by-Step Instructions
Now that we’ve covered the essential ingredients, let’s dive into the step-by-step instructions for making these decadent red velvet cake balls. Each step is designed to ensure your cake balls turn out perfectly every time.
Baking the Cake
1. Preheat the Oven: Begin by preheating your oven to 350°F (175°C). This ensures that your cake bakes evenly and achieves the desired texture.
2. Prepare the Cake Mix: In a large mixing bowl, combine the red velvet cake mix, buttermilk, eggs, and vegetable oil. Use an electric mixer on medium speed to blend the ingredients until smooth, about 2-3 minutes. Make sure there are no lumps in the batter.
3. Grease the Pan: Grease a 13×9-inch baking pan with non-stick spray or line it with parchment paper for easy removal.
4. Pour and Bake: Pour the batter into the prepared baking pan and smooth the top with a spatula. Bake in the preheated oven for 30-35 minutes or until a toothpick inserted into the center comes out clean. Be careful not to overbake, as this can lead to a dry cake.
Cooling the Cake
After baking, it’s crucial to allow the cake to cool completely before proceeding to the next step. This step is essential because a warm cake can crumble too easily, making it difficult to form uniform cake balls.
1. Remove from Oven: Once the cake is baked, remove it from the oven and let it cool in the pan for about 10 minutes.
2. Transfer to Wire Rack: Carefully transfer the cake to a wire rack to cool completely. This may take an additional 30-45 minutes.
Making the Frosting
While the cake is cooling, you can prepare the cream cheese frosting.
1. Combine Ingredients: In a medium bowl, beat the softened cream cheese and powdered sugar together until smooth and creamy. Start at a low speed to avoid a sugar cloud, then increase to medium speed.
2. Achieve the Right Consistency: If the frosting is too thick, you can add a splash of milk to achieve your desired consistency. It should be spreadable but not overly runny.
Combining Cake and Frosting
Once the cake is completely cooled, it’s time to mix it with the frosting to create the cake ball mixture.
1. Crumble the Cake: Using your hands or a fork, crumble the cooled cake into a large mixing bowl until it resembles fine crumbs.
2. Add the Frosting: Gradually add the cream cheese frosting to the crumbled cake, mixing with your hands or a spatula until fully combined. The mixture should be moist enough to hold together when rolled into balls, but not overly wet.
3. Taste Test: At this stage, you can taste the mixture and adjust the sweetness if necessary by adding more powdered sugar.
Forming Cake Balls
Creating the perfect cake balls is all about uniformity and technique.
1. Roll the Mixture: Using your hands, scoop out a tablespoon of the cake mixture and roll it into a ball, about 1-inch in diameter. Aim for uniformity in size to ensure even coating and presentation.
2. Place on Baking Sheet: Arrange the rolled cake balls on a baking sheet lined with parchment paper. Continue until all the mixture is used, then place the baking sheet in the refrigerator for about 30 minutes to firm up the cake balls.
Melting the Chocolate
While the cake balls are chilling, it’s time to prepare the white chocolate coating.
1. Choose Your Method: You can melt white chocolate chips in a microwave-safe bowl or using a double boiler. If using the microwave, heat in 20-second intervals, stirring in between until completely melted and smooth.
2. Avoid Overheating: Be cautious not to overheat the chocolate, as this can cause it to seize. If it thickens too much, you can add a small amount of vegetable oil to thin it out.
Coating the Cake Balls
Now for the fun part—coating the cake balls with melted chocolate!
1. Dip the Cake Balls: Using a fork or a toothpick, dip each chilled cake ball into the melted white chocolate, ensuring it is fully coated. Allow any excess chocolate to drip off.
2. Place Back on Baking Sheet: Return the coated cake balls to the parchment-lined baking sheet.
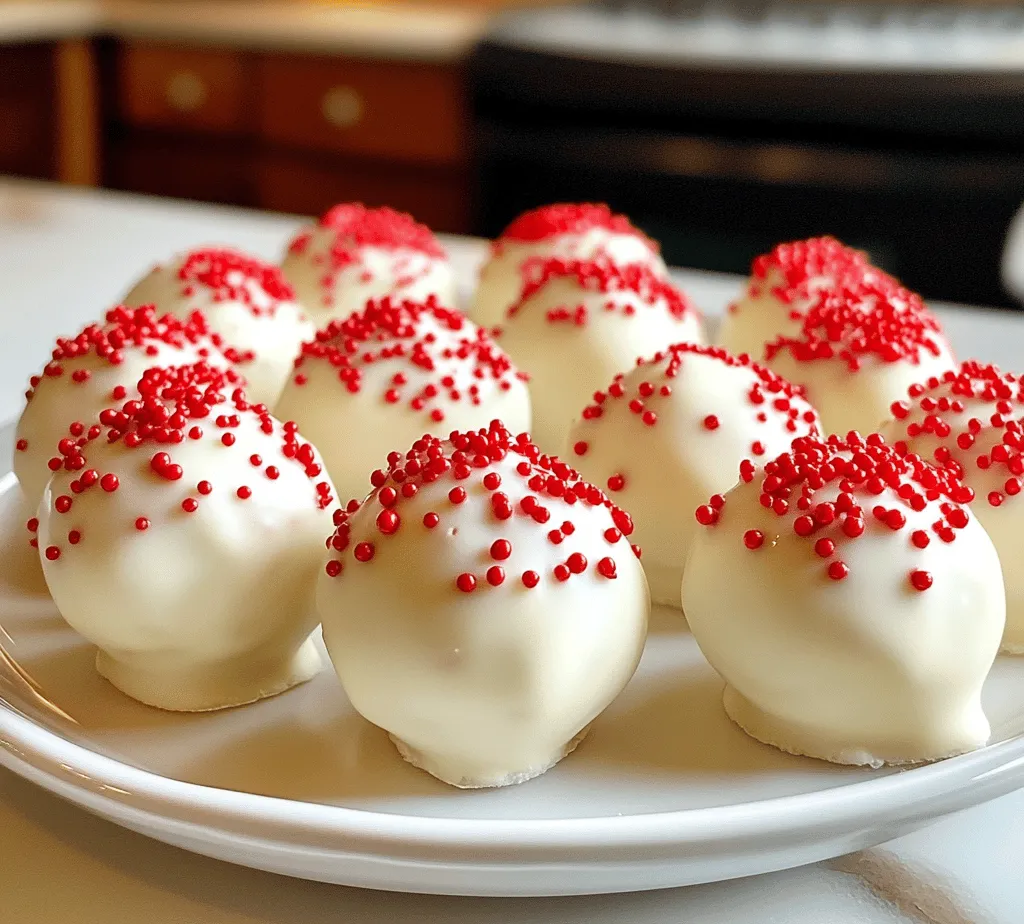
3. Decorate with Sprinkles: If desired, immediately sprinkle your choice of decorations on top of the chocolate before it hardens. This adds a festive touch that enhances the visual appeal.
By following these steps, you’ll create decadent red velvet cake balls that are sure to impress. With their irresistible flavors and beautiful presentation, these treats are perfect for any occasion. Whether enjoyed at a party or savored at home, they offer a delightful experience for anyone fortunate enough to indulge. Stay tuned for the next part of the article, where we will explore some tips for the best results and answer common questions about this delicious dessert!
How to Achieve an Even Coating and Reduce Excess Chocolate
Coating your red velvet cake balls in chocolate can be a bit tricky, but with the right technique, you can achieve a smooth and even layer without excess dripping. Here’s how to do it:
1. Melt the Chocolate Properly: Start by melting your chocolate using a double boiler or a microwave. If using a microwave, do it in short bursts of 15-20 seconds, stirring in between to prevent overheating. The chocolate should be smooth and pourable, but not too hot.
2. Use a Dipping Tool: For an even coating, consider using a dipping tool or fork. Dip each cake ball into the melted chocolate, allowing it to get fully covered. Gently tap the tool against the bowl’s edge to let any excess chocolate drip off.
3. Work in Batches: If you’re coating a large number of cake balls, work in small batches. This allows you to maintain control over the coating and prevents the chocolate from hardening before you finish.
4. Set on a Wire Rack: After coating, place the cake balls on a wire rack instead of directly on parchment paper. This helps any residual chocolate to drip off and keeps the bottoms from becoming soggy.
Decorating
Decorating your red velvet cake balls can elevate their presentation and make them even more enticing. While red sprinkles are a popular choice, here are some additional decoration styles to consider:
– Drizzle with White Chocolate: After the cake balls have set, drizzle white chocolate over them for a beautiful contrast. This adds a touch of elegance and enhances the flavor.
– Chopped Nuts or Coconut: Roll the cake balls in finely chopped nuts or shredded coconut before the chocolate sets. This adds texture and a delightful crunch.
– Edible Glitter or Gold Dust: For a touch of glamour, sprinkle edible glitter or gold dust on top of the chocolate coating. This can make your cake balls look like they belong at a fancy celebration.
– Custom Toppers: Use small cake toppers or flags for personalization. You can write names or messages to make them perfect for parties or events.
Chilling and Serving
Chilling your cake balls is essential for achieving a firm chocolate coating. Here’s why and how to do it effectively:
– Setting the Coating: After you finish coating your cake balls in chocolate, place them in the refrigerator for at least 30 minutes. This allows the chocolate to set properly, ensuring a clean bite.
– Serving Suggestions: When it’s time to serve, consider these options:
– Arrange the cake balls on a decorative platter for a visually appealing display.
– Use cake pop sticks to create fun, handheld treats, perfect for parties.
– Pair with a selection of beverages like coffee, tea, or milk, which complement the rich flavors of the cake balls.
The Perfect Occasions for Red Velvet Cake Balls
Red velvet cake balls are a crowd-pleaser and fit perfectly into various occasions. Here’s why they shine in different settings:
– Family Gatherings: These cake balls appeal to all ages, making them a great addition to family events. Their bite-sized nature allows everyone to indulge without overdoing it.
– Holiday Celebrations: Their vibrant red color fits beautifully into holiday themes, from Christmas to Valentine’s Day. They can be styled to match any color scheme, making them a festive treat.
– Birthdays and Special Events: These treats offer a creative touch for birthdays and special events. You can customize them with different decorations or flavors to suit the guest of honor.
– Gift-Giving: Package the cake balls in decorative boxes or jars as gifts. Include a personalized note for an extra special touch, making your treats thoughtful presents for friends and family.
Variations and Customization Ideas
Exploring variations can keep this recipe fresh and exciting. Here are some ideas for customizing your red velvet cake balls:
– Different Flavor Profiles: Enhance the flavor by adding extracts such as almond or mint. This can give your cake balls a unique twist that surprises your guests.
– Chocolate Coating Options: Instead of classic milk chocolate, experiment with white, dark, or even flavored chocolates like caramel or mint. Each will impart a different taste and aesthetic.
– Dietary Modifications: If you have dietary restrictions, consider these alternatives:
– Gluten-Free: Use gluten-free cake mixes to create a version that everyone can enjoy.
– Vegan Adaptations: Substitute eggs and dairy with plant-based alternatives, ensuring that everyone can savor these delightful treats.
– Creative Presentation Ideas: Serve cake balls on decorative platters or on cake pop sticks for a fun twist. You can even create themed displays for holidays or events.
The Science of Baking: Why This Recipe Works
Understanding the baking process behind your red velvet cake balls can enhance your results. Here’s a breakdown of how ingredients and techniques come together:
– Ingredient Interactions: The combination of cocoa powder and buttermilk creates a tender, moist cake through a chemical reaction that aids in leavening. This results in the light texture that cake balls are known for.
– Temperature in Baking and Coating: Baking at the right temperature ensures the cake balls are cooked through yet remain moist. Similarly, allowing chocolate to cool slightly before dipping prevents overheating and clumping.
– Technique: The technique of crumbling the cake, rolling it into balls, and then coating is crucial. Each step influences the final texture and flavor, so pay attention to each detail for the best outcome.
Nutritional Information and Serving Suggestions
While decadent treats like red velvet cake balls are meant to be enjoyed, it’s also good to be mindful of their nutritional content:
– Nutritional Overview: Each cake ball is typically around 150-200 calories, depending on the ingredients used. They contain sugars, fats, and carbohydrates, so moderation is key.
– Pairing Suggestions: Enhance your dessert experience by pairing cake balls with beverages like:
– Coffee: The bitterness of coffee complements the sweetness of chocolate.
– Tea: Herbal or black teas can provide a refreshing balance.
– Milk: A classic pairing that appeals to both kids and adults alike.
– Portion Control: Consider serving one or two cake balls at a time, especially during gatherings. This way, guests can savor the flavor without overindulging.
Conclusion
Making Decadent Red Velvet Cake Balls is a delightful process that combines creativity, flavor, and a bit of science. The satisfaction of crafting these treats, coupled with their vibrant color and rich taste, makes them a joy to create and share. Whether you’re preparing them for a family gathering, holiday celebration, or simply as a sweet treat for yourself, these cake balls are sure to impress.
Feel free to experiment with different flavors and decorations, and don’t hesitate to share your creations with loved ones. The enduring popularity of red velvet desserts speaks to their deliciousness, making them a staple in any celebratory occasion. So gather your ingredients, roll up your sleeves, and enjoy the process of making these delightful cake balls!


