
Easy Garlic Parmesan Crusted Chicken Recipe
Introduction Chicken is one of the most beloved proteins around the globe, celebrated for its …
Introduction Chicken is one of the most beloved proteins around the globe, celebrated for its …

Introduction Thai cuisine is renowned for its vibrant and aromatic flavors, expertly balancing an array …
Introduction Casseroles have long been a staple in home cooking, cherished for their ability to …
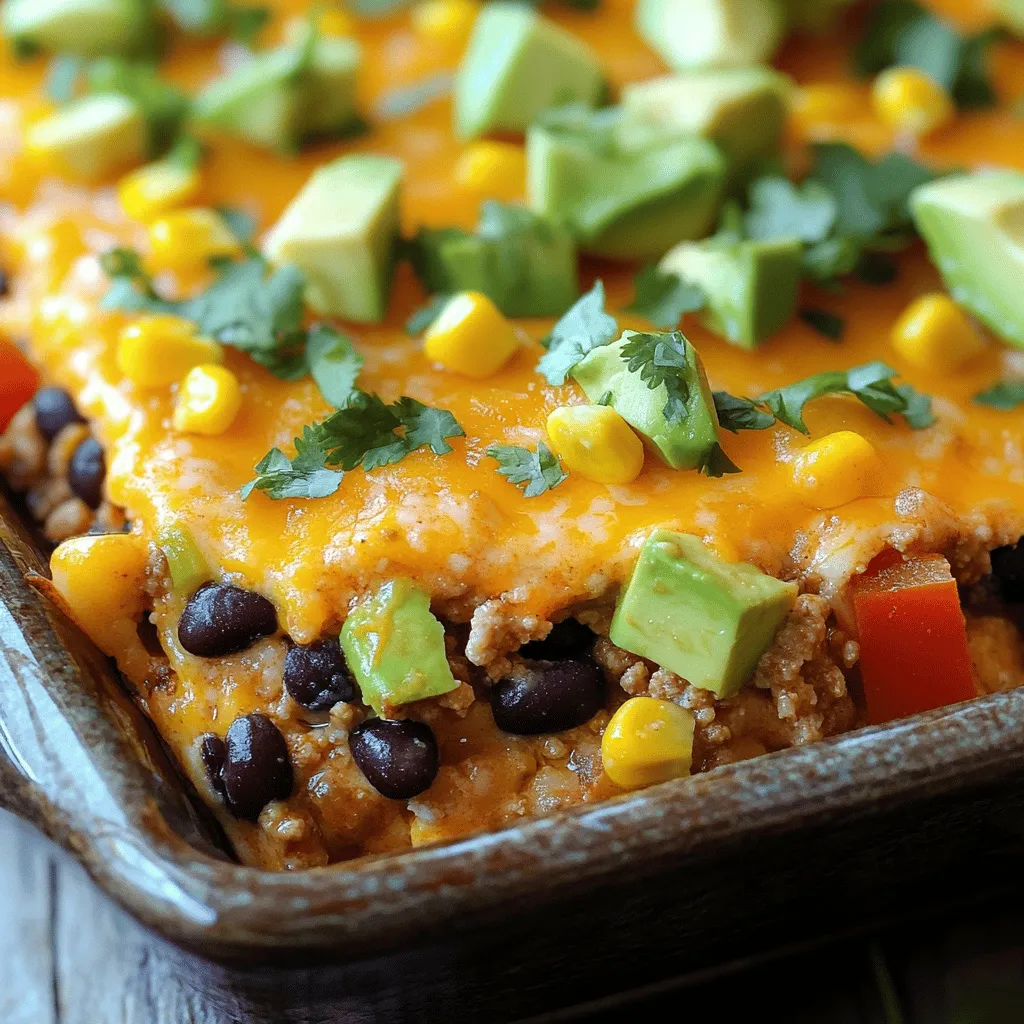
Introduction Tex Mex cuisine is a vibrant fusion of flavors that has captured the hearts …

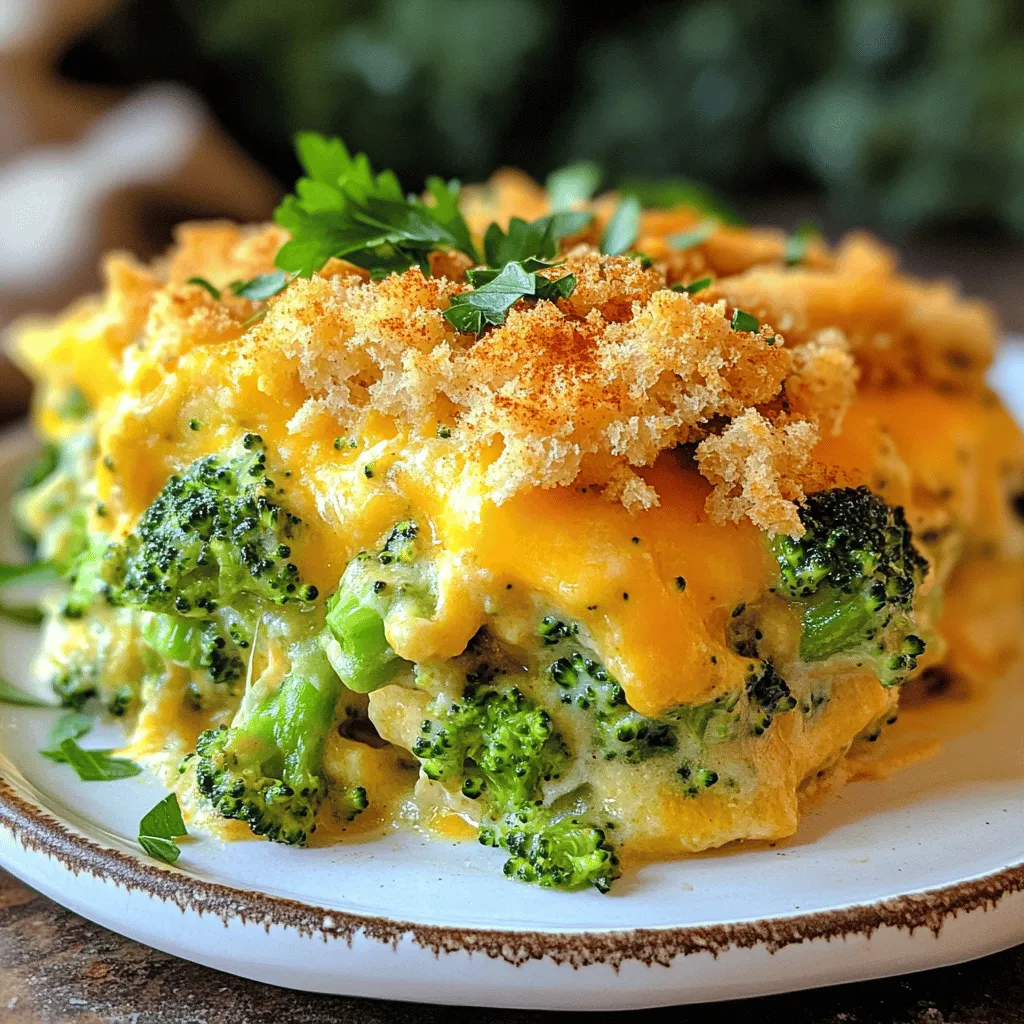
Introduction In the realm of comfort food, few combinations can rival the blissful union of …
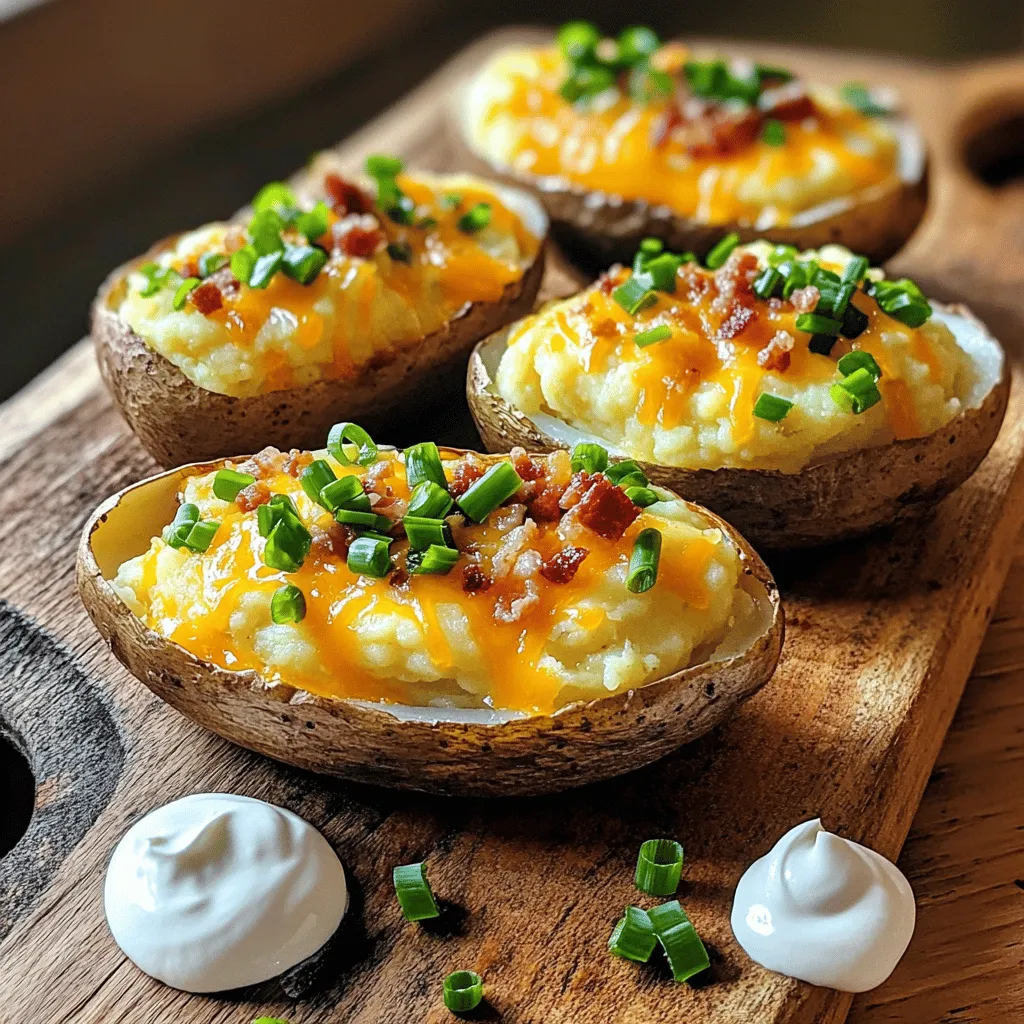
Introduction Premium Loaded Twice Baked Potatoes are a dish that combines the comforting texture of …
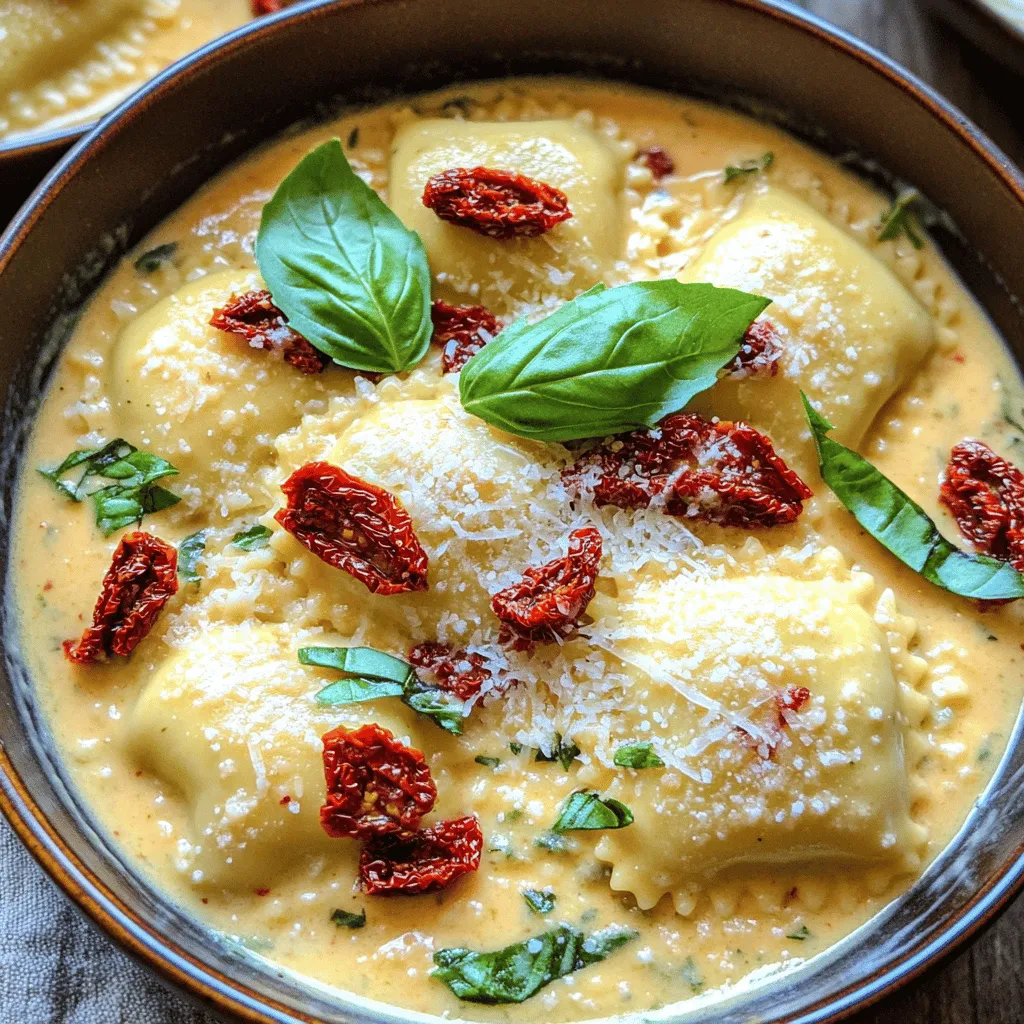
Introduction Italian cuisine is renowned for its rich flavors, fresh ingredients, and comforting dishes that …
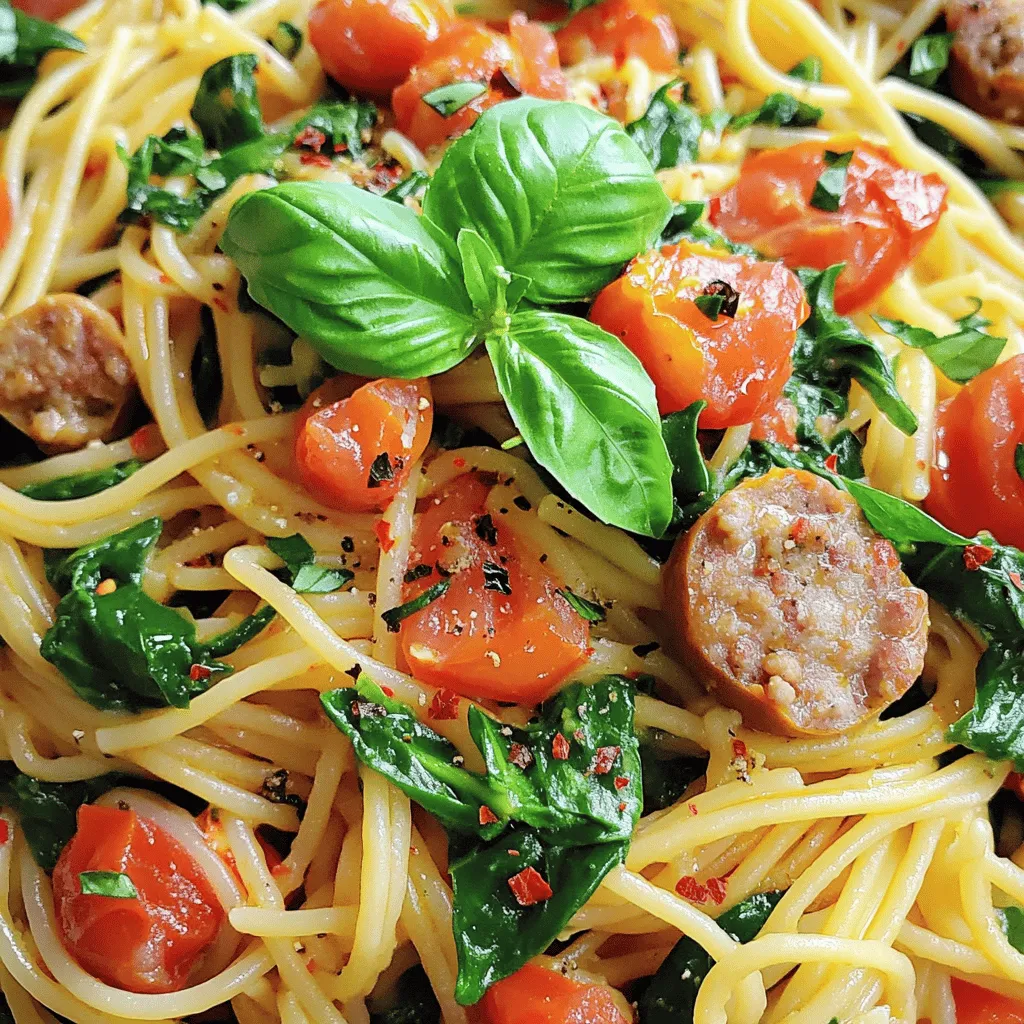
Introduction If you’re on the hunt for a comforting yet vibrant dish that delivers on …

Introduction Garlic Shrimp Gratin is a culinary delight that brings together the savory flavors of …

Introduction Crispy Bang Bang Chicken has become a beloved dish among food enthusiasts for its …