
Introduction
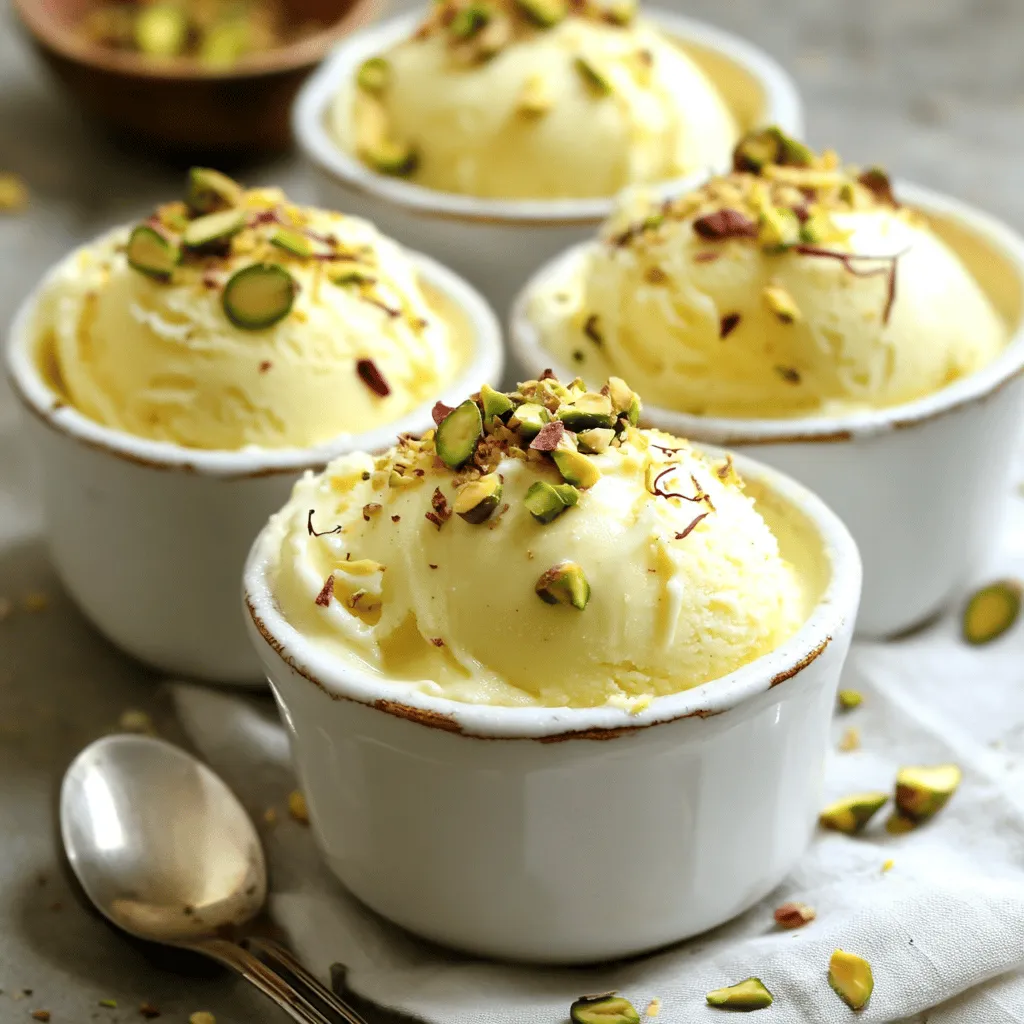
Kulfi, often revered as one of India’s most cherished frozen desserts, is as much a cultural treasure as it is a culinary delight. This traditional Indian ice cream is known for its creamy texture and rich flavors, making it a favorite among food lovers both in India and across the globe. Unlike conventional ice cream that is churned, kulfi is frozen without the introduction of air, which contributes to its dense and indulgent texture. As a result, kulfi is not just a dessert; it’s an experience that transports you to the vibrant streets of India, where hawkers sell this delightful treat, often adorned with nuts and fragrant spices.
The cultural significance of kulfi extends far beyond its taste. Traditionally, this dessert is enjoyed during festive occasions, family gatherings, and hot summer days, symbolizing celebration and togetherness. In recent years, kulfi has gained international recognition, appearing in trendy dessert shops and restaurants, bringing a taste of India to food enthusiasts around the world. Its unique flavors and textures have sparked a global interest, prompting many to seek out ways to recreate this indulgent dessert right in their own kitchens.
The allure of homemade kulfi lies in its simplicity and accessibility. With just a handful of ingredients and straightforward steps, you can create this delicious treat at home, impressing your family and friends with your culinary prowess. This recipe is designed for home cooks of all skill levels, encouraging everyone to embrace the joy of making kulfi from scratch. By using basic pantry staples, you can whip up a batch of kulfi that rivals any store-bought version, all while customizing it to suit your taste preferences.
Understanding Kulfi: The Rich History Behind the Dessert
Kulfi has a long-standing history that dates back several centuries, believed to have originated in the royal kitchens of the Mughal Empire. The name “kulfi” is thought to be derived from the Persian word “qālfī,” which refers to a type of ice cream. Historical texts suggest that kulfi was initially made with milk, sugar, and flavored with saffron and cardamom, catering to the elite classes. As time passed, this delicious dessert became more accessible to the general population and evolved into various regional forms, each with its unique twist.
Across India, kulfi has taken on numerous variations depending on local ingredients and cultural influences. In Punjab, for instance, you might find kulfi flavored with mango, while in Gujarat, it is common to see it infused with rose or pistachio. Each region boasts its signature styles, showcasing the incredible diversity of Indian cuisine. The key difference between kulfi and Western-style ice cream lies in the preparation methods; kulfi is traditionally made by simmering milk until it thickens, then freezing it in molds without churning, resulting in a denser and richer dessert compared to its Western counterparts.
Over the years, kulfi has continued to evolve, with modern interpretations featuring innovative flavors like chocolate, matcha, and even fusion varieties that incorporate local tastes. Yet, despite these changes, the essence of kulfi remains unchanged—an embodiment of richness and indulgence that evokes nostalgia and warmth.
Ingredients Overview
Creating a delightful batch of kulfi requires just a few essential ingredients, each contributing to the overall flavor and texture of this beloved dessert. Here’s a detailed breakdown of what you’ll need:
– Full-fat milk: The cornerstone of any kulfi recipe, full-fat milk is essential for achieving the creamy texture that sets kulfi apart. The higher fat content ensures a smooth and rich mouthfeel, making each bite a heavenly experience.
– Evaporated milk: This ingredient plays a crucial role in enhancing the creaminess of the kulfi. It adds a distinct sweetness and contributes to the overall texture, ensuring that your kulfi is both rich and satisfying.
– Sweetened condensed milk: A key player in the sweetness department, sweetened condensed milk adds depth to the flavor profile. Its thick consistency helps bind the other ingredients together, creating a luscious treat that melts in your mouth.
– Heavy cream: Incorporating heavy cream takes the creaminess factor up a notch, resulting in an ultra-smooth and decadent kulfi. It balances the sweetness from the condensed milk and creates a luxurious texture that is hard to resist.
– Sugar: While the sweetened condensed milk provides ample sweetness, you can adjust the amount of sugar based on your personal preference. This allows you to customize the sweetness level to suit your taste buds.
– Nuts (pistachios and almonds): Traditionally, kulfi is garnished with nuts, typically pistachios and almonds. Not only do they add a delightful crunch, but they also enhance the nutritional profile of the dessert, providing healthy fats and protein.
– Cardamom powder: A staple spice in Indian cooking, cardamom adds a warm, aromatic flavor that elevates the kulfi. Its subtle sweetness and fragrant notes make it a perfect complement to the creamy base.
– Saffron strands: While optional, saffron is a luxurious addition that imparts a beautiful golden hue to the kulfi and adds a unique flavor. It is often associated with celebrations, making it a fitting choice for this delightful treat.
– Rose water: Another optional ingredient, rose water brings a floral aroma that adds complexity to the kulfi. It’s a lovely way to introduce an authentic Indian flavor that complements the other ingredients beautifully.
Step-by-Step Instructions for Making Kulfi
Preparing the Milk Mixture
The foundation of any great kulfi is its milk mixture. To start, you’ll want to gather your ingredients and choose a heavy-bottomed saucepan. This is crucial for preventing the milk from scorching and ensuring even heat distribution.
1. Simmering the Milk: Pour the full-fat milk into the saucepan and place it over medium heat. Bring the milk to a gentle simmer, stirring frequently to prevent it from sticking to the bottom. The goal here is to reduce the milk slightly, concentrating its flavor and creating a rich base for your kulfi.
2. Avoiding Boiling Over: As the milk heats up, be mindful of the temperature. You want to achieve a gentle simmer without allowing the milk to boil vigorously, which can lead to a messy boil-over. Adjust the heat as needed, keeping a watchful eye on the saucepan.
3. Achieving the Perfect Simmer: Continue to simmer the milk for about 15-20 minutes, stirring regularly. You’ll notice the milk thickening and reducing in volume, which is exactly what you want. The longer you simmer, the creamier your kulfi will be, so take your time with this step.
Adding the Condensed Milk
Once your milk has reached the desired consistency, it’s time to add the sweetened condensed milk. This step is crucial for achieving the perfect balance of sweetness in your kulfi.
1. Incorporating Sweetened Condensed Milk: Gradually pour the sweetened condensed milk into the thickened milk mixture while stirring continuously. This will help to evenly distribute the sweetness throughout the kulfi base.
2. Mixing for Optimal Sweetness: Taste the mixture at this stage to determine if it meets your sweetness preference. If you desire a sweeter kulfi, feel free to add a little more sugar. Remember that kulfi is traditionally rich and sweet, so don’t be shy!
As you continue with these steps, you’ll be well on your way to creating a delightful kulfi that captures the essence of this beloved Indian dessert. Stay tuned for the next segment, where we will delve deeper into the remaining steps of the recipe, including how to incorporate the remaining ingredients and freeze your kulfi to perfection.
Easy Homemade Kulfi Ice Cream
Thicken the Mixture
Once you have simmered your milk and sugar, it’s time to thicken the mixture to achieve that creamy, custard-like consistency that is the hallmark of traditional kulfi. To do this, continue to cook the milk over medium heat, stirring frequently. The goal is to reduce the volume of the milk by boiling it down, concentrating the flavors, and adding that luxurious texture.
Signs of the Mixture Reaching the Desired Custard-Like Consistency
As the milk thickens, you’ll notice several key indicators. First, the mixture will begin to coat the back of a spoon. When you run your finger through it on the spoon, it should leave a clear line. This is a sure sign that your kulfi base is ready. Additionally, the color of the milk will change from a pale white to a golden hue as it reduces and thickens. Keep an eye on the bubbles; they should be smaller and less vigorous as the mixture thickens.
The Importance of Stirring During This Stage
Stirring is crucial during this stage to avoid burning the milk and to ensure even thickening. Use a wooden spoon or a silicone spatula to scrape the bottom and sides of the pot regularly. This will prevent any milk solids from sticking and potentially scorching. Patience is key here—this process may take anywhere from 30 to 45 minutes, but the results will be well worth the wait.
Incorporating Flavorings
Once your milk mixture has thickened beautifully, it’s time to infuse it with flavorings. This is where you can truly make your kulfi your own.
Techniques for Evenly Mixing in Nuts and Spices
Chop your choice of nuts, such as pistachios, almonds, or cashews, into small pieces. You want them to be finely chopped so they can be evenly distributed throughout the kulfi. Add the nuts to the thickened milk and stir thoroughly. This ensures that every bite is filled with delightful crunch and flavor. For spices, consider adding cardamom powder; its aromatic profile pairs beautifully with the creamy base.
The Role of Saffron and Rose Water in Enhancing Flavors
Saffron is a luxurious addition that not only enhances the flavor but also imparts a stunning golden color to your kulfi. To use saffron threads, soak a pinch in a tablespoon of warm milk for about 10 minutes, then stir this infusion into the base. Rose water adds a hint of floral sweetness and is a quintessential flavor in many Indian desserts. Start with half a teaspoon, taste, and adjust according to your preference. The combination of saffron and rose water will elevate your kulfi to a new level of indulgence.
Cooling and Pouring
After you’ve incorporated your flavorings, it’s important to let the mixture cool before pouring it into molds.
Best Practices for Cooling the Mixture Before Freezing
Transfer the thickened mixture into a bowl and let it cool at room temperature for about 15-20 minutes. To expedite the cooling process, you can place the bowl in an ice bath (a larger bowl filled with ice and water). Stir occasionally to help the heat dissipate more quickly. Cooling the mixture properly is essential to prevent any ice crystals from forming later during the freezing process.
Options for Kulfi Molds Versus Containers
For pouring your kulfi, you can use traditional kulfi molds, popsicle molds, or even small plastic containers. If you’re using molds, ensure they are clean and dry. If you don’t have molds, any small container will work—just remember to adjust the freezing time as necessary. Use a funnel or a ladle to pour the mixture, ensuring no spills. Leave a little space at the top of each mold or container to allow for expansion as the kulfi freezes.
Freezing Process
Now that your kulfi mixture is poured into molds or containers, it’s time to freeze.
Explanation of How Freezing Works and Why It’s Crucial to Cover Molds Tightly
Freezing works by slowing down the movement of molecules, which turns the liquid into a solid. To achieve a smooth texture without large ice crystals, it’s important to cover the molds tightly with plastic wrap or lids. This prevents ice crystals from forming on the surface and protects the kulfi from absorbing any unwanted odors from the freezer. Freeze the kulfi for at least 6 hours, or ideally overnight, to ensure it’s thoroughly set.
Serving the Kulfi
Once your kulfi is frozen to perfection, it’s time to serve this delightful treat.
Tips for Easily Removing Kulfi From Molds or Containers
To easily remove kulfi from molds, run warm water over the outside of the mold for a few seconds. This will slightly melt the edges and create a seal that allows the kulfi to slide out smoothly. If using a container, simply let it sit at room temperature for a few minutes before scooping with a spoon. If the kulfi is too hard, you can also use a sharp knife to cut it into squares or slices.
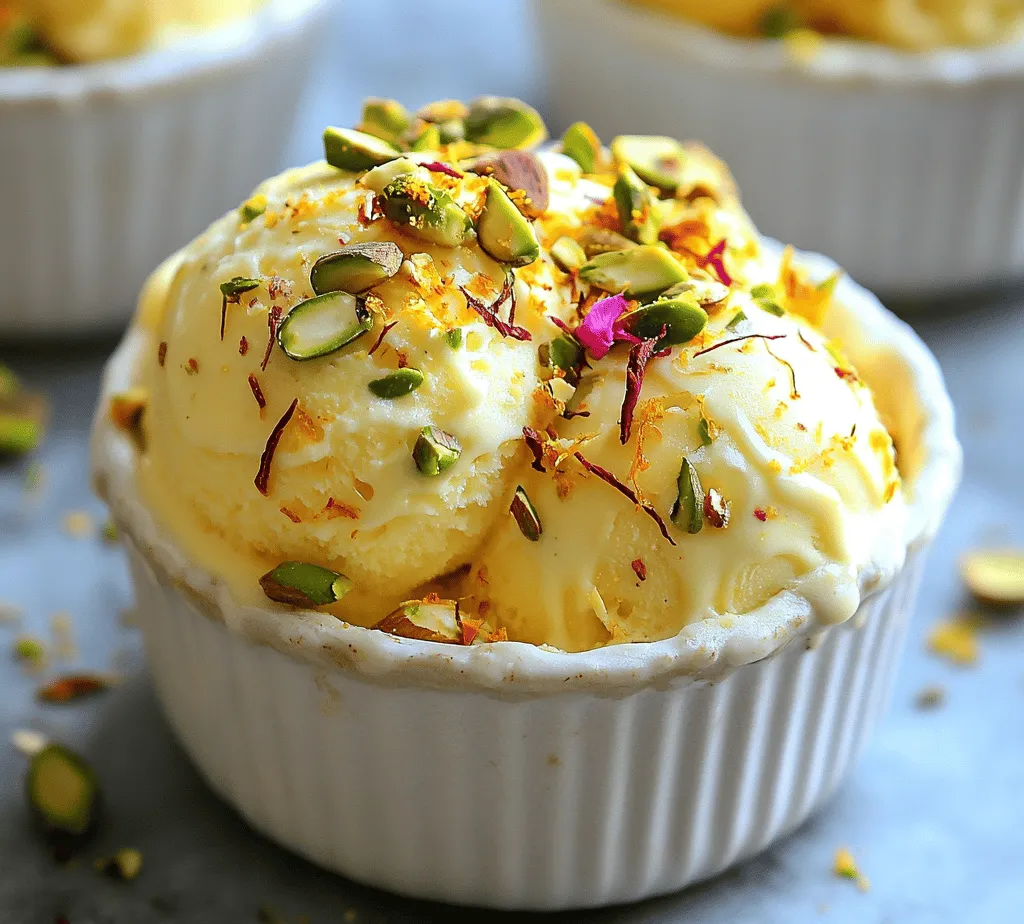
Garnishing Ideas with Reserved Ground Pistachios
For an elegant presentation, garnish your kulfi with reserved ground pistachios or crushed almonds. You can also drizzle some sweetened condensed milk or chocolate sauce over the top for an extra layer of richness. Fresh fruit, such as mango slices or berries, can also add a refreshing contrast to the creamy kulfi.
Variations on the Classic Kulfi Recipe
While the traditional kulfi recipe is undeniably delicious, experimenting with variations can lead to exciting new flavors.
Different Flavor Profiles: Mango, Pistachio, or Chocolate Kulfi
Mango kulfi is a popular variation that incorporates pureed fresh mango into the base, lending a fruity flair. For pistachio kulfi, simply increase the amount of ground pistachios and decrease the amount of other nuts. If you’re craving something rich and decadent, chocolate kulfi made by stirring in cocoa powder or melted chocolate into the mixture will satisfy your sweet tooth.
Vegan Alternatives Using Coconut Milk or Almond Milk
For those looking for vegan alternatives, you can easily substitute whole milk with coconut milk or almond milk. This will give the kulfi a slightly different texture and flavor, but it will remain creamy and delightful. You may need to adjust the sugar content, as some plant-based milks are sweeter than others.
Incorporating Fruits and Other Flavorings for Creative Twists
Feel free to get creative by incorporating fruits like strawberries, peaches, or even a combination of tropical fruits into your kulfi. Simply blend the fruit into a puree and mix it into your base before freezing. You can also experiment with spices like cinnamon or nutmeg for a warm, comforting flavor.
Nutritional Information
Understanding the nutritional content of your kulfi can help you enjoy it guilt-free.
Breakdown of the Nutritional Values Per Serving
A standard serving of traditional kulfi (about 100g) typically contains around 150-200 calories, depending on the specific ingredients used. It also provides a good source of calcium and protein, thanks to the milk and nuts.
Health Benefits of Key Ingredients Like Nuts and Saffron
Nuts are a great source of healthy fats, protein, and essential vitamins and minerals. Saffron, known for its antioxidant properties, can contribute to overall health and wellbeing. When consumed in moderation, kulfi can be a delightful treat that offers nutritional benefits alongside indulgence.
Discussion on Moderation and Indulgence in Desserts
While kulfi is a delicious dessert, it’s important to enjoy it in moderation, especially if you’re watching your sugar intake. Allowing yourself to indulge occasionally can enhance your overall enjoyment of food, making it a special treat rather than an everyday occurrence.
Conclusion
Making homemade kulfi is a delightful experience that brings the tastes of India right into your kitchen. The process of simmering the milk, incorporating flavorful ingredients, and freezing the mix is not just about creating a dessert but also about enjoying the journey of cooking.
Experimenting with variations allows you to personalize this classic treat, whether you prefer fruity, nutty, or chocolate flavors. Don’t hesitate to share your creations with family and friends; homemade desserts often taste better when enjoyed in good company. So grab your ingredients, unleash your creativity, and enjoy the simple pleasure of homemade kulfi ice cream!
