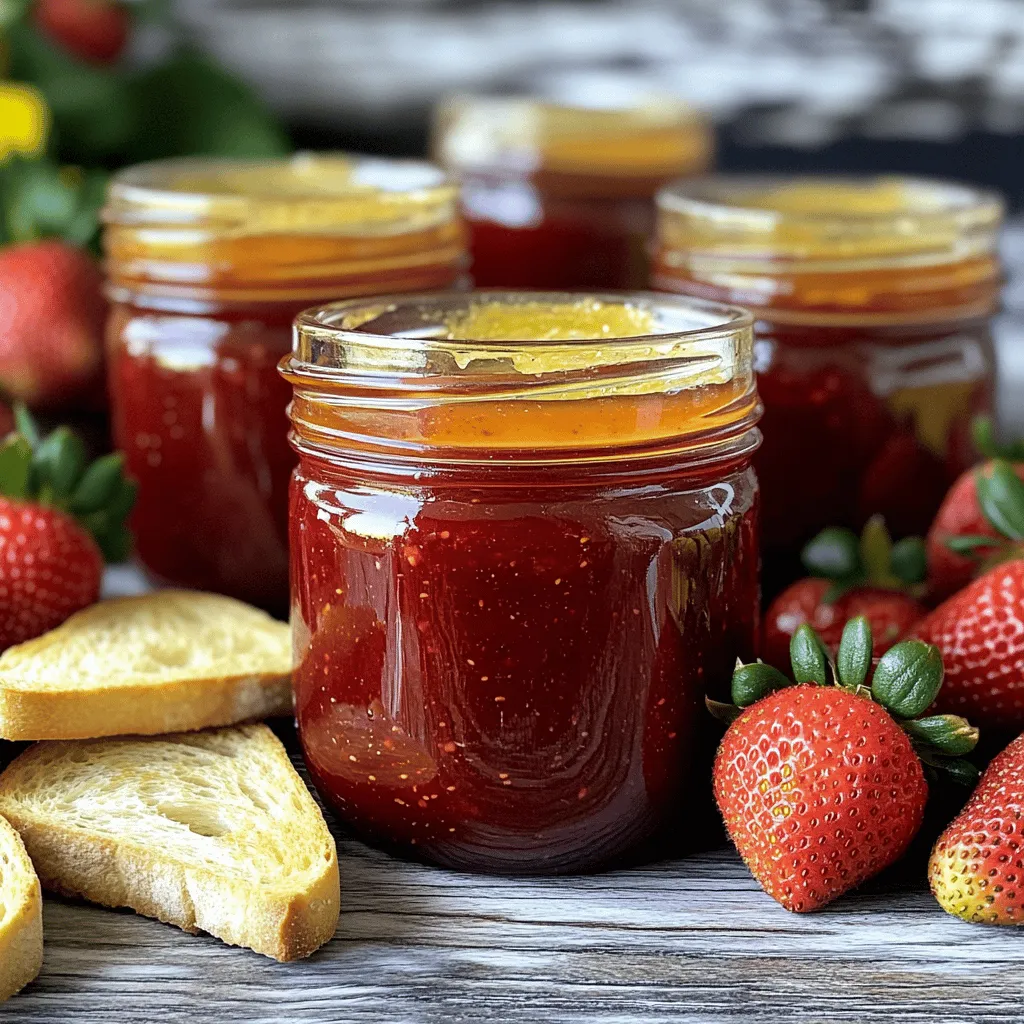
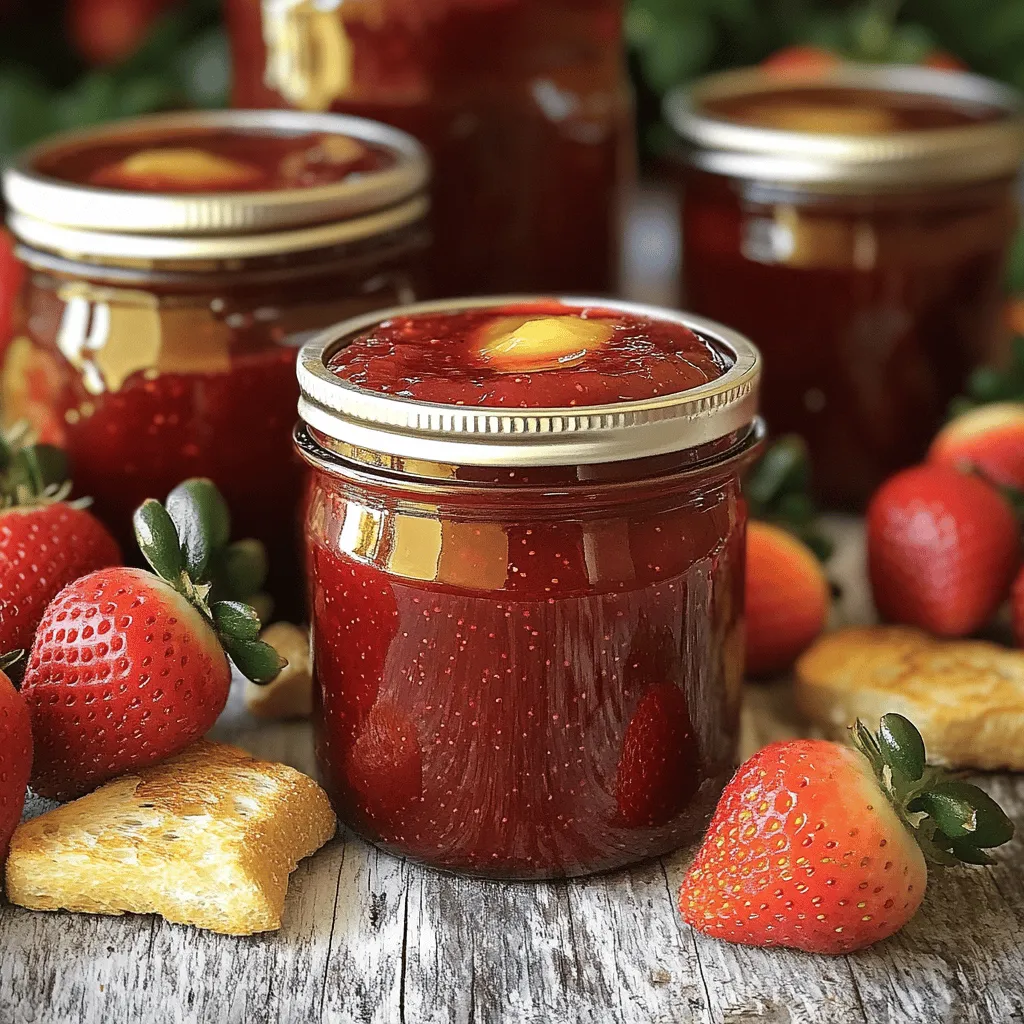
Making strawberry jam is fun and easy! Imagine enjoying fresh, sweet jam on your toast. This delicious homemade treat boosts your breakfast and can impress your friends. In this guide, I’ll share simple steps, tips, and tricks to help you create the perfect jar of strawberry goodness. Plus, I’ll cover variations and storage ideas. Get ready to savor the taste of summer all year round!
Ingredients
List of Essential Ingredients
To make a delightful strawberry jam, gather these key items:
– 4 cups fresh strawberries, hulled and halved
– 2 cups granulated sugar
– 1/4 cup lemon juice
– 1/2 teaspoon vanilla extract
Optional Ingredients
You can enhance your jam with these extras:
– 1 tablespoon unsalted butter (for reducing foaming)
Equipment Needed
Having the right tools makes jam-making easy. You will need:
– A large bowl for mashing strawberries
– A potato masher or fork for mashing
– A large saucepan for cooking
– A ladle for transferring the jam
– Sterilized jars for storage
– A cold plate for testing consistency
These ingredients and tools set you on the path to making homemade strawberry jam.
Step-by-Step Instructions
Preparation of Strawberries
To start, you need fresh strawberries. Choose ripe, bright red ones for the best flavor. Rinse them well under cold water. Then, hull the strawberries by removing the green tops. Next, cut them in half. Place the hulled and halved strawberries in a large bowl. Use a potato masher or fork to mash them. You can make them smooth or leave some chunks, depending on what you like.
Cooking Process to Achieve Jam Consistency
Now, grab a large saucepan. In it, combine the mashed strawberries, sugar, lemon juice, and vanilla extract. Stir everything together until mixed well. Place the saucepan on medium heat and bring the mixture to a boil. Stir constantly to avoid burning. Once it boils, keep cooking for about 10 to 15 minutes. Watch closely as the mix thickens. This step is key to getting that perfect jam consistency.
Testing for Doneness and Jarring
To check if your jam is ready, you can do a simple test. Take a spoonful of the jam and place it on a cold plate. Let it sit for a minute. Then, run your finger through the jam. If it holds its shape and doesn’t run back together, it’s done! If you see foam on top, you can add a tablespoon of butter to reduce it. After it’s ready, use a ladle to transfer the hot jam into sterilized jars. Leave about a quarter inch of space at the top. Seal the jars tightly. Let them cool at room temperature. Enjoy your homemade strawberry jam delight!
Tips & Tricks
Ways to Ensure Perfect Texture
To get the best texture for your jam, use ripe strawberries. Look for bright red berries with no soft spots. If you mash them too much, the jam can be too smooth. Keep some chunks for a nice bite. Cook the mixture until it thickens, but don’t rush it. The right cooking time helps create a great spread.
Flavor Enhancements to Consider
Adding lemon juice brightens the flavor of your jam. It keeps the taste fresh and helps with preservation. You can also add a splash of vanilla extract for warmth. If you like spice, try a pinch of cinnamon or nutmeg. These little tweaks can make your jam extra special.
Common Mistakes to Avoid
One big mistake is not stirring enough. Stirring helps prevent sticking and burning. Another mistake is not testing for doneness. Use the cold plate method to check if it’s ready. Also, avoid using overripe strawberries. They may spoil your jam’s taste.
Variations of Strawberry Jam
Adding Other Fruits for Unique Flavors
You can mix strawberries with other fruits to create fun flavors. Try adding blueberries, raspberries, or peaches. Each fruit brings its own taste and sweetness. For example, peach and strawberry make a great combo.Use equal parts of each fruit for balance.
Low-Sugar and No-Sugar Options
Making jam with less sugar does not mean losing flavor. You can use natural sweeteners like honey or agave syrup. For a no-sugar option, use pectin made for low-sugar recipes. It helps the jam set without added sugar. Adjust the amount of fruit and sweetener to your liking.
Spiced Strawberry Jam Recipes
Adding spices can make your jam exciting. Cinnamon, nutmeg, or ginger can add warmth and depth. Start with a pinch of ground spice and taste as you go. Spices can change the whole vibe of the jam. Try a ginger-strawberry mix for a zesty twist. Just remember to keep the spice balanced with the sweetness of the strawberries.
Storage Info
Short-Term Storage in the Refrigerator
After you make strawberry jam, let it cool. Store it in a clean jar. Seal it tightly. Place it in the fridge. Your jam should last about three weeks. Use a spoon to scoop out what you need. Keep the jar covered to avoid any odors from the fridge.
Long-Term Storage Methods
For long-term storage, consider canning your jam. After cooling, process the jars in a water bath. This method seals the jars and keeps your jam fresh for up to a year. Make sure to check the seals before storing. You can also freeze the jam. Use freezer-safe jars or bags. Leave some space for expansion. Frozen jam can last for up to a year as well.
Signs That Strawberry Jam Has Spoiled
Check your jam before use. If you see mold, it’s time to toss it. A sour smell also means it’s bad. If the jam is runny or has changed color, don’t eat it. Always trust your senses when it comes to safety. Store your jam properly to keep it fresh and tasty.
FAQs
How long does homemade strawberry jam last?
Homemade strawberry jam lasts up to three weeks in the fridge. If you seal it in sterilized jars, it can last longer. For long-term storage, process the jars in a water bath. This ensures the jam stays fresh for up to a year.
Can I use frozen strawberries to make jam?
Yes, you can use frozen strawberries! Thaw the berries first and drain excess liquid. Then, mash them just like fresh strawberries. The jam will taste great, even with frozen fruit.
What is the best way to use strawberry jam?
You can use strawberry jam in many ways! Spread it on toast or scones for breakfast. Mix it into yogurt for a tasty snack. You can even use it in desserts like cakes or ice cream. The possibilities are endless!
Making strawberry jam is fun and simple. You learned the essential and optional ingredients to use. I shared step-by-step instructions for prep and cooking. You found tips for perfect texture and flavor ideas. Plus, you discovered fun variations, storage tips, and common FAQs.
Now, you’re ready to create your own delicious jam at home. Enjoy the sweet taste of your efforts!


