Are you craving a simple, tasty treat that everyone will love? These homemade vanilla wafers are your answer! With just a few easy ingredients, you can whip up a batch that’s perfect for snacking, baking, or sharing. I’ll walk you through each step, plus share tips to make your wafers the best they can be. Let’s dive in and make these delightful cookies together!
Ingredients
To make simple homemade vanilla wafers, gather these important ingredients:
– 1 ½ cups all-purpose flour
– 1 teaspoon baking powder
– ½ teaspoon salt
– ½ cup unsalted butter, softened
– 1 cup granulated sugar
– 1 large egg
– 2 teaspoons pure vanilla extract
– ½ teaspoon almond extract (optional)
– ½ cup sprinkles (optional)
Each ingredient plays a key role in the flavor and texture of your wafers. The all-purpose flour gives structure, while the baking powder helps them rise. Salt enhances the sweetness. Softened butter adds richness, and sugar provides sweetness. The egg binds everything together for a perfect chew.
Using pure vanilla extract boosts the classic flavor. If you want a twist, add almond extract for depth. Sprinkles are fun and colorful but totally optional. The best part? These ingredients are easy to find at your local store.Happy baking!
Step-by-Step Instructions
Preparation Steps
1. Preheating the Oven: Start by preheating your oven to 350°F (175°C). This helps the wafers bake evenly.
2. Preparing Baking Sheet: Line a baking sheet with parchment paper. This keeps the cookies from sticking and makes cleanup easy.
3. Mixing Dry Ingredients: In a medium bowl, whisk together 1 ½ cups all-purpose flour, 1 teaspoon baking powder, and ½ teaspoon salt. Set this aside for later.
4. Creaming Butter and Sugar: In a large bowl, use an electric mixer to cream ½ cup softened butter and 1 cup granulated sugar. Mix until the mixture is light and fluffy, which should take about 2-3 minutes.
5. Incorporating Wet Ingredients: Add 1 large egg and 2 teaspoons pure vanilla extract to the butter and sugar mixture. If you like, you can also add ½ teaspoon almond extract for extra flavor. Mix until well combined.
6. Combining Dry and Wet Mixtures: Gradually add the dry flour mixture to the wet ingredients. Mix on low speed until just combined. Be careful not to overmix, as this can make the wafers tough.
Baking Process
1. Forming Cookie Dough: Scoop tablespoon-sized amounts of dough onto the prepared baking sheet. Leave space between each scoop, as they will spread while baking.
2. Baking Time and Temperature: Bake in your preheated oven for 10-12 minutes. The edges should turn lightly golden. The centers may look underbaked, but they will firm up as they cool.
3. Cooling Instructions: After baking, remove the wafers from the oven. Let them cool on the baking sheet for about 5 minutes. Then, transfer them to a wire rack to cool completely.
Tips & Tricks
Perfecting Your Vanilla Wafers
Achieving the Right Consistency
To get the best texture, mix the butter and sugar until fluffy. This step adds air, making your wafers light. When you add the flour, mix slowly. Overmixing makes them tough. Aim for a smooth dough that is not sticky.
Avoiding Common Mistakes
One common mistake is not measuring flour properly. Too much flour makes the wafers dry. Use a spoon to scoop flour into your cup. Level it off with a knife for accuracy. Another mistake is baking too long. Watch for golden edges, but don’t wait for a dark color.
Using Quality Ingredients
Using good ingredients matters. Choose fresh butter and pure vanilla extract. These choices boost the flavor. If you want a twist, consider adding almond extract. It pairs well with vanilla and adds depth.
Presentation Ideas
Creative Serving Suggestions
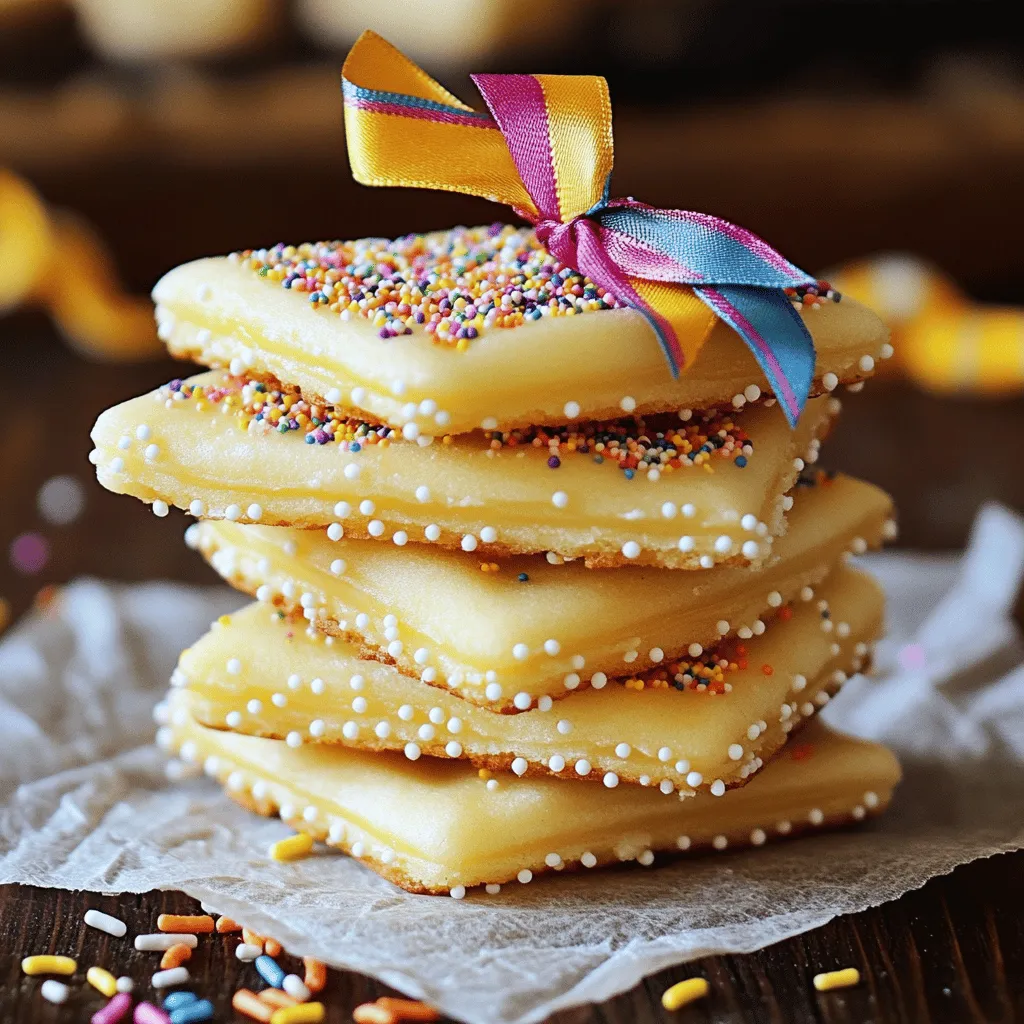
To make your wafers pop, stack them high on a plate. You can tie them with a ribbon for a gift. Serve them with whipped cream or chocolate sauce for dipping. This turns a simple treat into a special dessert.
Garnishes to Enhance Flavor
Sprinkles can add a fun look. Choose colorful sprinkles for a festive touch. You can also dust the wafers with powdered sugar for a sweet finish. These small touches enhance both flavor and appearance.
Storage Tips for Freshness
Store your wafers in an air-tight container. This keeps them crisp. If you want to keep them longer, use freezer bags. They last up to three months in the freezer. Always check for any signs of spoilage before eating.

Variations
Flavor Enhancements
You can boost your vanilla wafers with new flavors. Adding other extracts is an easy way to switch things up. For a fresh twist, try lemon or coconut extract. Just a teaspoon can change the taste. You can also mix in nuts or chocolate chips. They add crunch and extra sweetness. Just fold them in gently after mixing your dough.
Decorating Ideas
Decorating your wafers makes them even more fun! Use different types of sprinkles for a pop of color. You can sprinkle them on top before baking. This makes your wafers look festive. Another idea is dipping the wafers in chocolate or icing. Melt some chocolate, then dip half of each wafer. Let them cool on parchment paper. This adds a nice touch and makes them extra tasty.
Storage Info
Best Storage Practices
To keep your homemade vanilla wafers fresh, use air-tight containers. They protect your cookies from air and moisture. Alternatively, you can use freezer bags. Just remove as much air as you can before sealing. This method helps keep your wafers crisp.
Keeping Wafers Fresh
Store your cookies at room temperature. A cool, dry place is best. If you want to keep them longer, consider freezing them. Just make sure they cool completely before storing. This way, they will stay yummy.
Shelf Life
How long do they last? If stored properly, your vanilla wafers will stay fresh for about one week at room temperature. In the freezer, they can last for up to three months.
Signs of Spoilage
Watch for signs of spoilage. If the wafers become soft or stale, it’s time to toss them. If you see mold or an off smell, don’t eat them. Always trust your senses when it comes to food safety.
FAQs
Common Questions About Vanilla Wafers
Can I substitute the butter?
Yes, you can use coconut oil or margarine. Both options work well. Just keep the same amount.
How can I make these cookies vegan?
To make these wafers vegan, use coconut oil instead of butter. Replace the egg with a flaxseed egg. Mix one tablespoon of ground flaxseed with three tablespoons of water. Let it sit for five minutes to thicken.
What can I pair with vanilla wafers?
You can enjoy vanilla wafers with whipped cream, chocolate dip, or fresh fruit. They also taste great with ice cream or in banana pudding.
Troubleshooting Tips
Why are my wafers too hard or too soft?
If your wafers are hard, they may have baked too long. Keep an eye on them in the oven. If they are too soft, they might need more time to cool on the rack. They will firm up as they cool.
How to fix overbaked cookies?
If your cookies are overbaked, try a trick. Place them in a sealed container with a slice of bread. The bread adds moisture, which can help soften the cookies. Enjoy your baking journey with these tips!
In this post, we explored making delicious vanilla wafers at home. We covered ingredients, preparation steps, baking tips, and storage advice. With the right methods, you can create cookies that are soft and flavorful. Remember to use quality ingredients and avoid common mistakes for the best results. Feel free to get creative with flavors and decorations. Baking can be fun and rewarding! Enjoy your treats and share them with friends. Happy baking!


