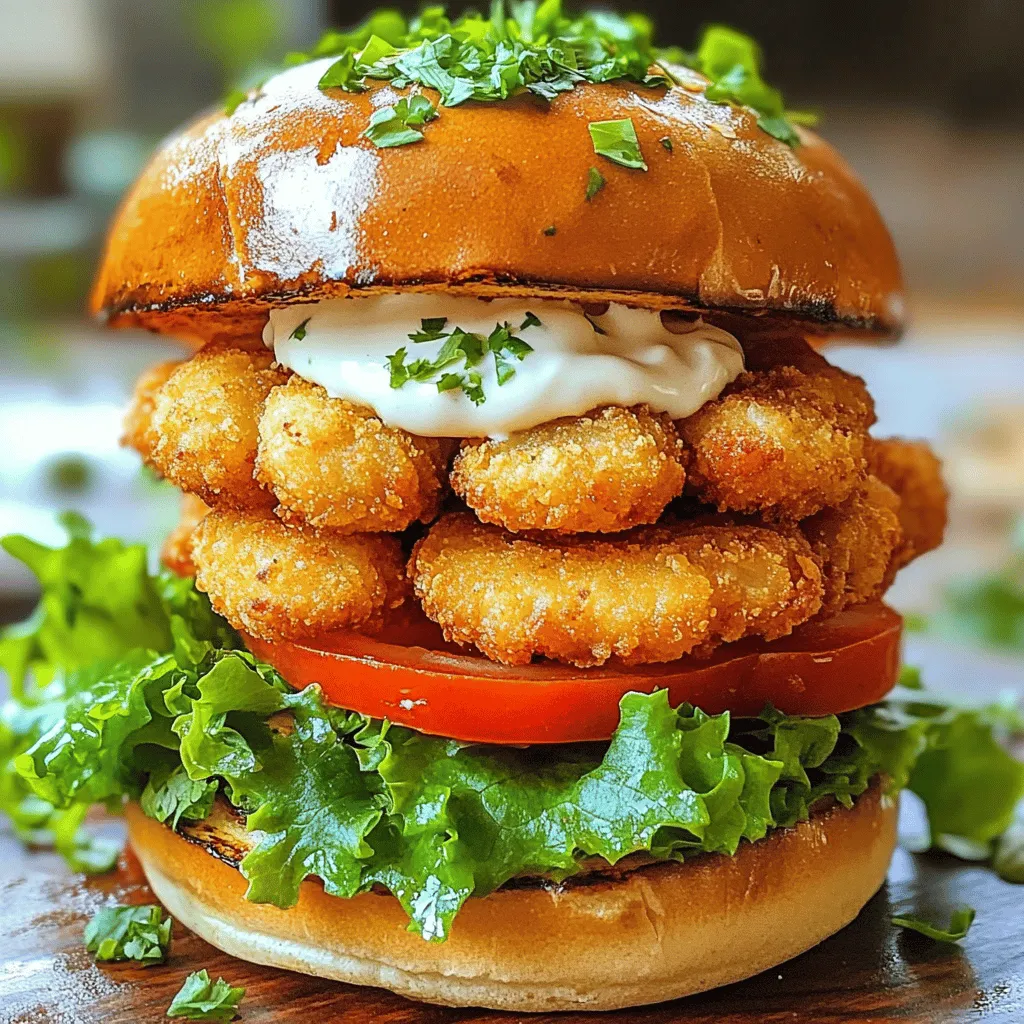
Are you ready to indulge in a dish that feels like a warm hug? Creamy Baked Mac and Cheese is the ultimate comfort food. With just a few simple ingredients, you can create a rich, cheesy delight that will have everyone asking for seconds. In this guide, I’ll take you step-by-step through the process, share tips for the creamiest texture, and even discuss fun variations to customize your dish. Let’s get cooking!
Ingredients
List of Main Ingredients
– 2 cups elbow macaroni
– 2 tablespoons unsalted butter
– 3 cups whole milk
– 2 cups shredded cheeses (sharp cheddar and mozzarella)
Seasoning and Topping Ingredients
– 1 teaspoon garlic powder
– 1 teaspoon onion powder
– 1/2 cup grated Parmesan
– 1 cup panko breadcrumbs
– Smoked paprika, salt, and pepper
Optional Garnishes
– Fresh parsley, chopped for garnish
For my creamy baked mac and cheese, I love using simple, fresh ingredients. The elbow macaroni serves as a perfect base. It holds the cheese sauce well and cooks quickly.
I always use unsalted butter for the roux. It gives the cheese sauce a rich flavor without too much salt. Whole milk makes the sauce creamy and smooth.
The star of this dish is the cheese. Sharp cheddar gives it a nice, bold taste while mozzarella adds stretch and creaminess.
Seasonings like garlic and onion powders enhance the flavor. I also love adding smoked paprika for a touch of warmth.
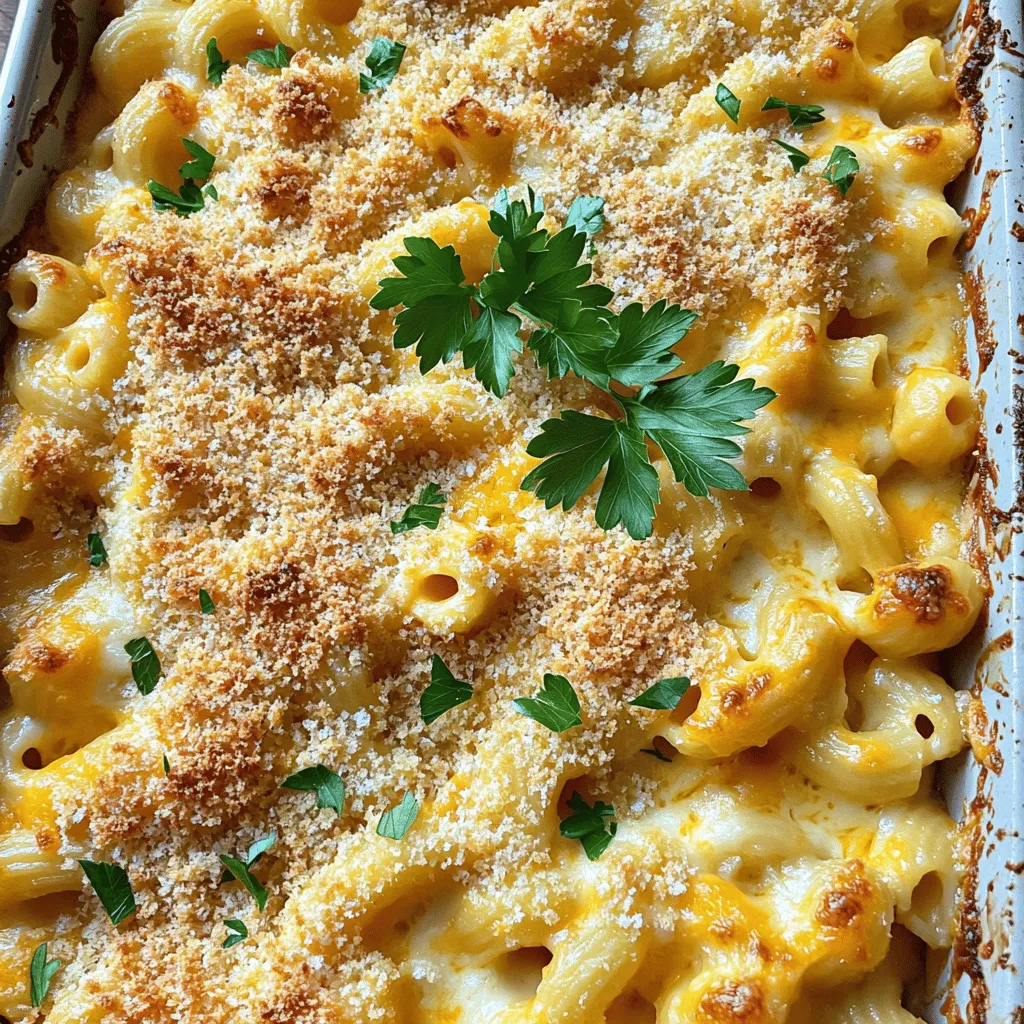
Panko breadcrumbs provide a crispy topping. They add a great crunch to the creamy dish. I finish it all off with grated Parmesan for a salty kick.
You can add fresh parsley on top for color. It brightens up the dish and adds a fresh taste.
Step-by-Step Instructions
Preparation and Cooking Pasta
– Preheat the oven to 350°F (175°C).
– In a large pot, bring salted water to a boil.
– Cook the elbow macaroni until al dente, about 7-8 minutes.
– Drain the pasta and set it aside.
Making the Cheese Sauce
– In a medium saucepan, melt the butter over medium heat.
– Once melted, stir in the flour and cook for 1-2 minutes to create a roux.
– Gradually whisk in the milk, ensuring there are no lumps.
– Bring the mixture to a gentle simmer.
– Add garlic powder, onion powder, and Dijon mustard.
– Simmer for 5-7 minutes until the mixture thickens slightly.
– Remove the saucepan from heat.
– Stir in the cheddar cheese, mozzarella cheese, and half of the Parmesan cheese until melted and smooth.
– Season with smoked paprika, salt, and pepper to taste.
Assembling and Baking
– Combine the cooked macaroni with the cheese sauce.
– Stir until the pasta is evenly coated.
– Transfer the mac and cheese mixture to a greased 9×13-inch baking dish.
– In a small bowl, mix the panko breadcrumbs with the remaining Parmesan cheese.
– Sprinkle this mixture evenly over the mac and cheese.
– Bake in the preheated oven for 25-30 minutes.
– Look for a golden brown and crispy top.
Tips & Tricks
Achieving Creamy Texture
To get that creamy texture, always use whole milk. It adds richness that low-fat milk can’t match. The roux, made with butter and flour, is key. Cook it just right—don’t let it brown. This keeps the sauce smooth. When it comes to cheese, I love a mix. Sharp cheddar offers flavor, while mozzarella gives stretch. Avoid all cheddar; it can feel greasy.
Baking Tips
To prevent the top from burning, cover it with foil for the first half of baking. This keeps moisture in. After 15 minutes, remove the foil to let it crisp. For even baking, place the dish in the center of the oven. If you have hot spots, rotate the dish halfway through cooking.
Serving Suggestions
For sides, think fresh salads or garlic bread. They balance the cheesy richness. When serving, use a deep dish to show off layers. Sprinkle fresh parsley on top for color and freshness. Your guests will love the look and taste!
Variations
Cheese Variations
You can use different cheeses for your mac and cheese. If you want a twist, try gouda or fontina instead of cheddar and mozzarella. These cheeses melt well and add a unique taste. Want something bold? Add blue cheese or pepper jack for a spicy kick. Mixing these flavors can change your dish and make it even more exciting.
Additional Ingredients
Adding vegetables can boost both flavor and nutrition. Broccoli and spinach are great choices. They add color and a healthy crunch. You can also sneak in some cooked carrots or peas. If you want protein, try cooked bacon or shredded chicken. These additions make your meal heartier and more satisfying.
Healthy Substitutes
Want a healthier option? Use whole grain or gluten-free macaroni. They taste great and offer more fiber. For those with dairy restrictions, you can swap regular milk and cheese for almond milk or vegan cheese. These changes keep the creamy texture while fitting your diet.
Storage Info
Storing Leftovers
After you enjoy your creamy baked mac and cheese, you may have leftovers. Store them in an airtight container. Make sure to cool the dish before sealing it. This helps keep moisture in and prevents sogginess. In the fridge, your mac and cheese will last about 3 to 5 days. You can always add a bit of milk when you reheat to bring back some creaminess.
Freezing Instructions
If you want to save some for later, freezing is a great option. First, let the mac and cheese cool completely. Then, cut it into serving sizes. Wrap each piece tightly in plastic wrap. Place them in a freezer-safe bag or container. Make sure to remove as much air as possible. Your baked mac and cheese can last in the freezer for up to 3 months. For the best taste, eat it sooner rather than later.
Reheating Techniques
When it’s time to enjoy those leftovers, you have options. You can use the microwave or the oven. For the microwave, place a serving on a plate. Cover it with a damp paper towel to keep it moist. Heat in short bursts, stirring in between.
If you prefer the oven, preheat it to 350°F (175°C). Place the mac and cheese in an oven-safe dish. Add a splash of milk or cream to keep it creamy. Cover with foil to prevent drying out. Bake for about 20 minutes or until heated through.
Both methods work well, but the oven gives a crispier top. So, choose what you like best!
FAQs
How can I make mac and cheese without flour?
You can use cornstarch or arrowroot powder as a thickener. Mix either with cold milk first. Then, add it to your cheese sauce while heating. This helps create that creamy texture without using flour. You can also use mashed potatoes or pureed cauliflower for a thickening option. These add flavor and keep your mac and cheese gluten-free.
What can I do if my mac and cheese is too dry?
If your mac and cheese is dry, add a splash of milk or cream. Stir it in and heat gently on the stove. This will help revive the creaminess. You can also mix in some extra cheese, which adds moisture and flavor. If you have leftover pasta water, that works well too. Just add a bit until you reach your desired creaminess.
Can I prepare this dish ahead of time?
Yes, you can prepare mac and cheese in advance. Cook the pasta and make the cheese sauce, then mix them together. Store this mixture in the fridge for up to two days. When you are ready to bake, pour it into a greased baking dish. Top with breadcrumbs and bake right before serving. This makes it easy for busy days.
This blog post covered all the steps to make a tasty mac and cheese. We looked at key ingredients, cooking methods, and creative variations. You can achieve a creamy texture and perfect bake with a few simple tips. Remember, feel free to experiment with different cheeses and add-ins. Whether you serve it as a side dish or the main event, everyone will love it. Enjoy making your mac and cheese!