
Strawberry Cheesecake Delight Simple and Easy Recipe
A creamy and delicious cheesecake made with fresh strawberries and a graham cracker crust.
Delicious recipes
Sweet treats and desserts
A creamy and delicious cheesecake made with fresh strawberries and a graham cracker crust.

A refreshing and creamy lemon pie with a graham cracker crust, topped with whipped cream and mint.

A delightful no-bake dessert featuring layers of graham crackers, whipped cream, and fresh strawberr...
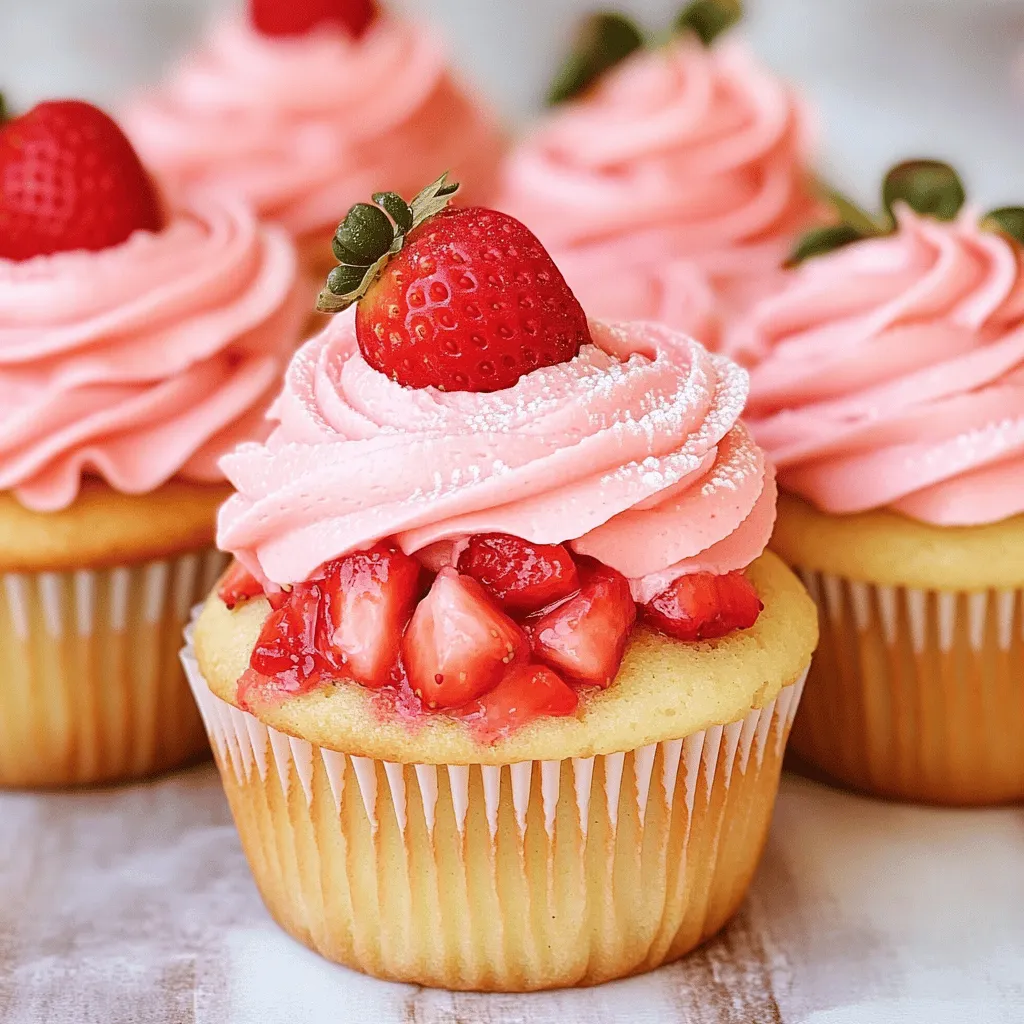
Deliciously moist cupcakes infused with fresh strawberries and topped with a creamy strawberry butte...
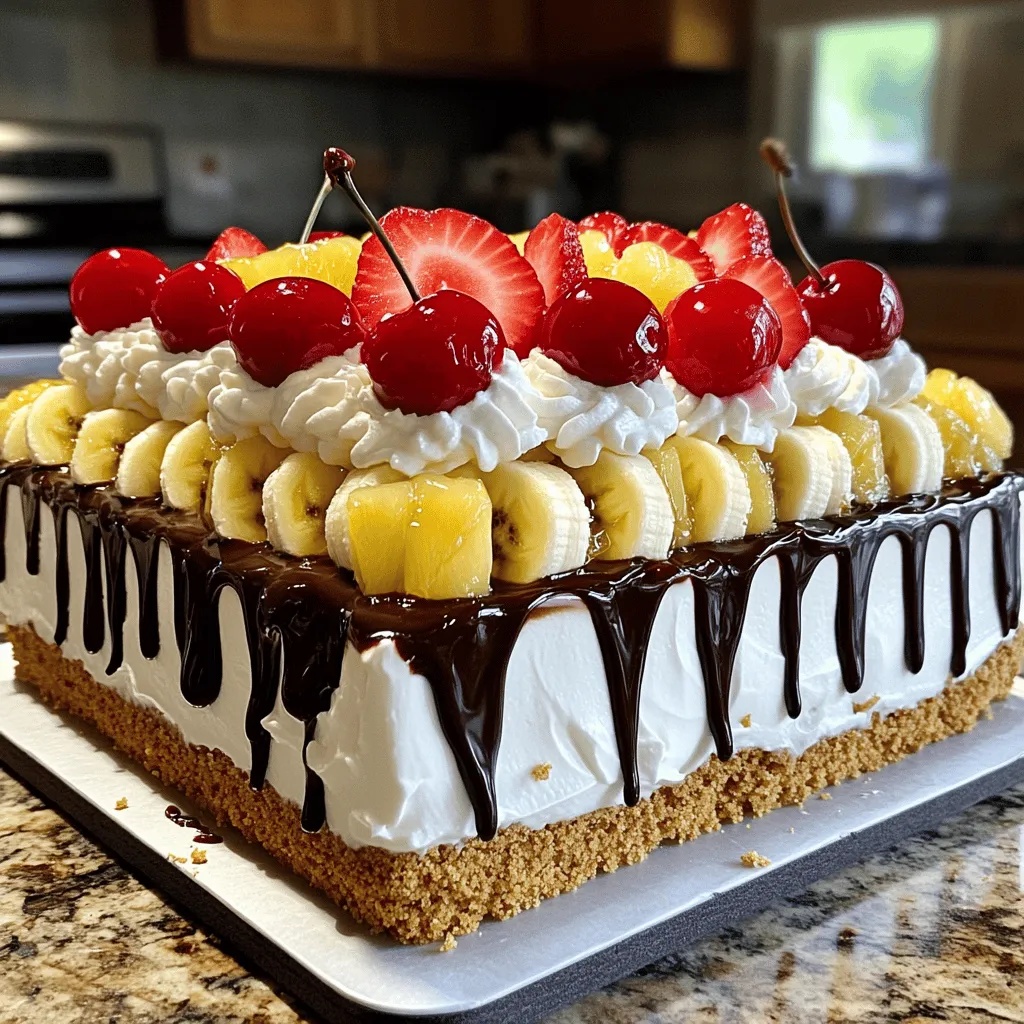
A delicious and easy no-bake dessert featuring layers of cream, fruit, and graham cracker crust.
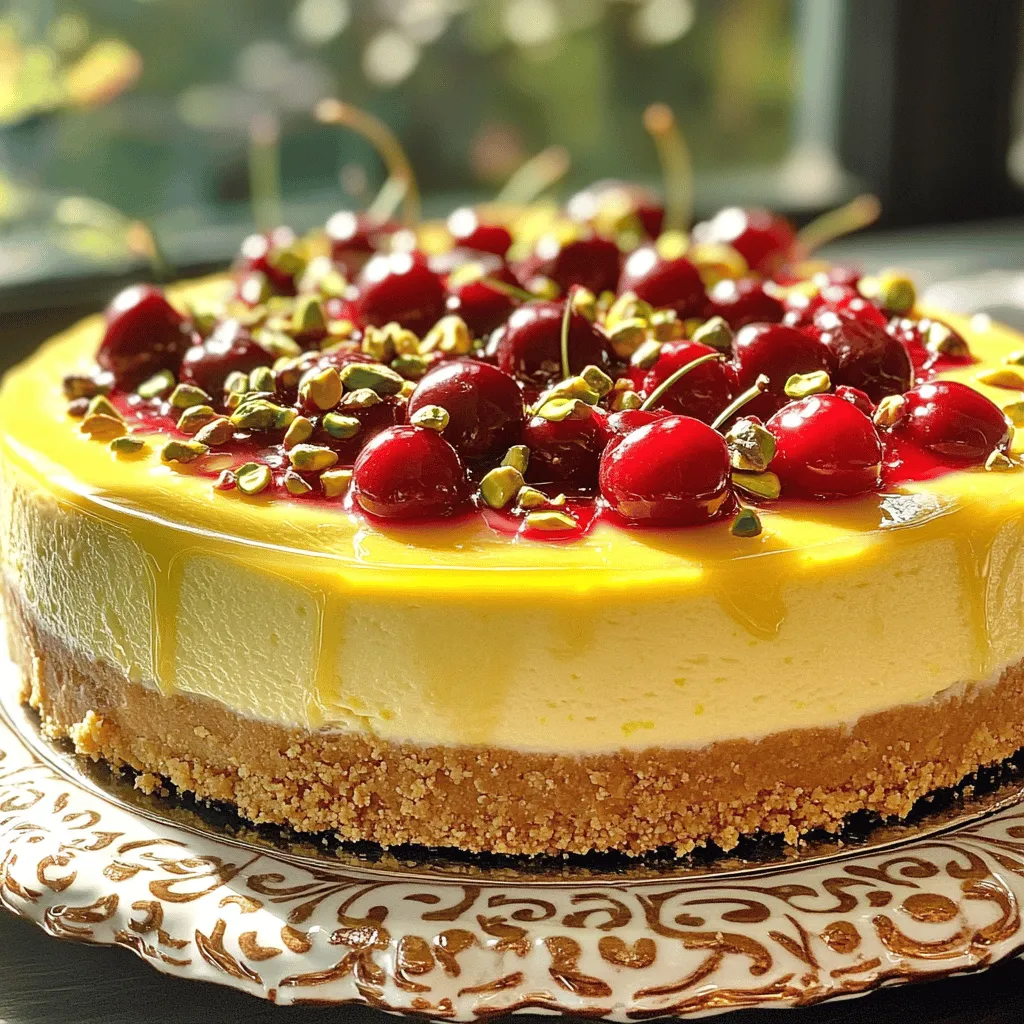
A refreshing cheesecake with a zesty lemon-lime flavor, topped with cherry pie filling and chopped p...
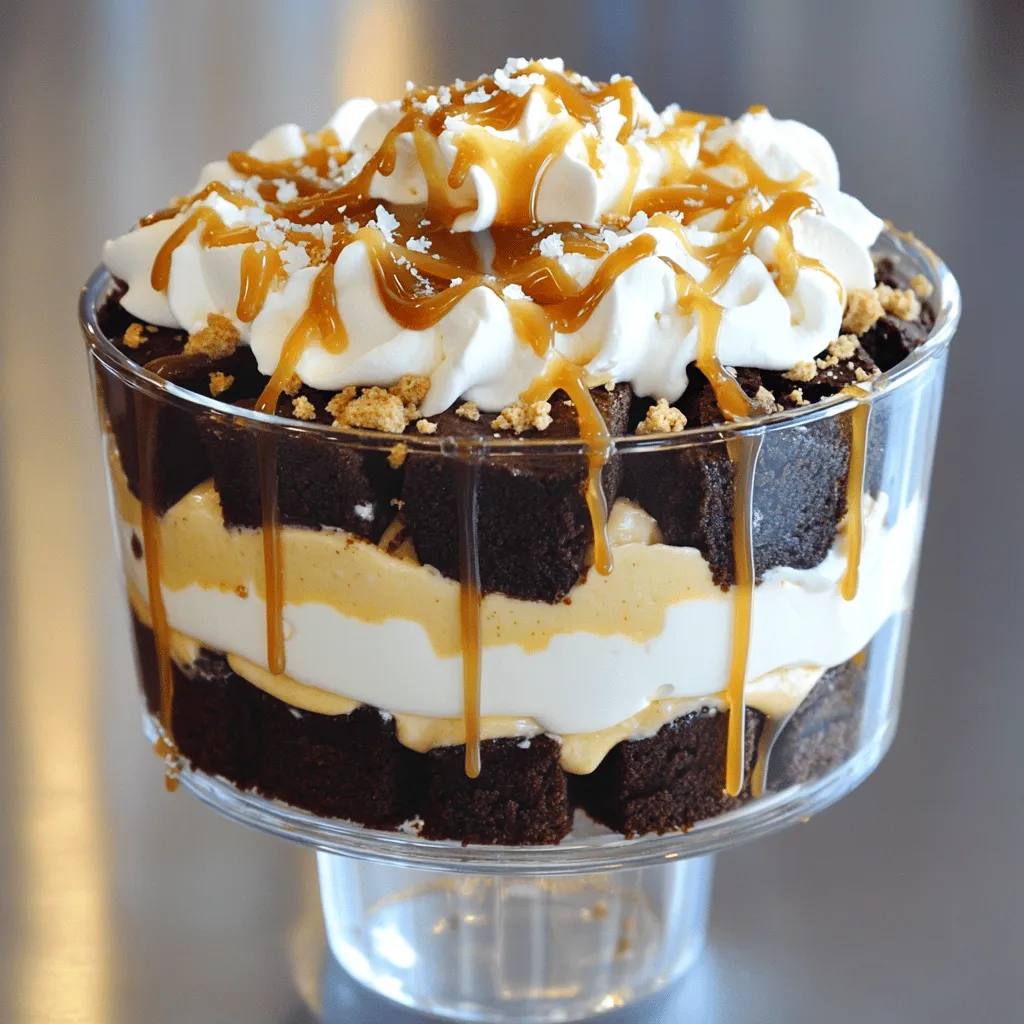
A delightful layered dessert featuring brownies, creamy cheesecake, and caramel sauce.
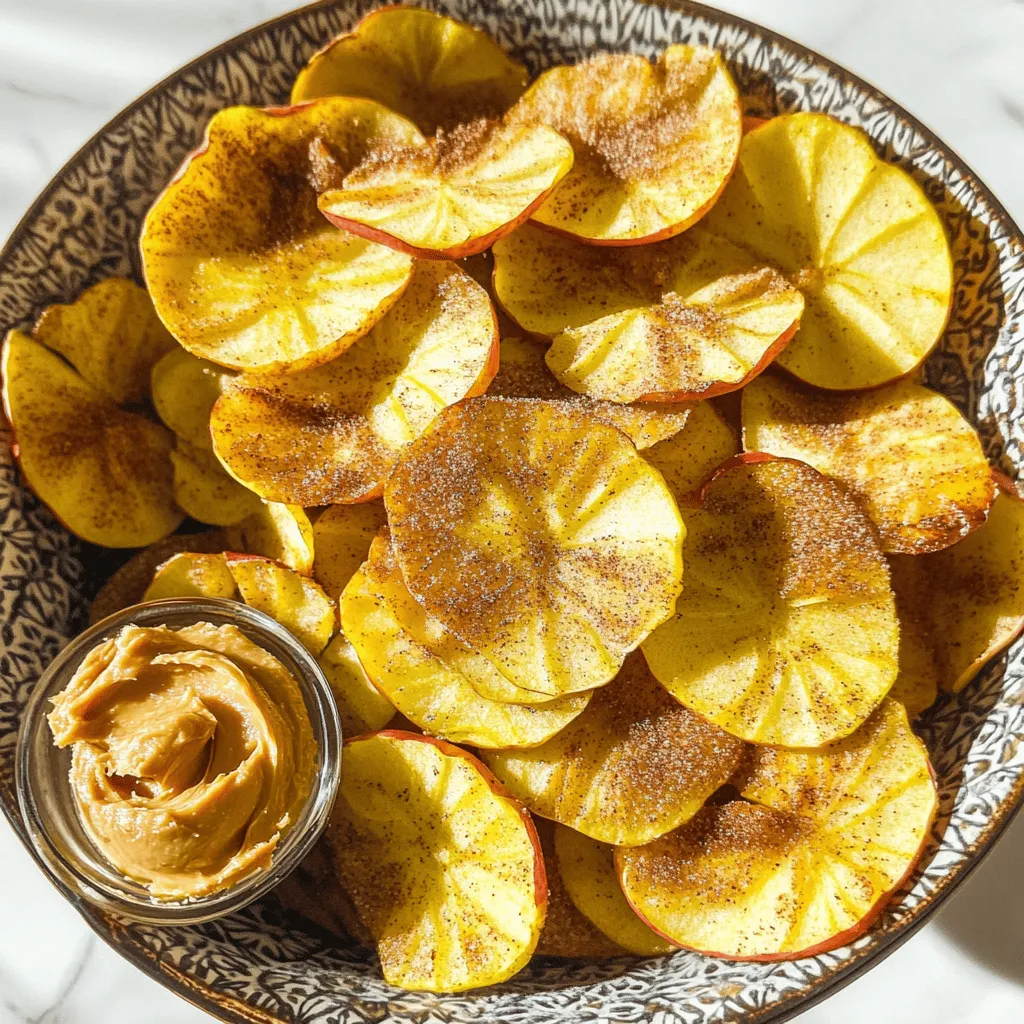
Crispy and healthy apple chips baked to perfection.
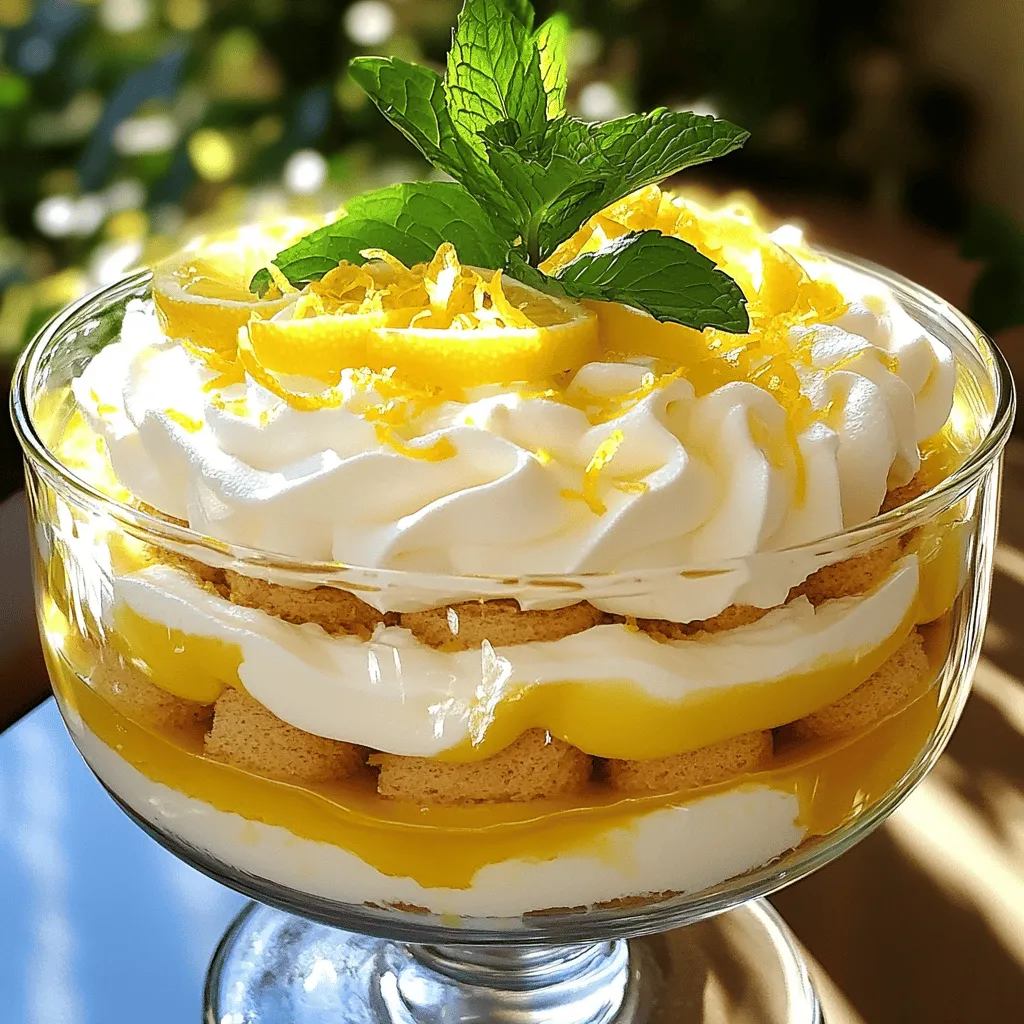
A refreshing twist on the classic tiramisu with lemon flavor.
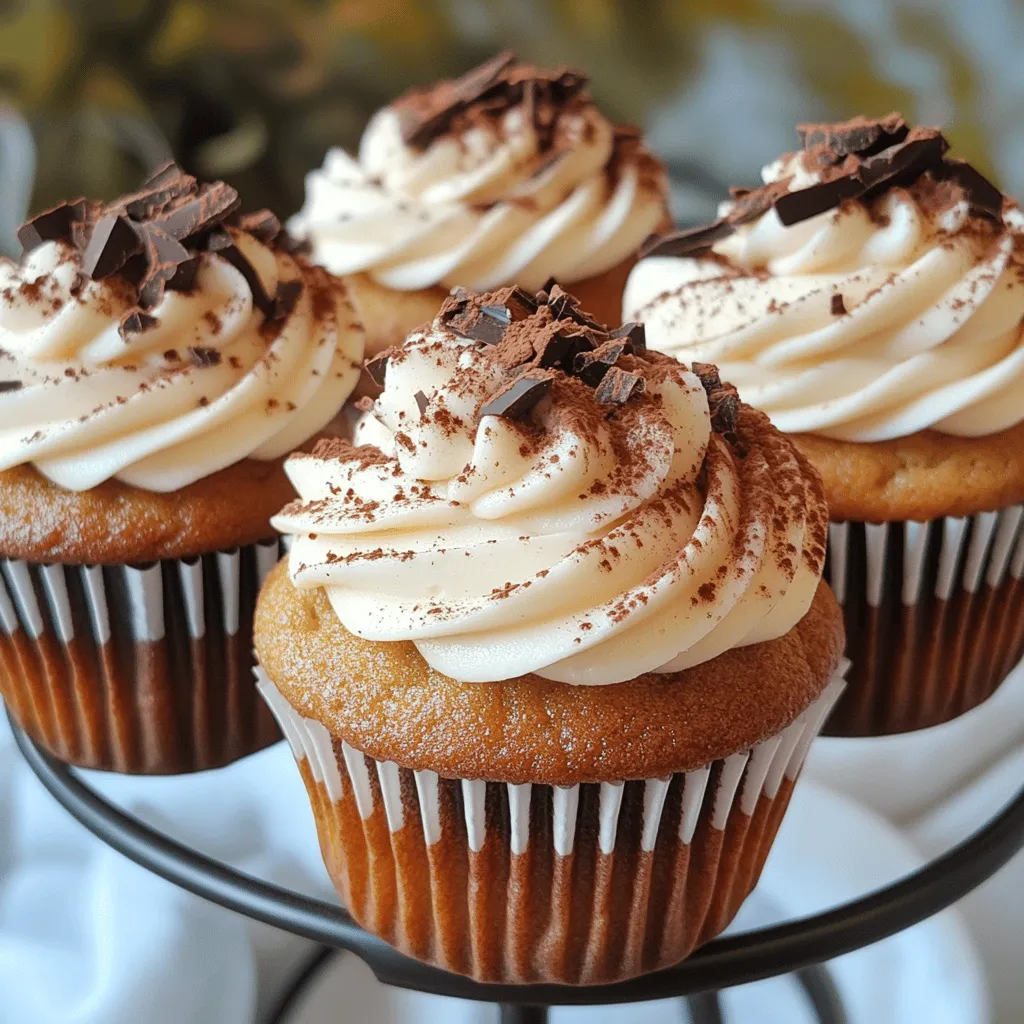
Delicious cupcakes inspired by the classic Italian dessert, Tiramisu.
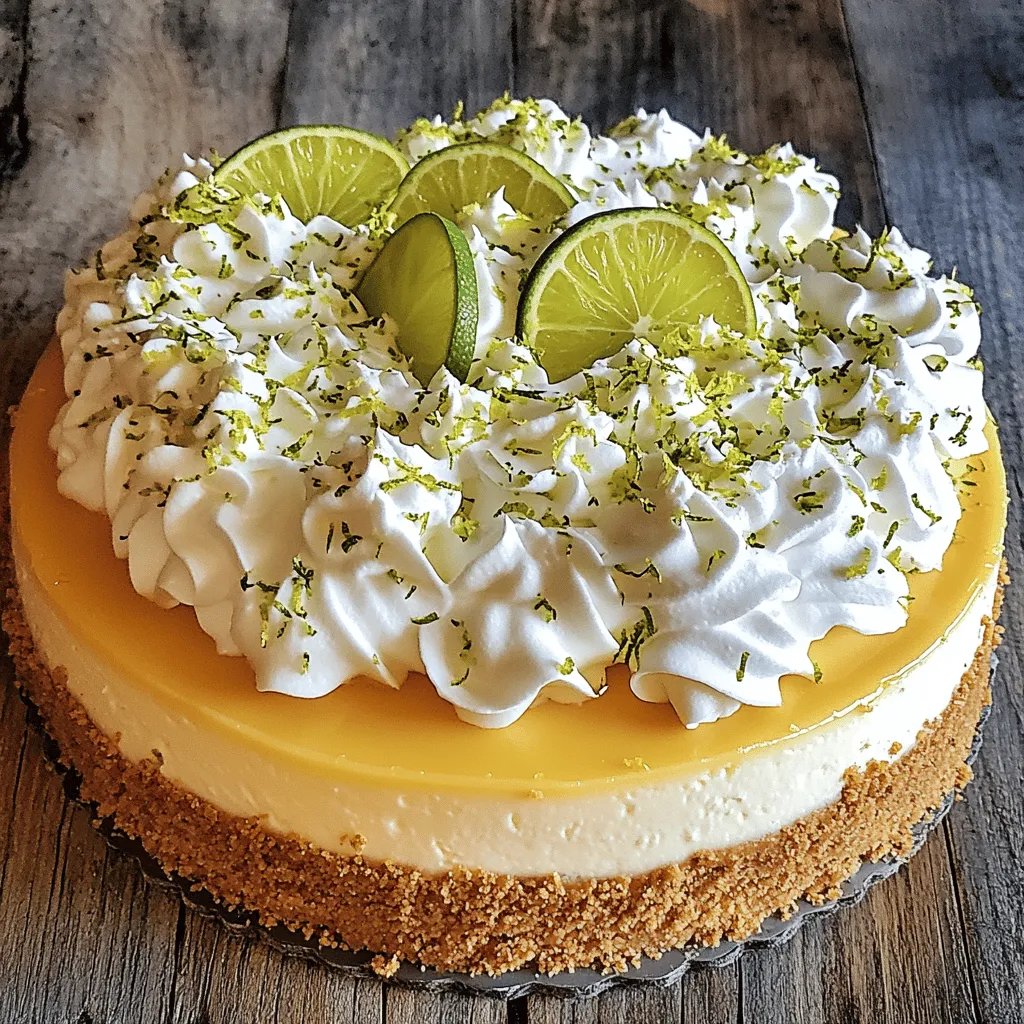
A delicious and tangy cheesecake with a graham cracker crust, perfect for dessert lovers.
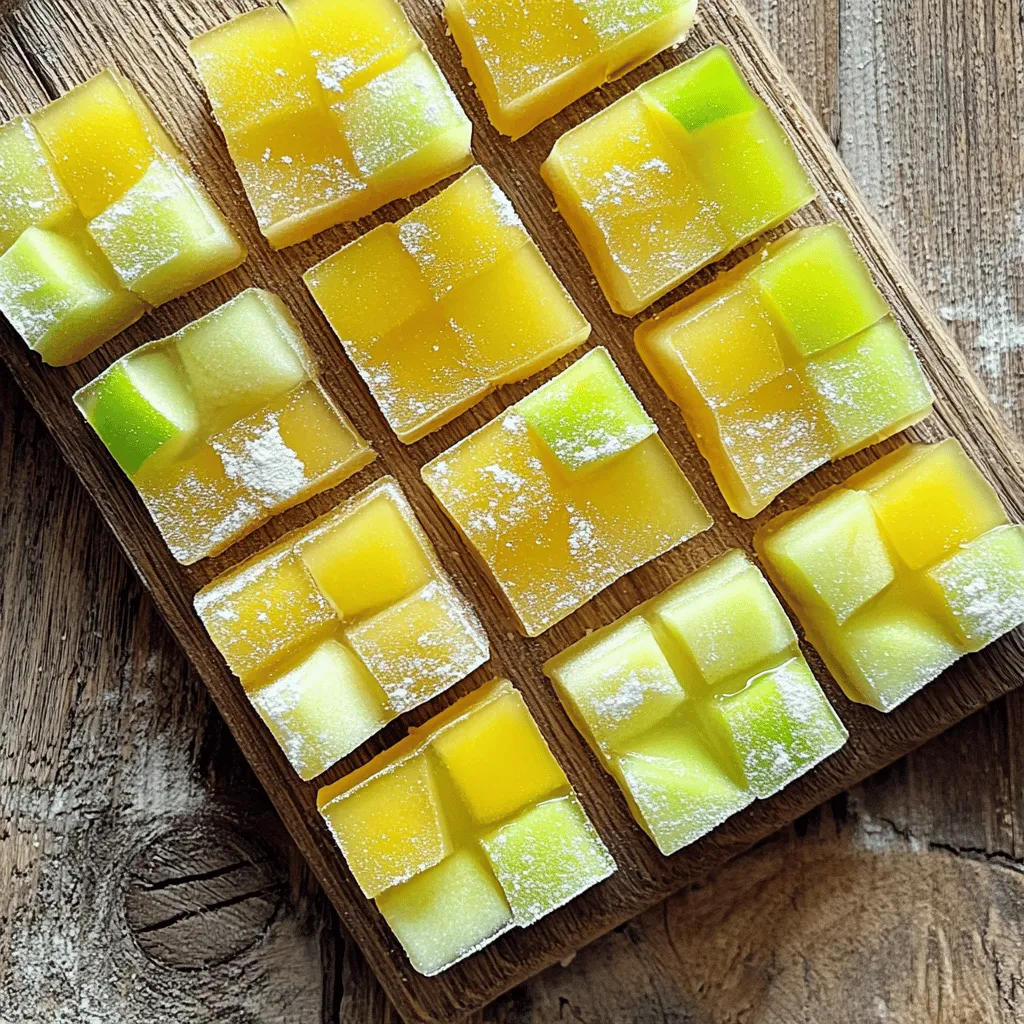
A chewy and tangy treat made from fresh green apples.