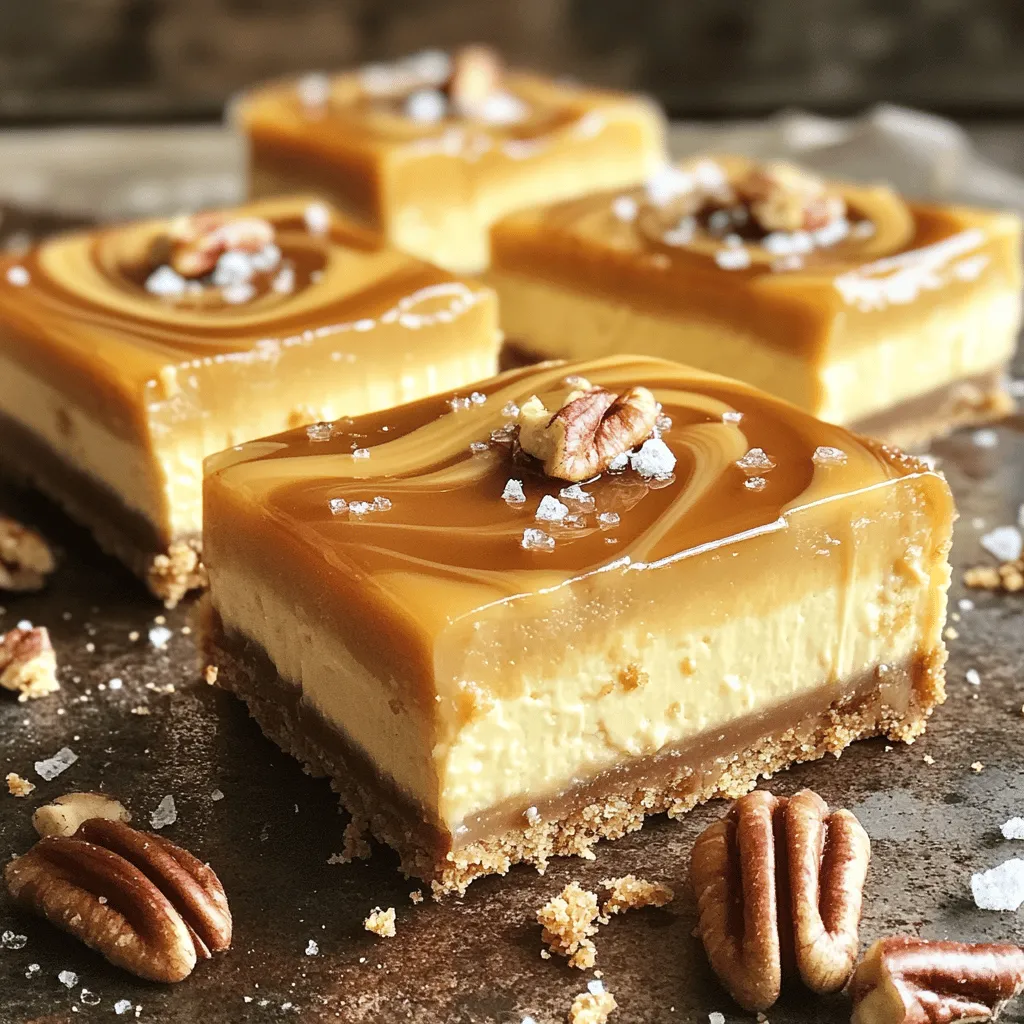
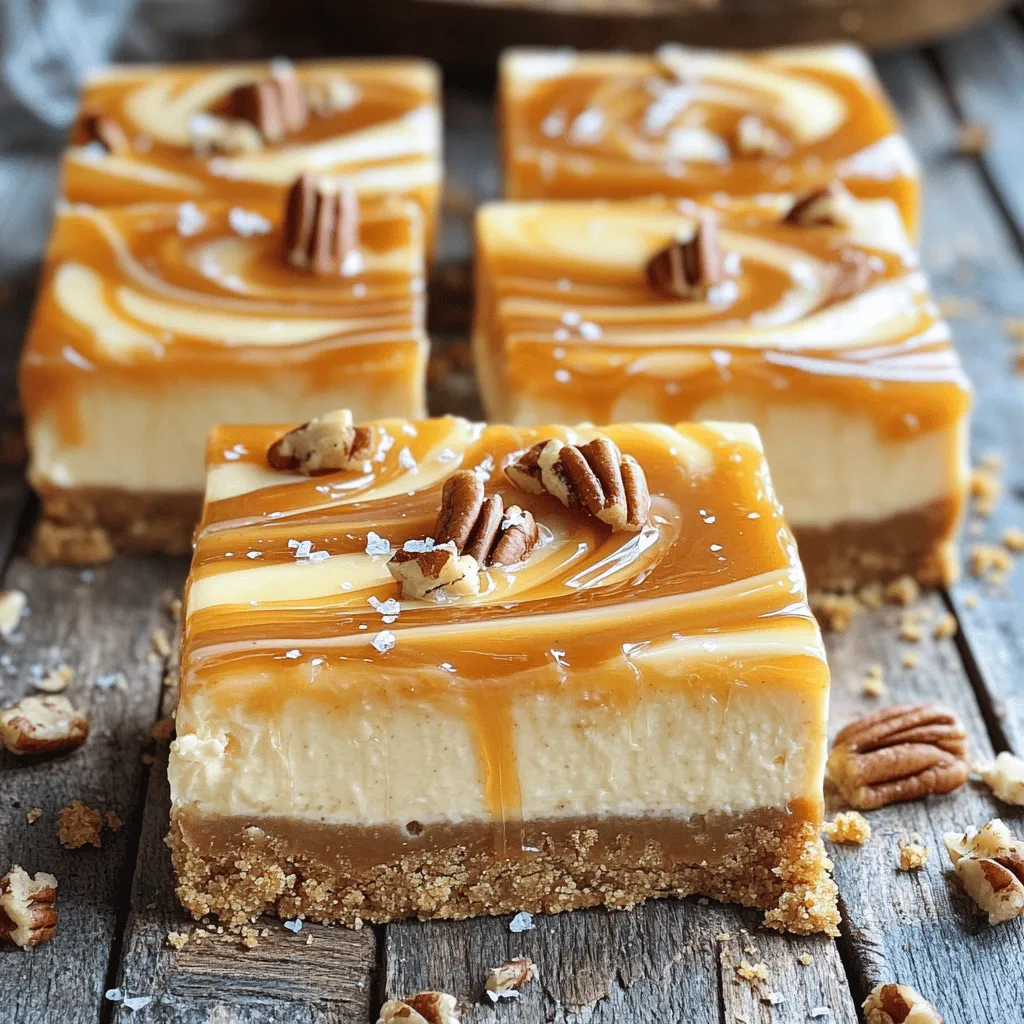
Indulging in Caramel Cheesecake Bars is pure bliss! In this article, I’ll guide you through creating a rich and creamy treat that’s hard to resist. You’ll learn about key ingredients, easy steps for a perfect bake, and nifty tips to make your bars stand out. Whether you’re an experienced baker or a newcomer, this recipe is perfect for satisfying your sweet tooth. Let’s dive into this delicious journey together!
Ingredients
Main Ingredients for Caramel Cheesecake Bars
To make these delicious bars, you need a few key ingredients. Here’s what you’ll need:
– 1 ½ cups graham cracker crumbs
– ½ cup unsalted butter, melted
– 2 tablespoons sugar
– 2 (8-ounce) packages cream cheese, softened
– 1 cup granulated sugar
– 2 large eggs
– 1 teaspoon vanilla extract
– ½ cup sour cream
– 1 cup caramel sauce (store-bought or homemade)
– Sea salt, for sprinkling
– Chopped pecans or walnuts (optional, for topping)
These ingredients create a rich, creamy texture, and they blend well to form the perfect cheesecake base.
Optional Ingredients for Customization
You can get creative with some optional ingredients. Here are a few ideas:
– Chopped nuts like pecans or walnuts for crunch
– Chocolate chips for a sweet twist
– Fresh fruits like berries for a pop of color
These additions let you personalize your bars for any occasion.
Ingredient Substitutions
If you have dietary needs, you can still enjoy these bars. Here are some substitutions:
– Use dairy-free cream cheese for a vegan option.
– Swap granulated sugar with a low-sugar alternative, like stevia, for fewer calories.
– Coconut cream can replace sour cream for a dairy-free version.
These swaps keep the taste delicious while catering to different diets.
Step-by-Step Instructions
Prepping the Crust
To start, you need to prepare the crust for your caramel cheesecake bars. Preheat your oven to 325°F (160°C). In a mixing bowl, combine the graham cracker crumbs, melted butter, and sugar. Mix until it looks like wet sand. Next, press this mixture into the bottom of a 9×9-inch baking pan lined with parchment paper. Bake this crust for 10 minutes. Once done, let it cool slightly before adding the cheesecake layer.
Making the Cheesecake Batter
Now, let’s make the cheesecake batter. In a large bowl, beat the softened cream cheese and granulated sugar with an electric mixer. Mix until the mixture is smooth and creamy. Next, add the eggs one at a time. Make sure to mix well after each egg. After that, stir in the vanilla extract and sour cream. This will help create a rich and creamy texture. Keep mixing until everything is smooth and well combined.
Layering and Baking
It’s time to layer our ingredients. Pour half of the cheesecake batter over the cooled crust. Spread it evenly. Then, drizzle half of the caramel sauce over this layer. Use a knife to swirl the caramel into the batter a bit. Next, pour the remaining cheesecake batter on top, smoothing it out. Drizzle the rest of the caramel sauce on top and gently swirl it.
Bake the bars in the preheated oven for about 35-40 minutes. The edges should be set, but the center can still be slightly jiggly. After baking, turn off the oven and crack the door open. Let the cheesecake cool in the oven for about an hour. This helps prevent cracks. Once cooled, refrigerate for at least four hours or overnight for best results. When serving, lift the cheesecake out using the parchment paper and cut into bars. Enjoy your delicious caramel cheesecake bars!
Tips & Tricks
Ensuring Creamy Texture
To keep your cheesecake smooth, start with softened cream cheese. Cold cream cheese makes lumps. Use an electric mixer for mixing. Beat the cream cheese and sugar until creamy. Add eggs one at a time, mixing well after each. This helps avoid lumps. Stir in the sour cream last for a silky finish.
Baking Without Cracking
Cracks can ruin the look of your bars. To avoid this, cool your cheesecake slowly. After baking, turn off the oven. Leave the door slightly open for about an hour. This gradual cooling helps set the texture without cracking. Then, chill the bars in the fridge for at least four hours.
Ideal Serving Suggestions
These bars shine with a sprinkle of sea salt on top. The salt balances the sweetness. You can also add chopped pecans or walnuts for crunch. Serve them chilled for the best taste. Pair with a dollop of whipped cream or a scoop of vanilla ice cream. For a special touch, drizzle extra caramel sauce before serving.
Variations
Nutty Caramel Cheesecake Bars
To add a nutty crunch, mix in pecans or walnuts. Chop about ½ cup of your nuts of choice. After you layer the first half of the cheesecake batter, evenly sprinkle the chopped nuts over it. Then drizzle with half the caramel sauce. This adds texture and flavor to your bars. You can also sprinkle some nuts on top before serving for a great look.
Chocolate Caramel Cheesecake Bars
For a chocolate twist, add cocoa powder or chocolate chips. You can mix in ½ cup of cocoa powder into the cream cheese batter. This makes a rich chocolate flavor. If you prefer, fold in ½ cup of chocolate chips instead. Layer the chocolate batter as you would normally, then drizzle with caramel sauce. This combo creates a delightful sweet and salty taste.
Seasonal Flavors
Seasonal flavors can make your bars even more fun. For fall, add pumpkin spice to your batter. Mix in 1 teaspoon of pumpkin spice with the cream cheese. You can also use mashed pumpkin for a richer taste. In winter, consider a peppermint twist. Adding crushed candy canes to the crust or the topping adds a festive touch. These changes keep your dessert fresh and exciting for every season.
Storage Info
How to Store Caramel Cheesecake Bars
To keep your caramel cheesecake bars fresh, place them in an airtight container. If you do not have one, wrap the bars tightly with plastic wrap. This way, they won’t absorb other flavors in the fridge. For the best taste, always store the bars in the fridge.
Shelf Life
When stored properly, these bars can last in the fridge for about five days. If you freeze them, they can last up to three months. Just make sure to wrap them well to prevent freezer burn.
Thawing Instructions
To thaw frozen cheesecake bars, move them to the fridge. Let them sit overnight to defrost slowly. If you need them sooner, you can leave them at room temperature for about an hour. This keeps them creamy and tasty. For the best texture, avoid using a microwave to thaw.Enjoy your sweet treat!
FAQs
Can I make Caramel Cheesecake Bars ahead of time?
Yes, you can make Caramel Cheesecake Bars ahead of time. This makes them perfect for parties or potlucks. After baking, let the bars cool to room temperature. Then, cover them tightly with plastic wrap or aluminum foil. Store them in the fridge for up to four days. If you want to keep them longer, you can freeze them. Just make sure they are well wrapped to avoid freezer burn. Thaw in the fridge before serving.
How do I know when the cheesecake is done cooking?
To check if your cheesecake is done, look for a few signs. The edges should be set, while the center may still jiggle slightly. This jiggle is okay, as it will firm up when cooled. You can also insert a toothpick into the center. If it comes out clean or with just a few crumbs, it’s ready. Be careful not to overbake, as this can lead to cracks.
Can I use homemade caramel sauce?
Absolutely, homemade caramel sauce is a great choice! It can add a richer flavor to your bars. If you have a favorite recipe, use that. Store-bought caramel sauce is also convenient and works well. Both options will give you delicious results. Just remember to adjust the sweetness if your homemade sauce is sweeter or less sweet than the store-bought kind.
You’ve learned how to create delicious caramel cheesecake bars from start to finish. We covered essential ingredients, preparation steps, and helpful tips to avoid mistakes. You now have options for customization and storage info to keep them fresh. Remember, practice makes perfect, so don’t hesitate to experiment with flavors and toppings. Enjoy sharing these treats, making them your own, and impressing family and friends with your baking skills!


