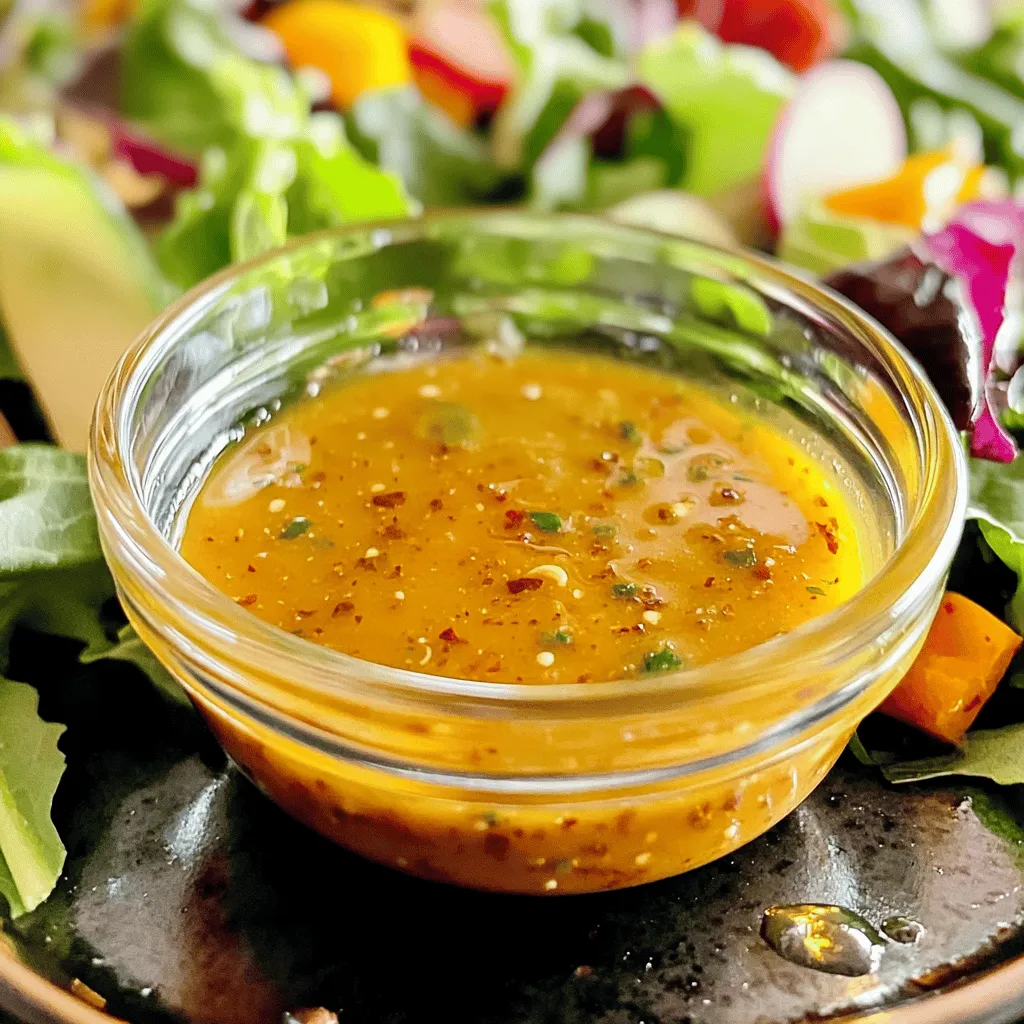
Elevate Your Salads with Homemade Chipotle Honey Vinaigrette: A Flavorful Recipe
Introduction In the world of culinary delights, few things can transform a simple salad into …
Introduction In the world of culinary delights, few things can transform a simple salad into …
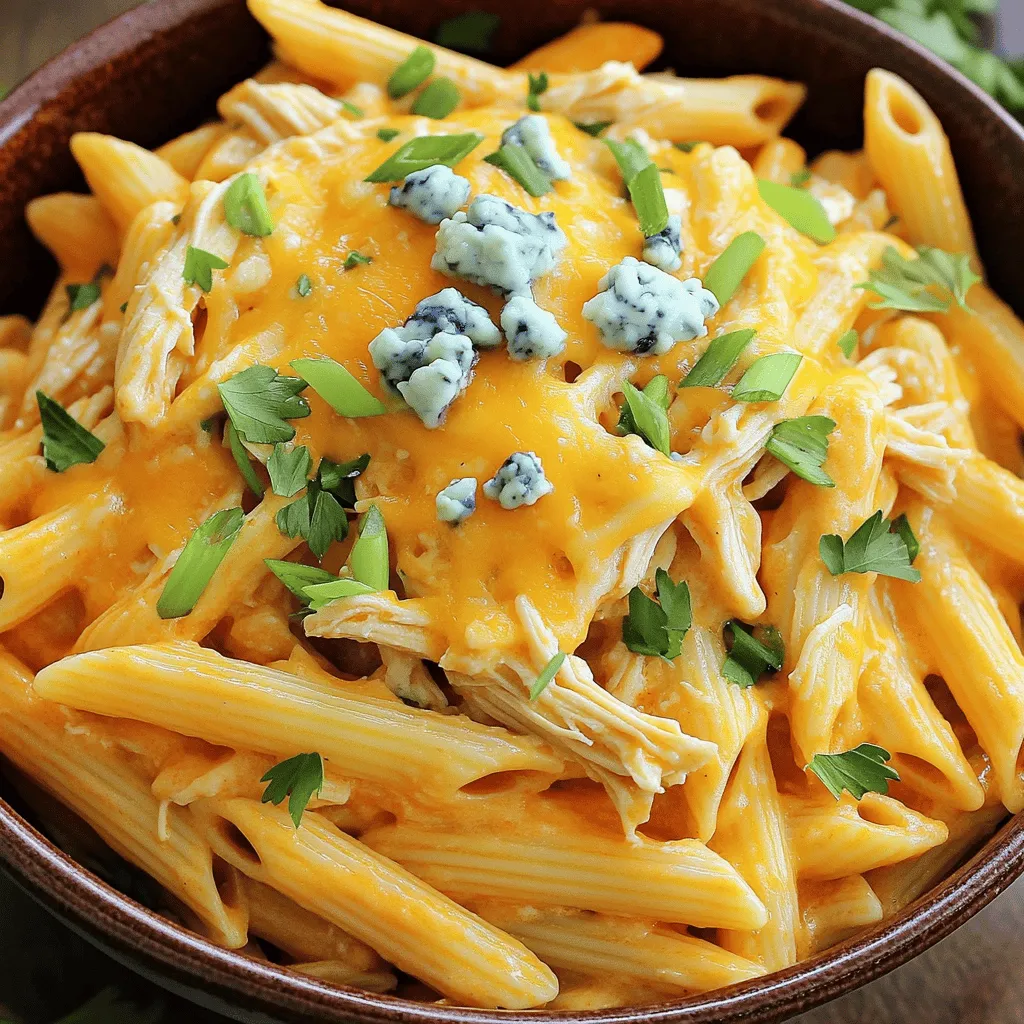
Introduction When it comes to comfort food that combines rich flavors with delightful textures, the …
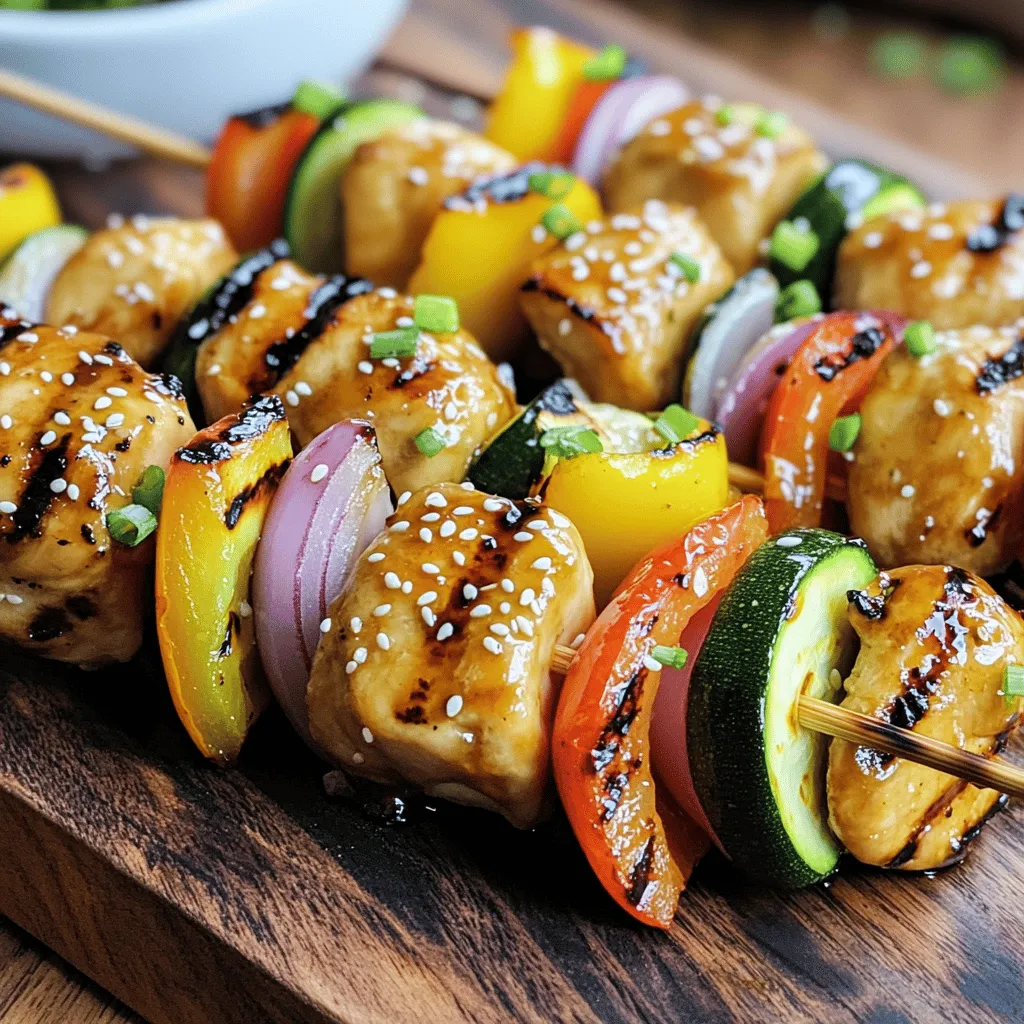
Introduction Teriyaki Chicken Skewers are a delightful culinary creation that perfectly marries convenience with rich, …

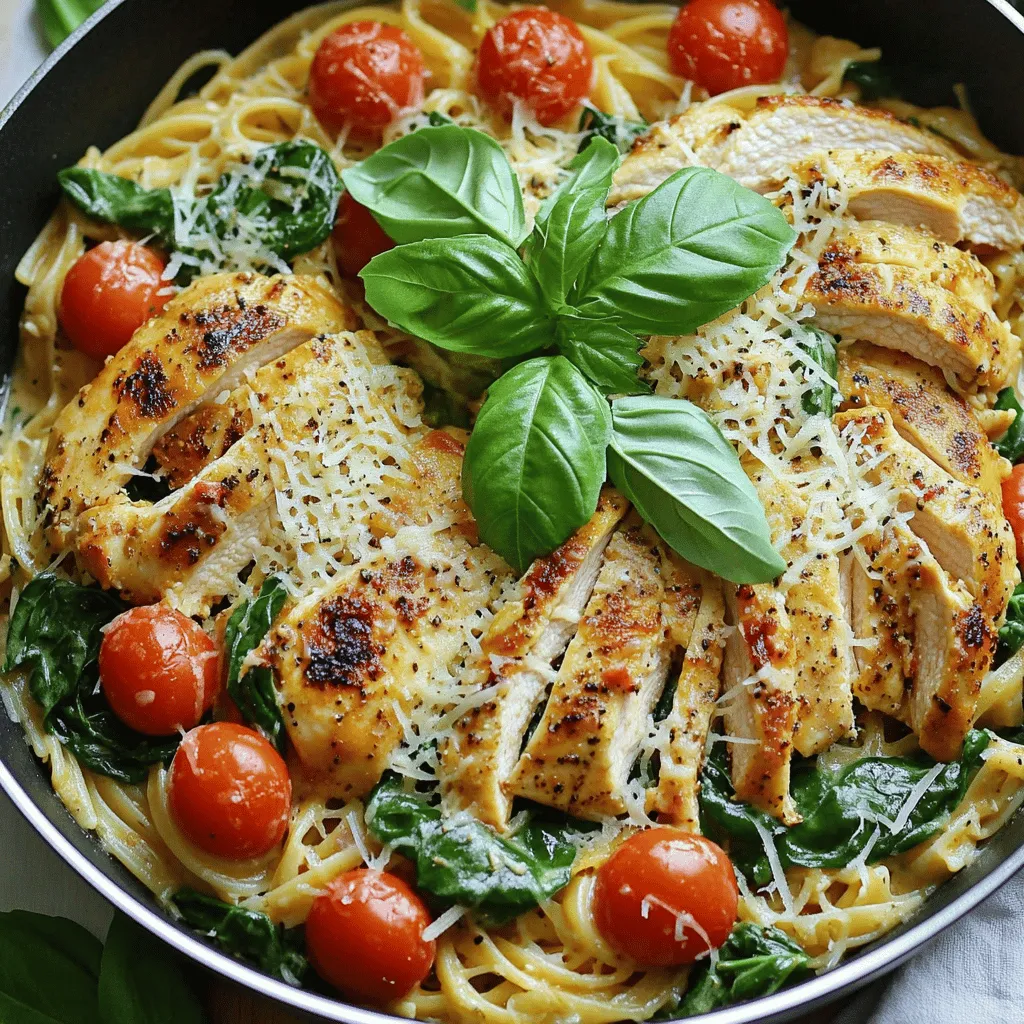
Introduction Jalapeno Peach Chicken Delight is a culinary masterpiece that marries the sweetness of ripe …
When it comes to comfort food, few dishes can rival the heartwarming and satisfying experience …
Introduction If you’re on the lookout for a dish that combines comfort with excitement, look …
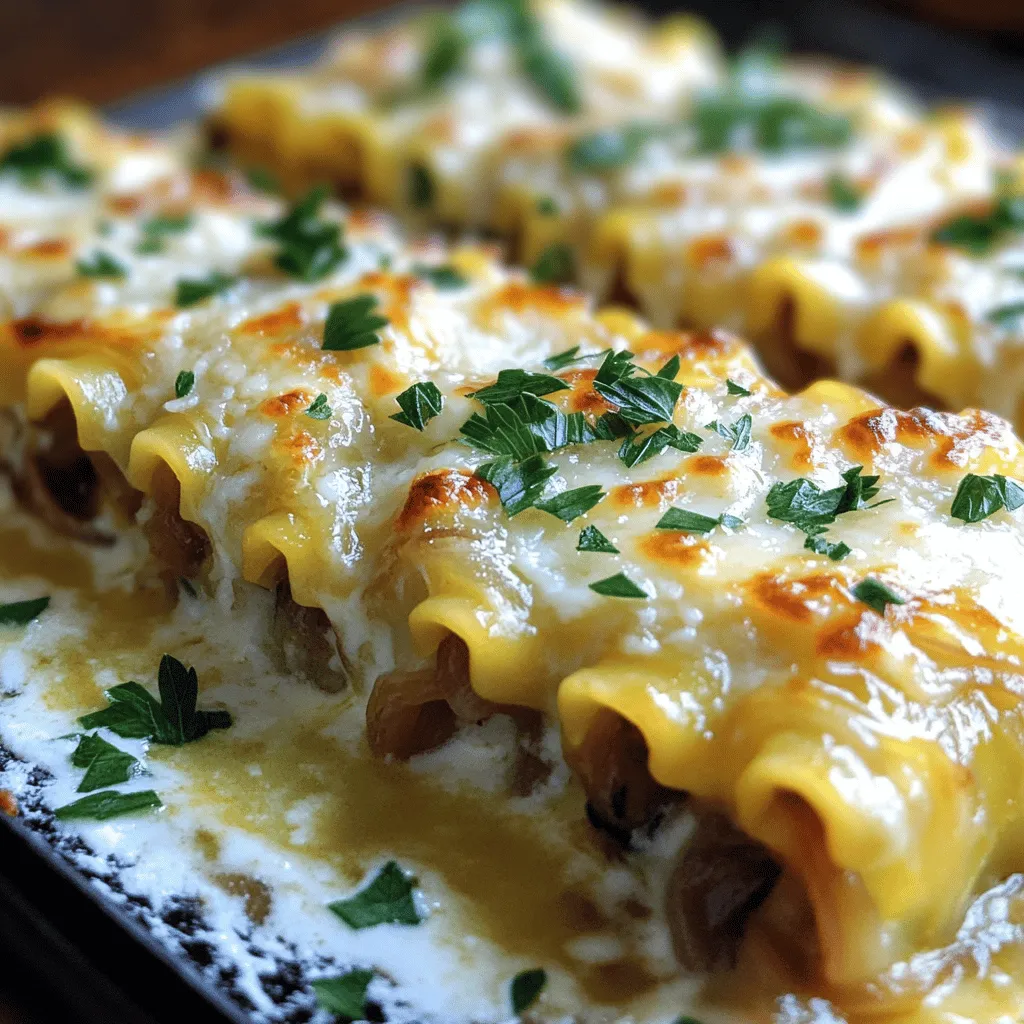
Introduction Imagine a dish that marries the heartwarming comfort of classic lasagna with the rich, …
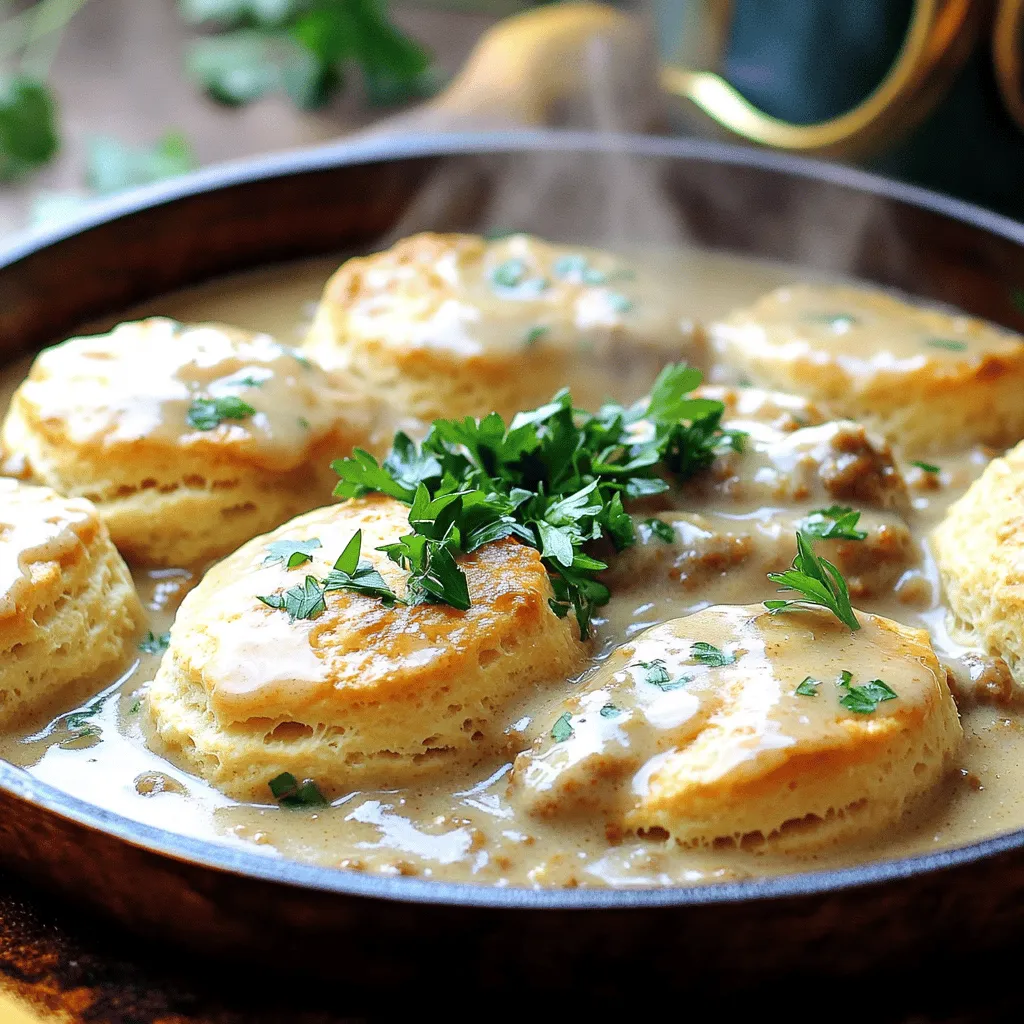
Introduction Biscuits and gravy is a beloved staple of American comfort food, cherished for its …
Introduction When it comes to comfort food, nothing quite hits the spot like a hearty, …

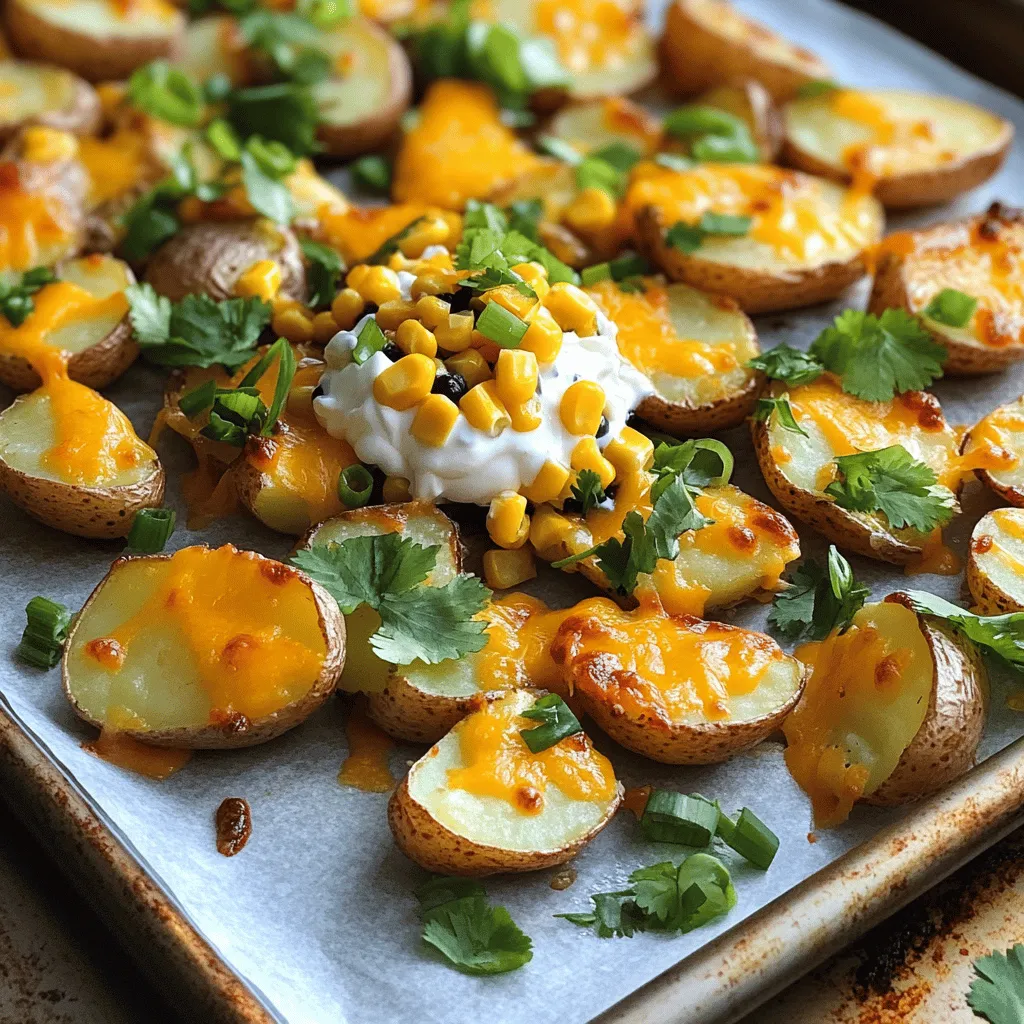
Introduction As the sun shines brightly and the days stretch longer, nothing captures the essence …