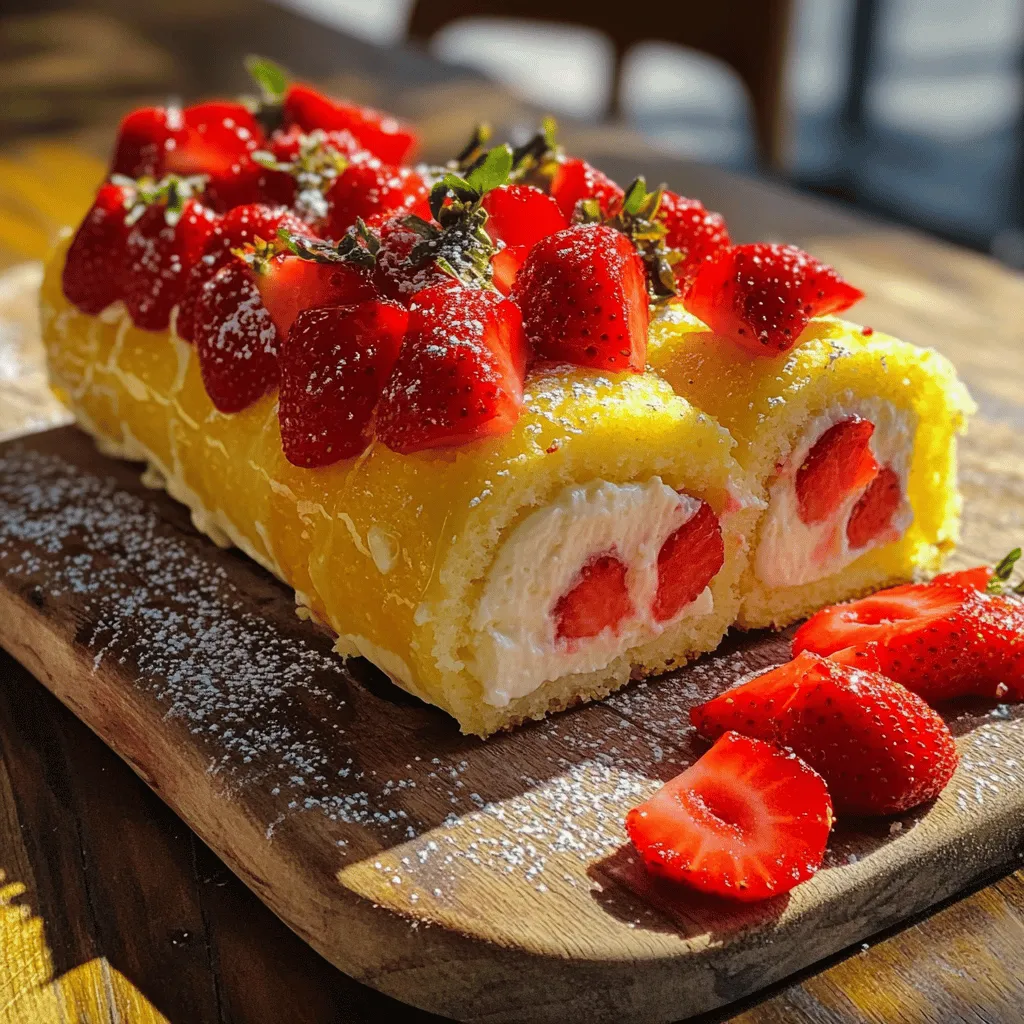
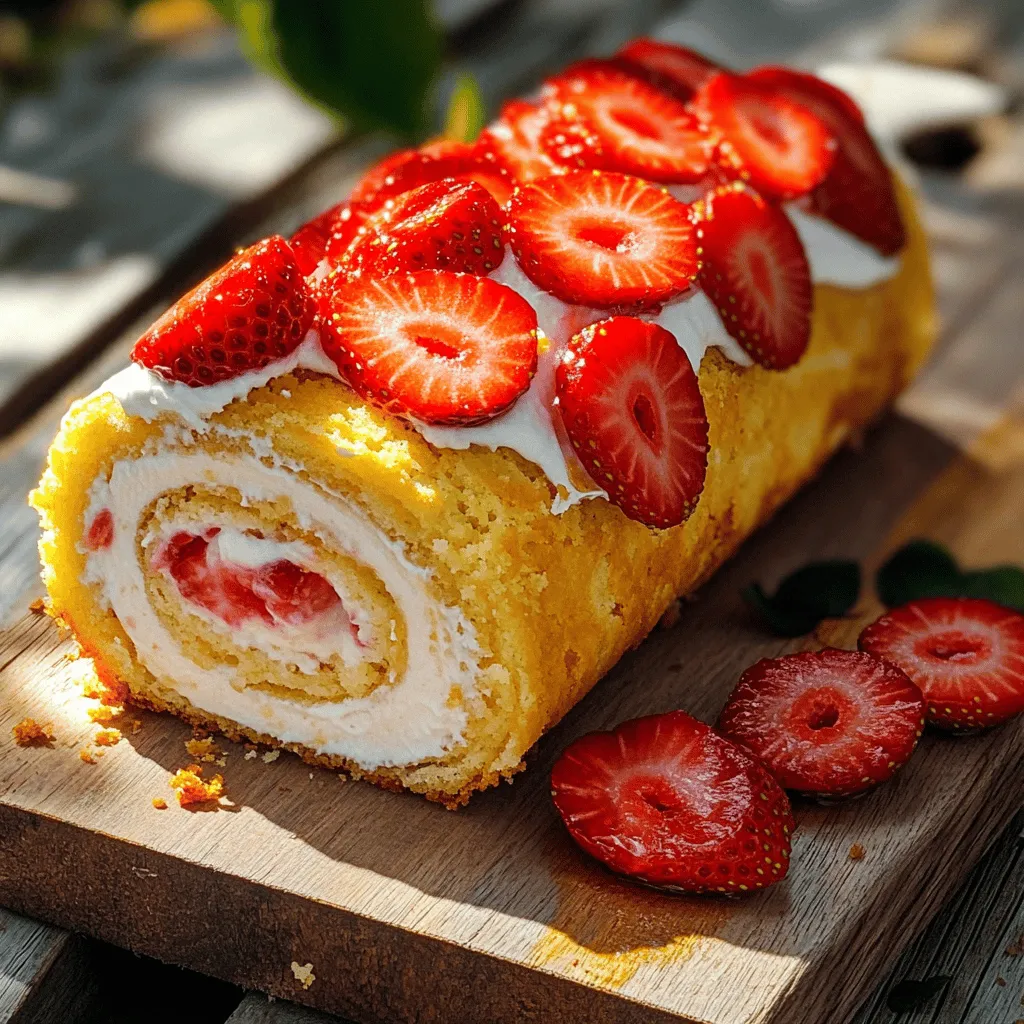
Get ready to indulge in the ultimate sweet treat with my Strawberry Shortcake Cheesecake Dessert Roll Delight! This dessert combines fluffy cake, creamy cheesecake filling, and fresh strawberries for a delightful twist on a classic favorite. Whether you’re aiming to impress guests or satisfy your own cravings, this easy and delicious recipe is sure to become a hit. Join me as we explore the simple steps and tips to create this amazing dessert at home!
Ingredients
For the Strawberry Shortcake Cheesecake Dessert Roll, you need three main parts: the cake, the cheesecake filling, and the strawberry topping. Here’s the list:
For the Cake
– 4 large eggs
– 1 cup granulated sugar
– 1 teaspoon vanilla extract
– 1 cup all-purpose flour
– 1 teaspoon baking powder
– 1/4 teaspoon salt
For the Cheesecake Filling
– 8 oz cream cheese, softened
– 1/2 cup powdered sugar
– 1 teaspoon vanilla extract
– 1/2 cup heavy whipping cream
For the Strawberry Topping
– 2 cups fresh strawberries, hulled and sliced
– 1/4 cup granulated sugar
– 1 tablespoon lemon juice
Gather these fresh ingredients before you start. They create the perfect blend of flavors. The eggs and sugar make the cake light, while the cream cheese gives the filling a rich taste. Fresh strawberries add a burst of flavor that makes this dessert a real treat.
Step-by-Step Instructions
Preparing the Oven and Cake Batter
First, preheat the oven to 350°F (175°C). This step is key for a great cake. Next, grab a large bowl. Beat 4 large eggs and 1 cup of granulated sugar with an electric mixer. Mix on high speed for about 5 minutes. Your mixture should be light and fluffy. Then, mix in 1 teaspoon of vanilla extract for flavor.
Batter Preparation
Now, let’s prepare the dry ingredients. In another bowl, whisk together 1 cup of all-purpose flour, 1 teaspoon of baking powder, and 1/4 teaspoon of salt. This mix adds structure to your cake. Gradually fold the dry mixture into the egg mixture. Be gentle and stop when you see no more flour. This keeps the batter light and airy.
Baking and Cooling
Pour the batter into your prepared jelly roll pan. Spread it evenly across the pan. Bake for 12-15 minutes. It’s done when the cake springs back if you touch it lightly. Once baked, take it out and flip the cake onto a clean kitchen towel dusted with powdered sugar. Carefully peel off the parchment paper. Now it’s time to roll the cake. Start from the shorter end and roll it up in the towel. Let it cool completely before moving on.
Tips & Tricks
Perfecting the Cake Texture
To get the best cake, start with the eggs. Beat them with sugar until it is light and fluffy. This step is key! It adds air to your cake. Aim for about five minutes of mixing.
When mixing in the dry ingredients, folding is your friend. Folding keeps that airy texture. Stirring can crush the bubbles you just worked hard to make. Gently combine the dry mix with the wet mix. Just until you can’t see dry flour.
Creamy Cheesecake Filling
The cheesecake filling must be smooth. Start with softened cream cheese for easy mixing. Mix it with powdered sugar until it is creamy. Add vanilla for flavor.
When you whip the heavy cream, stop at soft peaks. This means it should hold a shape but still be smooth. Gently fold the whipped cream into the cream cheese mix. This keeps your filling light and fluffy.
Serving Suggestions
For a beautiful presentation, top your roll with extra strawberries. A sprinkle of powdered sugar adds a nice touch too. You can also drizzle some strawberry juice over each slice.
Pair this dessert with a refreshing drink. I suggest iced tea or sparkling water. Both will balance the sweetness of the roll.
Variations
Flavored Cheesecake Fillings
You can give your cheesecake filling a fun twist. Try adding melted chocolate for a rich chocolate cheesecake. Simply fold in 1/2 cup of melted chocolate after mixing the cream cheese. It adds a nice depth of flavor.
For a bright, zesty option, a lemon cheesecake variation works great. Just mix in the zest of one lemon and 1 tablespoon of lemon juice into your cream cheese filling. This adds a refreshing taste that pairs well with strawberries.
Different Fruit Toppings
While strawberries are classic, you can switch it up with other fruits. Blueberries or raspberries make excellent toppings. They add a burst of color and flavor. Use the same method for preparing the fruit as you would for strawberries.
You can also adapt your toppings based on the season. In the summer, peaches or cherries shine. In the fall, consider using apples or pears for a cozy touch. Each fruit brings its unique taste to this dessert roll.
Gluten-Free Option
If you prefer a gluten-free dessert, you can easily adapt this recipe. Substitute the all-purpose flour with almond flour or a gluten-free flour blend. This change keeps the cake light and fluffy while making it safe for those with gluten allergies. Just be sure to check the other ingredients for gluten content, especially the baking powder.
These variations open up a world of delicious possibilities. Whether you stick with the classic or try something new, each bite is sure to delight.
Storage Info
Refrigerating the Dessert Roll
To keep your dessert roll fresh, wrap it tightly in plastic wrap. This helps keep moisture in and prevents the roll from drying out. Place it in an airtight container for extra protection. A good container keeps out air and odors, which can change the taste. Store the roll in the fridge for up to three days.
Freezing Instructions
If you want to save some for later, you can freeze the dessert roll. First, wrap it well in plastic wrap. Next, place it in a freezer bag or an airtight container. This helps prevent freezer burn. You can freeze it for up to two months. To thaw, move it to the fridge overnight. This keeps the texture nice when you serve it again.
Serving Leftovers
Leftover roll can be a delightful treat. Slice it and serve it with ice cream for a fun dessert. You can also crumble it over yogurt for breakfast. Another idea is to blend it into a milkshake for a tasty twist. You can use leftover strawberries in smoothies or salads. These options make sure nothing goes to waste. Enjoy your roll in new and creative ways!
FAQs
What is the best way to prevent my cake from sticking?
To keep your cake from sticking, proper greasing is key. Use butter or oil to grease the pan. Make sure to coat every corner. Then, line the pan with parchment paper. This adds another layer of protection. Dust the paper with flour for extra help. After baking, let the cake cool for a few minutes. This helps it release easier when inverted.
Can I make this dessert roll ahead of time?
Yes, you can make this dessert roll ahead of time. It stores well in the fridge. After rolling it up, wrap it tightly in plastic wrap. This keeps it fresh and moist. You can make it a day ahead. Just slice it right before serving. If you want to prepare the filling ahead, keep that in a separate container.
How do I fix a cracked dessert roll?
If your dessert roll cracks, don’t worry! You can still fix it. First, spread a bit of the cheesecake filling over the crack. This will help conceal it. Next, re-roll the cake gently. If it cracks more, you can cover it with extra strawberries. This adds a nice touch and hides imperfections well. Remember, a little creativity can make it look great!
This dessert roll combines cake, creamy cheesecake, and fresh strawberries. We covered each step, from prepping the batter to baking and cooling. You learned tips for texture and storage too.
In your kitchen, you’ve got the tools to impress. Experiment with flavors and toppings to make it your own. Enjoy the fun of baking and share your tasty creations!


