Are you ready to make a yummy Strawberry Cheesecake? This simple and easy recipe will wow your taste buds. You’ll learn how to pick fresh strawberries, whip a creamy filling, and avoid common mistakes. Plus, I’ll share fun ideas to mix it up! Whether you want a no-bake option or a vegan twist, there’s something for everyone. Let’s dive into this delicious treat together!
Ingredients
List of Ingredients
To make a tasty strawberry cheesecake, you need the following items:
– 1 ½ cups graham cracker crumbs
– ⅓ cup granulated sugar
– ½ cup unsalted butter, melted
– 16 oz cream cheese, softened
– 1 cup powdered sugar
– 1 teaspoon vanilla extract
– 2 cups heavy cream
– 1 cup fresh strawberries, pureed
– 1 tablespoon lemon juice
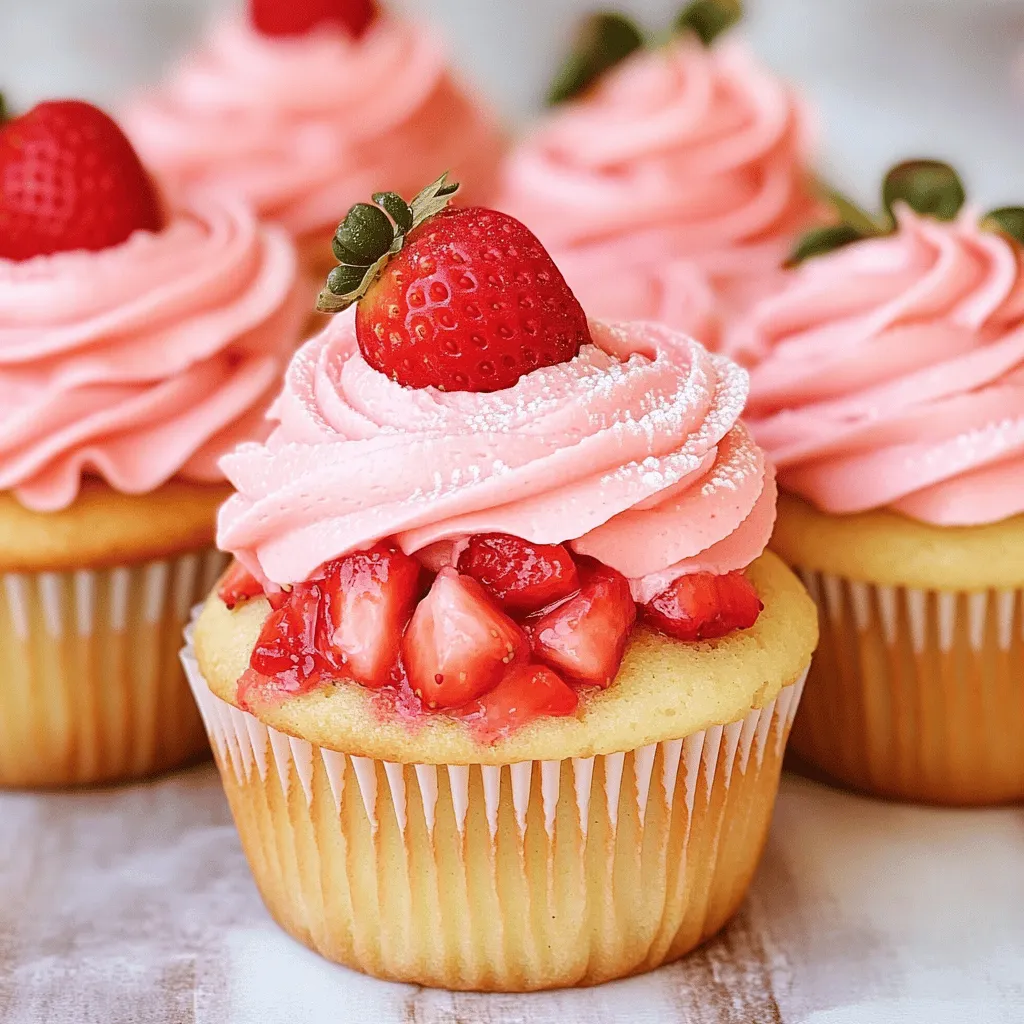
– Fresh strawberries for topping
Ingredient Substitutions
You can swap some ingredients if needed. Here are a few ideas:
– Instead of graham cracker crumbs, use crushed cookies or nuts.
– For granulated sugar, you can use brown sugar for a deeper flavor.
– Use coconut oil in place of unsalted butter for a dairy-free option.
– If you want a lighter version, use low-fat cream cheese.
– You can substitute fresh strawberries with frozen ones, but fresh is best for flavor.
Tips for Choosing Fresh Strawberries
Choosing ripe strawberries is key for great flavor. Here’s how:
– Look for bright red berries. They should feel firm and plump.
– Check for green, leafy tops; this shows they are fresh.
– Avoid berries with soft spots or mold. This means they are past their prime.
– If possible, buy local strawberries for the best taste.
Step-by-Step Instructions
Preparation of the Crust
To start, preheat your oven to 325°F (163°C). Take a mixing bowl and add the graham cracker crumbs, granulated sugar, and melted butter. Mix these together until all crumbs feel wet. This step is key for a tasty crust. Next, press this mixture into the bottom of a 9-inch springform pan. Make sure it is even. Bake it in the oven for about 10 minutes. Once done, take it out and let it cool completely.
Making the Cheesecake Filling
Now, let’s make the filling. In a large bowl, beat the softened cream cheese with an electric mixer. You want it to be smooth and creamy. Slowly add the powdered sugar and vanilla extract. Keep mixing until everything is blended well. This process gives the cheesecake its rich taste.
Next, take another bowl and whip the heavy cream. You want to whip it until soft peaks form. This adds lightness to your cheesecake. Carefully fold the whipped cream into the cream cheese mixture. Do this gently, so it stays fluffy.
Combining Ingredients and Chilling
Time to add some flavor! Fold in the pureed strawberries and lemon juice. Mix until the color is uniformly pink. This will make your cheesecake taste fresh and fruity.
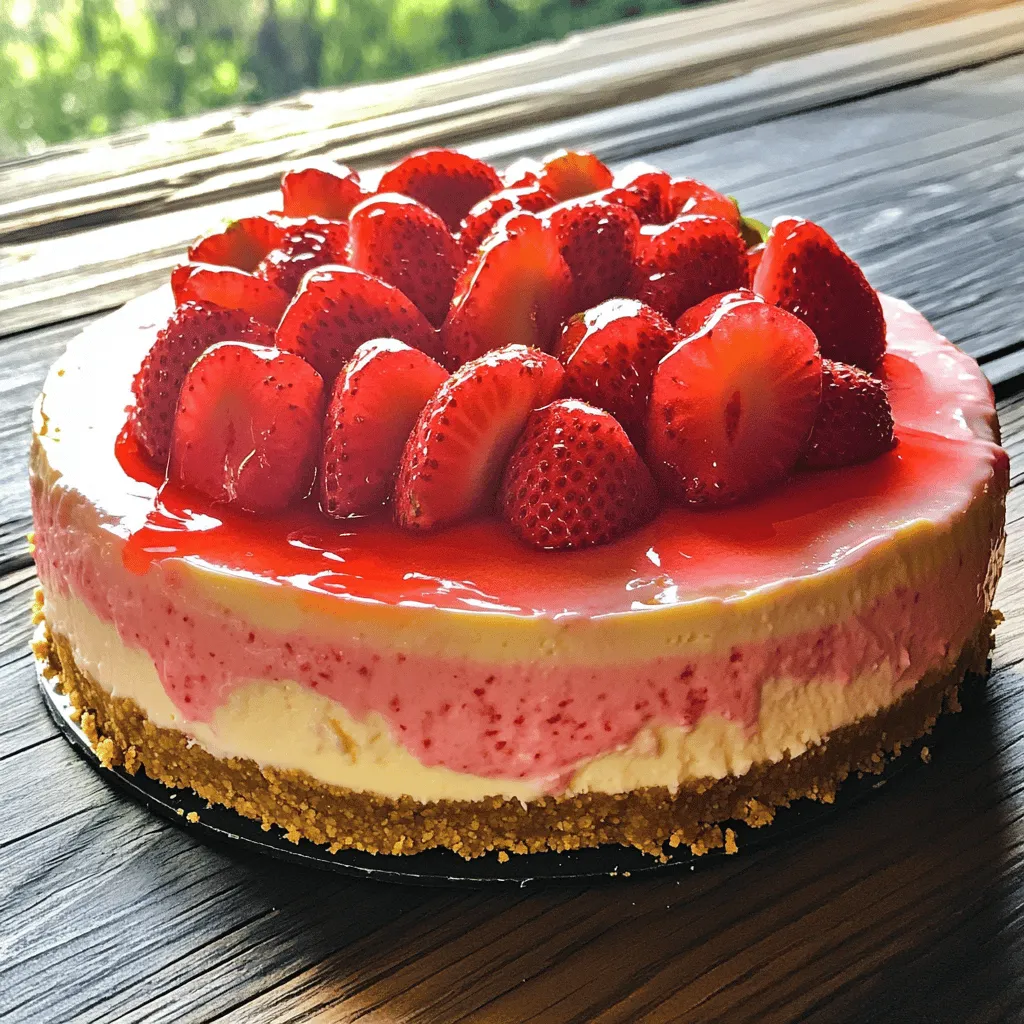
Now, pour this strawberry cheesecake filling over the cooled crust in the springform pan. Smooth the top with a spatula to make it nice and neat. Cover it with plastic wrap and place it in the fridge. For the best flavor, chill it for at least 4 hours, or even overnight.
Follow these steps, and you’ll have an amazing strawberry cheesecake.
Tips & Tricks
Secrets to a Creamy Cheesecake
To make your cheesecake creamy, use softened cream cheese. Cold cream cheese can cause lumps. Beat it well until smooth before adding any sugar. Mixing in the powdered sugar slowly helps keep the creaminess. Always fold in the whipped cream gently. This keeps the mixture light and fluffy.
Common Mistakes to Avoid
One common mistake is overmixing the filling. Overmixing can add too much air and cause cracks. Make sure to mix just until combined. Another mistake is not chilling long enough. Chilling for at least four hours helps set the cheesecake. Don’t skip the fresh strawberry topping. It adds flavor and looks great!
How to Achieve the Perfect Whip
To whip cream perfectly, start with cold heavy cream. Use a clean bowl and beaters for best results. Beat on medium speed until soft peaks form. This takes only a few minutes. Don’t overwhip, or it may turn into butter. Fold it into your cheesecake mixture gently to keep the light texture.
Variations
No-Bake Strawberry Cheesecake
A no-bake version is simple and quick. You skip the oven and save time. Start with the same crust made from graham cracker crumbs. Mix the cream cheese, powdered sugar, and vanilla like in the original recipe. Instead of baking, spread the filling over the crust. Chill it for at least four hours. This method gives you a smooth, creamy slice without any baking fuss.
Vegan Strawberry Cheesecake Option
If you want a vegan cheesecake, you can use plant-based ingredients. For the crust, use vegan butter instead of regular butter. Swap the cream cheese with soaked cashews blended until creamy. Use maple syrup or agave instead of powdered sugar. Coconut cream is a great choice to replace heavy cream. This vegan option tastes rich and delicious and is perfect for plant-based diets.
Gluten-Free Crust Alternatives
For a gluten-free version, you can use almond flour or gluten-free graham crackers. Mix them with coconut oil to create a crust that holds together well. Press it into your pan just like the regular crust. This way, you enjoy the same great taste without gluten. You can even try crushed nuts for a unique twist.
Explore these variations to find your favorite way to enjoy Strawberry Cheesecake Delight!
Storage Info
Best Practices for Storing Leftovers
After you enjoy your strawberry cheesecake, store leftovers properly. First, cover it well. Use plastic wrap or a lid to keep it fresh. This keeps out air and moisture. Place it in the fridge. It helps maintain its taste and texture. Always put it on a flat surface to avoid spills.
Freezing Strawberry Cheesecake
You can freeze strawberry cheesecake for later. First, let it cool completely. Then, wrap it tightly in plastic wrap. Next, place it in an airtight container or freezer bag. This protects it from freezer burn. You can freeze it for up to three months. When you are ready to enjoy it, thaw it in the fridge overnight.
How Long Does Strawberry Cheesecake Last?
Strawberry cheesecake lasts about five days in the fridge. Keep it covered to maintain quality. If it looks or smells off, don’t eat it. If frozen, it stays good for three months. Always check for any signs of spoilage before serving. Knowing these tips helps you enjoy this delightful dessert longer.
FAQs
How to make Strawberry Cheesecake from scratch?
To make strawberry cheesecake from scratch, follow these steps. First, prepare the crust by mixing graham cracker crumbs, sugar, and melted butter. Press this mix into a springform pan and bake. Next, beat cream cheese until smooth. Then, add powdered sugar and vanilla. In another bowl, whip heavy cream until soft peaks form. Fold this whipped cream into the cream cheese mixture gently. Add pureed strawberries and lemon juice. Mix until it’s a nice pink color. Pour this filling over the crust and chill for at least 4 hours.
Can I use frozen strawberries instead of fresh?
Yes, you can use frozen strawberries. Just remember to thaw them first. Drain any excess liquid to avoid a watery filling. Frozen strawberries work well in purees and can still give great flavor. They may change the texture slightly, but your cheesecake will still taste amazing.
What is the best way to serve Strawberry Cheesecake?
The best way to serve strawberry cheesecake is chilled. Once set, remove it from the springform pan. Top with fresh strawberries for a bright look. You can also add whipped cream or a drizzle of strawberry sauce. Slice into pieces and enjoy! This dessert is perfect for gatherings or a special treat.
In this blog post, we explored the key ingredients for a perfect strawberry cheesecake, from the crust to fresh strawberries. I shared step-by-step instructions to make it easy for you. We looked at tips for a creamy texture and common mistakes to avoid. Plus, I offered tasty variations, storage tips, and answered frequently asked questions.
Remember, practice makes perfect. Enjoy making this dessert, and share it with friends and family!