
Looking for a treat that dazzles at any gathering? Red velvet cake pops will brighten up any occasion! These bite-sized desserts combine rich chocolate flavors with a beautiful red hue, making them a favorite among dessert lovers. In this post, I’ll share everything you need to know about making these delightful treats, from what makes them so popular to fun presentation tips. Let’s dive into the world of red velvet cake pops!
What Are Red Velvet Cake Pops and Why Are They So Popular?
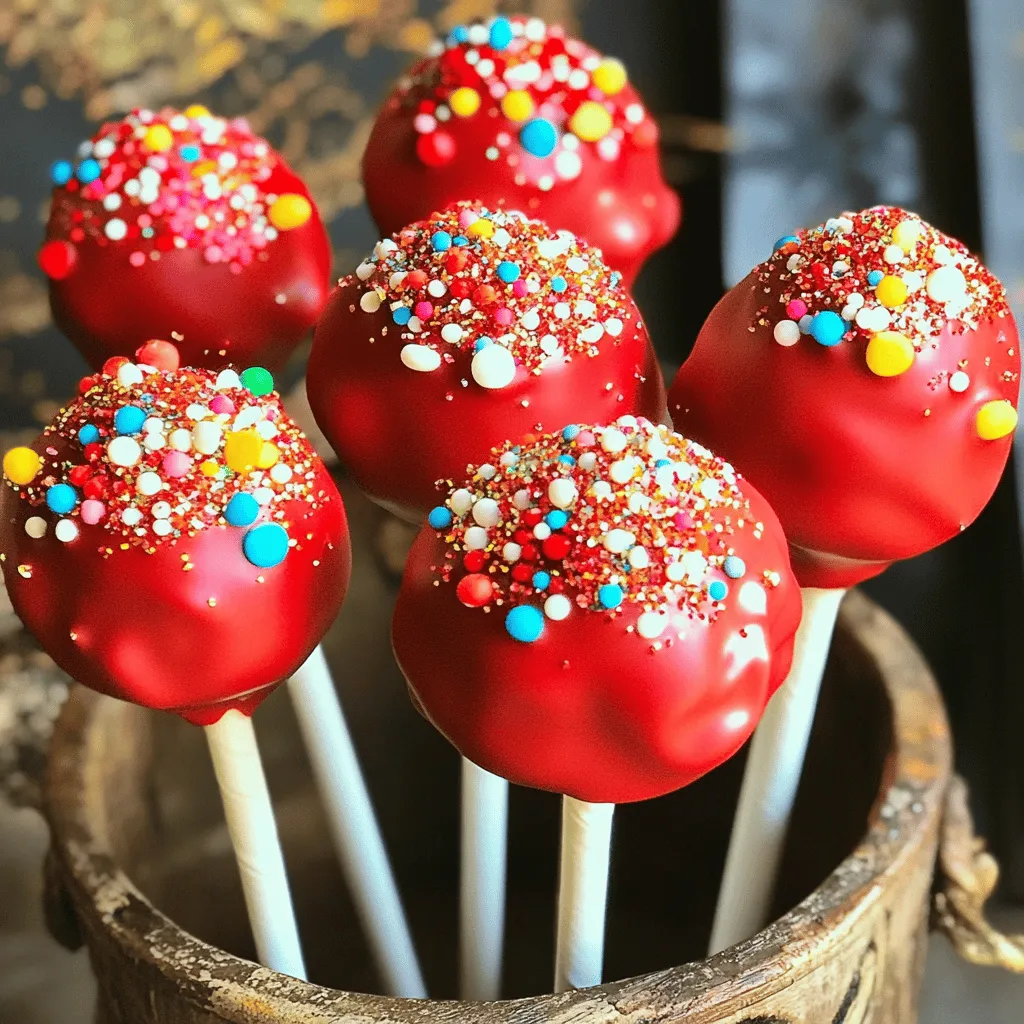
Red velvet cake pops are small, round treats made from red velvet cake. They have a rich, moist texture and a hint of cocoa. You coat them in white chocolate, which creates a lovely contrast. These tasty bites are a hit for many reasons.
Cake pops became a dessert trend due to their fun size and great flavors. They fit perfectly in one hand. You can serve them at parties, events, or just for fun. The cute look and easy-to-eat style make them popular.
Red velvet cake pops stand out because of their unique color and flavor. The deep red hue catches the eye. They taste sweet and creamy, thanks to the cream cheese filling. This makes them a favorite red velvet treat for chocolate lovers.
People often choose red velvet flavors for special occasions. The colors fit well with celebrations like Valentine’s Day or Christmas. They also work great for birthdays or weddings. Red velvet cake pops add a touch of elegance to any event. They show that even small treats can be gourmet.
How Do You Make Red Velvet Cake Pops?
What ingredients do you need for red velvet cake pops?
To make red velvet cake pops, gather these key ingredients. You need 1 ½ cups of all-purpose flour, 1 cup of granulated sugar, and 1 teaspoon of baking soda. Add 1 teaspoon of cocoa powder and ½ teaspoon of salt for flavor. You will also need 1 cup of vegetable oil, 1 cup of buttermilk, and 2 large eggs. For that signature red color, use 2 tablespoons of red food coloring. Lastly, get 1 teaspoon of vanilla extract, ½ teaspoon of white vinegar, 8 oz of softened cream cheese, and ½ cup of powdered sugar. For the coating, you’ll need 8 oz of chopped white chocolate or candy melts, plus sprinkles for decoration.
What are the step-by-step instructions for making cake pops?
Start by preheating your oven to 350°F (175°C) and greasing a 9-inch round cake pan. In a large bowl, sift together the flour, sugar, baking soda, cocoa powder, and salt. In another bowl, whisk the oil, buttermilk, eggs, red food coloring, vanilla extract, and white vinegar until smooth. Gradually add the wet mix to the dry mix. Stir until combined. Pour this batter into the prepared pan and bake for 25-30 minutes. A toothpick should come out clean when done.
Once the cake cools down, crumble it into a bowl. Mix in the softened cream cheese and powdered sugar until it’s fully blended. Use your hands to form small balls, about 1 inch wide. Insert a lollipop stick into each ball and place them on a lined baking sheet. Freeze for 30 minutes so they firm up.
While they chill, melt the white chocolate in a bowl, stirring every 30 seconds until smooth. Take the cake pops out of the freezer and dip them into the melted chocolate. Spin to coat well, letting excess chocolate drip back. Quickly add sprinkles before the chocolate hardens. Finally, place the pops upright in a block or stand to set.
How do I ensure the perfect consistency for cake pop mixture?
To get the right consistency for your cake pop mixture, be sure to mix the cake crumbles and cream cheese well. The mixture should hold together when you form it into balls. If it feels too dry, add a bit more cream cheese. If it feels too wet, a touch more cake crumb will help. The mixture should be moist enough to stick together but firm enough to hold its shape. This balance will give you the best results for cake pops that look and taste great.
What Tips Can Improve Your Cake Pop Making Skills?
To make great cake pops, you need to focus on a few key tips.
How can you prevent typical cake pop problems?
Start by ensuring your cake is fully cooled. Warm cake can lead to mushy pops. If your cake pops are falling apart, add more cream cheese to the mix. This will help bind the cake. If the chocolate is too thick, add a bit of vegetable oil. This will make it smooth and easy to dip.
What are some helpful assembly techniques for cake pops?
When shaping the pops, use clean hands to roll the mixture into balls. This keeps them neat and round. Insert the lollipop sticks gently to avoid cracking. If you freeze the pops for 30 minutes, they will hold their shape better when dipped.
What tools are essential for making the perfect cake pops?
You will need a few simple tools. A mixing bowl and whisk help combine ingredients well. Use a cookie scoop for even-sized balls. A microwave-safe bowl is great for melting chocolate. Finally, use parchment paper to prevent sticking when the pops cool.
By following these tips, you will improve your cake pop making skills.
How Can You Enhance the Presentation of Your Cake Pops?
You can make your cake pops stand out with a few simple tricks. First, think about colors. Use bright sprinkles to contrast with the red velvet. You can find many types of sprinkles, like rainbow, chocolate, or even themed ones for special events. The best sprinkles for cake pops should match the mood of your gathering.
Consider using edible glitter. It adds a fun sparkle to your treats. Just a light dusting can catch the light and make your cake pops shine. You can also dip them in colored chocolate for a unique look. Melted dark, white, or milk chocolate works great for this.
When it comes to packaging, clear treat bags are a favorite. Fill them with your cake pops and tie them with a ribbon. This makes a sweet gift for friends and family. You can also place the cake pops in decorative jars. This turns your cake pops into a lovely centerpiece.
Themes can help guide your design. For a birthday party, use bright colors and fun shapes. For a wedding, stick to elegant whites and soft pastels. Seasonal themes work well too. Try pumpkin sprinkles for fall or snowflake designs for winter.
To make your cake pops look even better, arrange them in a fun way. Use a cake pop stand or a piece of foam. This keeps them upright and shows off your hard work. With these tips, your red velvet cake pops will impress everyone at any event!
What Variations of Red Velvet Cake Pops Can You Try?
You can try many fun red velvet cake pop variations. One way is to use different coatings. Instead of classic white chocolate, dip them in dark chocolate or milk chocolate. You can also use colored candy melts for a festive look. These coatings add a new taste and make the pops more exciting.
Another idea is to fill your cake pops with different flavors. You could add a cream cheese filling or a rich chocolate ganache. To do this, make a small hole in the cake pop before dipping it. Then, pipe in your filling with a squeeze bottle or a piping bag. This adds a surprise inside each bite.
You can also create unique flavor combinations to elevate your cake pops. Try adding a hint of orange or almond extract to the cake mix. You can even mix in crushed nuts or chocolate chips. For a fun twist, consider pairing red velvet with peppermint, salted caramel, or even espresso. These flavors can make your red velvet cake pops stand out.
When Should You Serve Red Velvet Cake Pops?
Cake pops are great for many occasions. You can serve them at birthdays or holidays. Their fun shape makes them perfect for kids and adults alike. I love making cake pops for special events like baby showers or weddings. They add a touch of charm to any gathering.
You can adapt red velvet cake pops for seasonal celebrations, too. For Halloween, use orange and black sprinkles. For Christmas, add green and red decorations. You can even make them for Valentine’s Day with heart-shaped sprinkles. The red color of the cake makes it festive and fun.
Themed cake pop parties are a blast! You can create a dessert table with a red velvet theme. Use red and white tablecloths, and serve drinks that match. Give guests options to decorate their cake pops. Set out different sprinkles and toppings. This way, everyone can make their own tasty treat.Enjoy making your cake pops!
Red velvet cake pops are a fun treat that blend taste and appeal. We explored their rise as a dessert trend, their unique flavor, and their popularity at parties. I shared a simple recipe, tips for perfecting your skills, and creative presentation ideas. Red velvet cake pops can elevate any occasion with their rich flavor. Whether you’re hosting a party or gifting treats, these pops are perfect. Enjoy making them, and let your creativity shine through with every batch!


