When it comes to comfort food, few things can rival the warm, inviting aroma of freshly baked peanut butter cookies. These delightful treats have a way of bringing back cherished memories, whether it’s baking with a loved one or enjoying a sweet snack after school. However, if you’re looking to elevate your peanut butter cookie game, look no further than Peanut Butter Paradise Cookies. This unique twist combines the classic flavor of peanut butter with the rich indulgence of chocolate, creating a cookie experience that’s truly heavenly.
What makes Peanut Butter Paradise Cookies stand out is not just their delicious combination of flavors but also their simplicity. This recipe is perfect for both novice bakers and seasoned pros, allowing anyone to whip up a batch in no time. With just a few pantry staples and minimal prep time, you can treat yourself and your loved ones to these irresistible cookies. Let’s delve into the appeal of peanut butter in baking, the nutritional benefits, and the essential ingredients that make these cookies a paradise for your taste buds.
The Allure of Peanut Butter in Baking
Peanut butter is more than just a spread for your morning toast; it’s a dynamic ingredient that adds depth and richness to a variety of baked goods. Its creamy texture and nutty flavor make it an ideal candidate for cookies, cakes, and brownies. When incorporated into recipes, peanut butter not only enhances the taste but also contributes to the overall texture, creating a chewy and satisfying bite that many adore.
From a nutritional standpoint, peanut butter is a powerhouse. Packed with protein, healthy fats, and essential vitamins and minerals, it offers a range of health benefits. For those looking to increase their protein intake, peanut butter is a delicious way to do so. It can also help keep you satiated, making it a great ingredient for satisfying those midday cravings. Plus, the fiber content in peanut butter can aid digestion, making it a smart choice for a treat.
Peanut butter desserts have skyrocketed in popularity over the years, and it’s no wonder why. The combination of sweet and savory flavors creates an enticing balance that appeals to a wide audience. Whether it’s classic peanut butter cookies, rich peanut butter brownies, or indulgent peanut butter pies, the versatility of this ingredient allows for endless creativity in the kitchen. Peanut Butter Paradise Cookies take this beloved flavor and add a chocolatey twist, making them a must-try for any dessert lover.
Ingredients Breakdown
To create the perfect batch of Peanut Butter Paradise Cookies, it’s essential to understand the role of each ingredient in the recipe. Here’s a detailed breakdown of what you’ll need and how each component contributes to the overall flavor and texture of the cookies:
1. Creamy Peanut Butter
The star of the show, creamy peanut butter, is the foundation of these cookies. When selecting peanut butter, you can choose between several types, including natural and conventional brands. Natural peanut butter is often made with just peanuts and salt, giving it a more authentic flavor. Conventional brands, on the other hand, may contain added sugars and oils for a smoother consistency. Popular brands like Jif, Skippy, and Smucker’s are great options, but always check the ingredient list to find the one that suits your taste and dietary preferences.
2. Granulated Sugar vs. Brown Sugar
Both granulated sugar and brown sugar play vital roles in cookie recipes, but they each contribute different flavors and textures. Granulated sugar adds sweetness and helps the cookies spread out during baking, while brown sugar, which contains molasses, adds moisture and a hint of caramel flavor. For Peanut Butter Paradise Cookies, a combination of both sugars is often used to achieve the ideal balance of sweetness and chewiness.
3. The Role of Eggs in Baking
Eggs are a crucial ingredient in baking, providing structure, moisture, and richness to cookies. They help bind the ingredients together, ensuring that the cookies hold their shape. In Peanut Butter Paradise Cookies, one large egg is typically included, contributing to the soft and chewy texture that makes these cookies so delightful.
4. Importance of Vanilla Extract
Vanilla extract is a flavor enhancer that elevates the taste of baked goods. Just a teaspoon of pure vanilla extract can transform the flavor profile of your cookies, adding warmth and depth. While imitation vanilla can be used in a pinch, opting for pure vanilla extract will yield a more authentic and robust flavor in your Peanut Butter Paradise Cookies.
5. Function of Baking Soda and Salt
Baking soda is a leavening agent that helps cookies rise, creating a light and airy texture. It reacts with the acidic ingredients in the dough, producing carbon dioxide bubbles that give the cookies their lift. Salt, on the other hand, enhances the flavors of the other ingredients. It’s important to include a pinch of salt in your cookie dough to balance the sweetness and bring out the rich flavors of the peanut butter and chocolate.
6. The Irresistible Addition of Semi-Sweet Chocolate Chips
What’s better than a peanut butter cookie? A peanut butter cookie with chocolate chips! Semi-sweet chocolate chips provide a perfect contrast to the nutty flavor of the peanut butter, creating a delicious combination that will have you reaching for more. The melting chocolate adds a delightful richness that elevates the overall experience of these cookies.
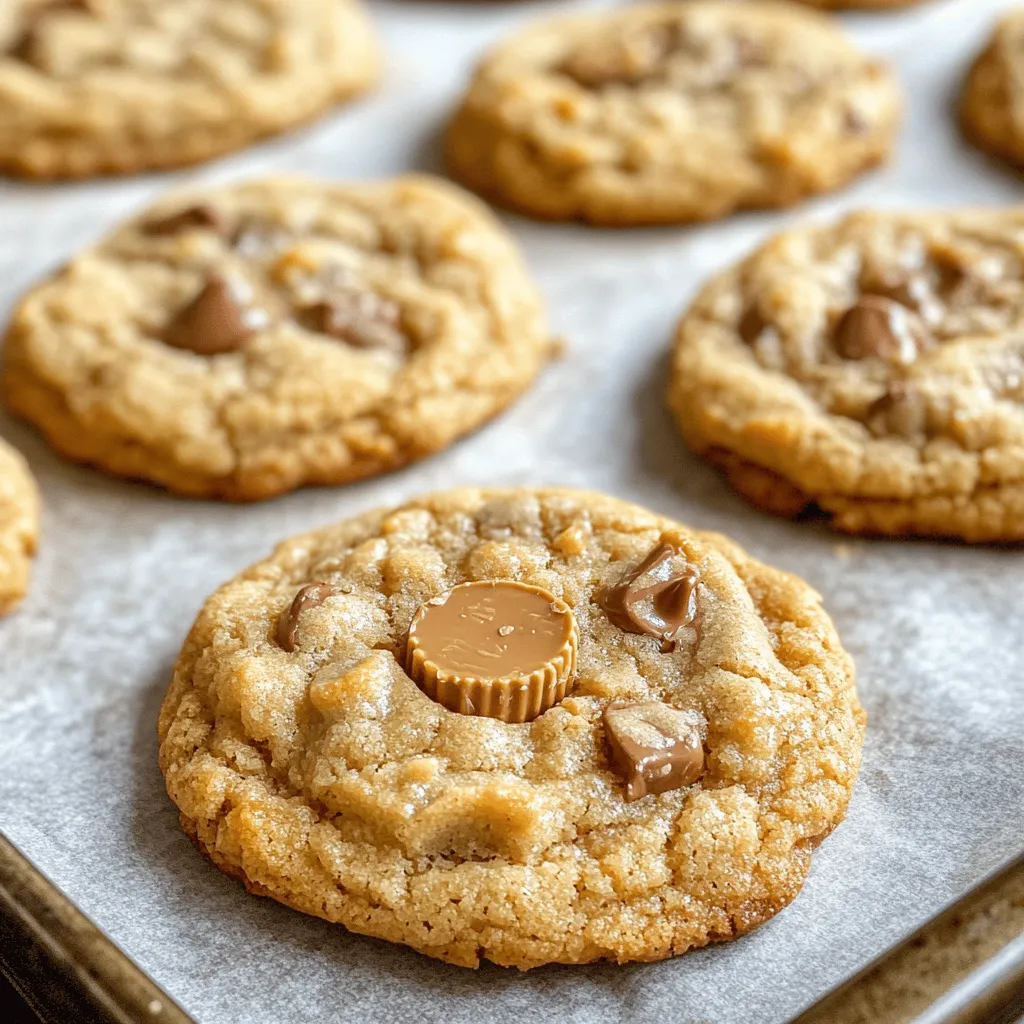
7. Mini Peanut Butter Cups: A Fun Surprise in Every Bite
To take these cookies to the next level, mini peanut butter cups are included for an extra burst of flavor. These bite-sized treats offer a creamy, chocolatey surprise that will delight your taste buds with every bite. They also add a fun visual element to the cookies, making them even more tempting.
8. Suggestions for Ingredient Substitutions
For those with dietary restrictions or preferences, there are several substitutions you can make without compromising the taste of your Peanut Butter Paradise Cookies. For a gluten-free version, simply swap out regular flour for a gluten-free flour blend. If you’re looking to reduce sugar, consider using a sugar substitute like stevia or erythritol. For a vegan version, you can use flaxseed meal mixed with water as an egg replacement and opt for dairy-free chocolate chips. These substitutions ensure that everyone can enjoy the deliciousness of Peanut Butter Paradise Cookies.
Step-by-Step Instructions for Perfect Cookies
Now that you have a solid understanding of the ingredients involved, it’s time to dive into the step-by-step instructions for making your Peanut Butter Paradise Cookies. The process is straightforward and quick, allowing you to enjoy warm, freshly baked cookies in no time.
1. Preheat Your Oven: Start by preheating your oven to 350°F (175°C). This ensures that your cookies will bake evenly.
2. Prepare Baking Sheets: Line your baking sheets with parchment paper or silicone baking mats. This prevents the cookies from sticking and makes for easy cleanup.
3. Mix the Dry Ingredients: In a medium bowl, whisk together the flour, baking soda, and salt. Set it aside as you move on to the next step.
4. Cream the Peanut Butter and Sugars: In a large mixing bowl, combine the creamy peanut butter, granulated sugar, and brown sugar. Use an electric mixer or a wooden spoon to cream the ingredients together until smooth and well combined.
5. Add the Egg and Vanilla: Beat in the egg and vanilla extract, mixing until fully incorporated. The batter should be creamy and cohesive.
6. Combine Wet and Dry Ingredients: Gradually add the dry ingredients to the wet mixture, stirring until just combined. Be careful not to overmix, as this can lead to tough cookies.
7. Fold in the Chocolate Chips and Mini Peanut Butter Cups: Gently fold in the semi-sweet chocolate chips and mini peanut butter cups, ensuring they are evenly distributed throughout the dough.
8. Scoop the Dough: Using a cookie scoop or tablespoon, drop rounded balls of dough onto the prepared baking sheets, leaving enough space between each cookie for spreading.
9. Bake the Cookies: Place the baking sheets in the preheated oven and bake for 10-12 minutes, or until the edges are lightly golden. The centers may look slightly underbaked, but they will continue to cook as they cool.
10. Cool and Enjoy: Remove the cookies from the oven and let them cool on the baking sheets for a few minutes before transferring them to wire racks to cool completely.
With these simple steps, you’ll be well on your way to creating a batch of Peanut Butter Paradise Cookies that are sure to impress. Stay tuned for the next part of this article, where we’ll dive into tips for achieving the best results and answer some common questions about this delectable treat.
Prepping Your Workspace: Tools and Equipment Needed
Before diving into the delicious world of Peanut Butter Paradise Cookies, it’s essential to prepare your workspace. Having the right tools and equipment can make your baking experience smoother and more enjoyable. Here’s what you’ll need:
1. Mixing Bowls: A large bowl for combining wet and dry ingredients and smaller bowls for measuring out ingredients can help keep things organized.
2. Electric Mixer: A stand mixer or hand mixer is ideal for achieving a creamy consistency when mixing peanut butter and sugars.
3. Measuring Cups and Spoons: Accurate measurements are crucial in baking, so have both dry and liquid measuring cups on hand.
4. Rubber Spatula: This tool is perfect for scraping down the sides of your mixing bowl and ensuring everything is well incorporated.
5. Baking Sheets: A couple of ungreased or parchment-lined baking sheets will help you bake multiple batches at once.
6. Parchment Paper: Lining your baking sheets with parchment paper will prevent the cookies from sticking and make cleanup easier.
7. Cookie Scoop: For uniform cookie sizes, a medium cookie scoop is highly recommended.
8. Oven Thermometer: To ensure your oven is at the correct temperature, using an oven thermometer can help avoid undercooked or overcooked cookies.
9. Cooling Rack: Once baked, a cooling rack allows the cookies to cool evenly, preventing them from becoming soggy.
With your workspace set up and tools at the ready, let’s move on to the step-by-step instructions for making these delightful cookies.
Detailed Step-by-Step Instructions
1. Preheat the Oven: Start by preheating your oven to 350°F (175°C). This ensures that the cookies bake evenly and achieve that perfect golden brown color.
2. Mixing the Peanut Butter and Sugars: In your large mixing bowl, combine 1 cup of creamy peanut butter with 1 cup of granulated sugar and 1 cup of packed brown sugar. Using your electric mixer, beat the mixture on medium speed until it becomes smooth and creamy. This should take about 2-3 minutes. The sugars should be fully incorporated into the peanut butter, creating a fluffy consistency that will give your cookies a delightful texture.
3. Incorporating Eggs and Vanilla: Next, add 2 large eggs, one at a time, mixing well after each addition. Then, add 1 teaspoon of vanilla extract. Continue to mix on medium speed until the eggs and vanilla are fully integrated into the batter. This step is crucial as it adds moisture and flavor. Ensure that the batter is smooth without any visible egg streaks.
4. Combining Dry Ingredients: In a separate bowl, whisk together 2 cups of all-purpose flour, 1 teaspoon of baking soda, and a pinch of salt. Gradually add the dry ingredients to the wet mixture, mixing on low speed to avoid a flour cloud. Mix just until the flour is incorporated; overmixing can lead to tough cookies. The dough should be thick but pliable, without any clumps of flour.
5. Folding in Chocolate Chips: Once the dry ingredients are fully combined, gently fold in 1 cup of semi-sweet chocolate chips using a rubber spatula. Be careful not to overwork the dough; you want to maintain the shape of the chocolate chips for a delightful burst of chocolate in every bite.
6. Shaping and Placing Dough on the Baking Sheet: Using your cookie scoop, portion out the dough onto the prepared baking sheets, spacing them about 2 inches apart. This spacing allows the cookies to spread without merging into one another. If you desire larger cookies, you can use a larger scoop, but make sure to adjust the baking time accordingly.
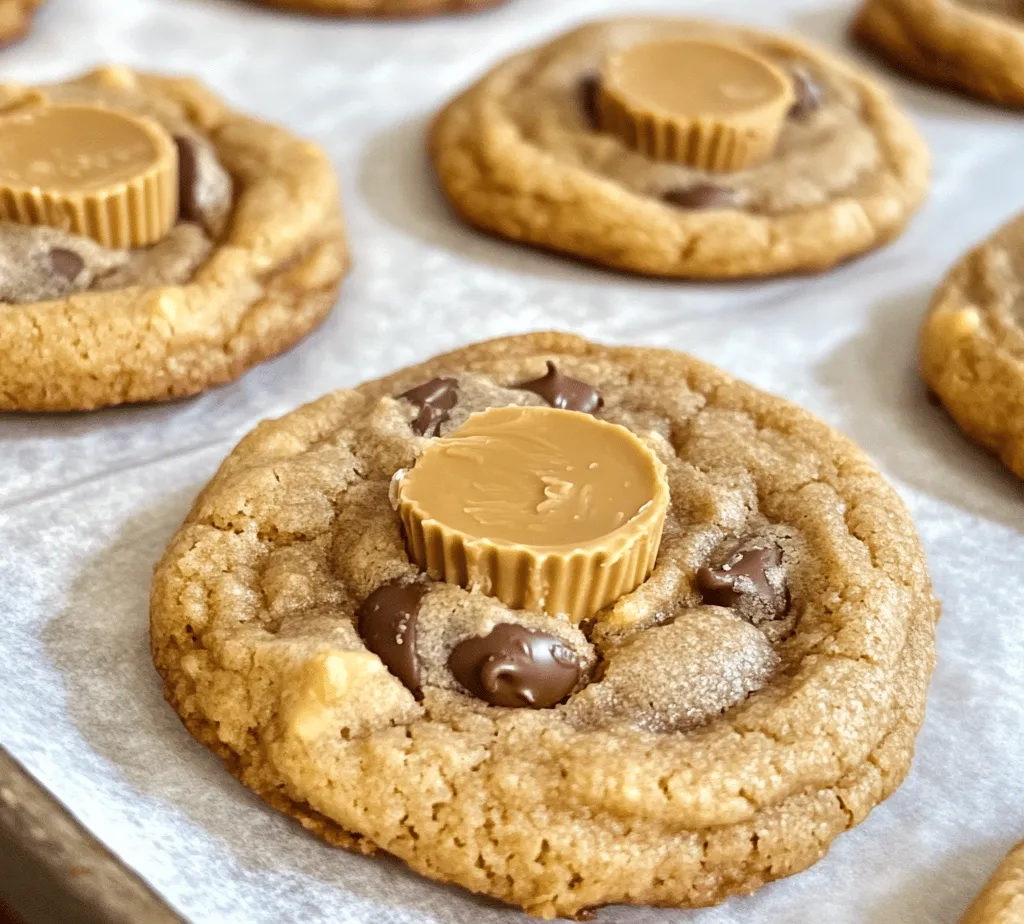
7. Pressing in the Mini Peanut Butter Cups: For the ultimate indulgence, gently press a mini peanut butter cup into the center of each cookie dough ball. Press down just enough to embed the cup without flattening the dough too much. This will create a beautiful and tasty surprise in the center of each cookie.
8. Baking Tips: Bake the cookies in your preheated oven for 10-12 minutes or until the edges are lightly golden. Keep an eye on them, as oven temperatures can vary. You want the centers to look slightly underbaked; they will continue to cook as they cool.
Baking Science: Understanding the Process
The art of baking is not just about following a recipe; it’s a science that involves chemical reactions that create the flavors, colors, and textures we love.
– The Maillard Reaction: This complex reaction occurs when proteins and sugars in the dough react to heat, resulting in the beautiful golden-brown color and rich, nutty flavor of your cookies. This is why monitoring your baking time and temperature is essential; too little time will lead to pale cookies, while too much can burn them.
– Importance of Proper Mixing: Mixing the ingredients correctly is vital for achieving the right texture. Under-mixing can lead to clumps of flour, while over-mixing can develop the gluten in the flour, resulting in tough cookies. Aim for a balance that yields a soft, chewy texture.
– Cooling Cookies: Once removed from the oven, patience is key. Allow the cookies to cool on the baking sheet for about 5 minutes before transferring them to a cooling rack. This resting period lets the cookies set and prevents them from breaking apart. The cooling process also allows the flavors to meld and enhances the overall eating experience.
Serving and Enjoying Peanut Butter Paradise Cookies
Now that your Peanut Butter Paradise Cookies are baked to perfection, it’s time to enjoy them! Here are some serving suggestions and tips to enhance your experience:
1. Pairing with Beverages: These cookies are incredibly versatile and pair wonderfully with a variety of beverages. A tall glass of cold milk balances the richness of the peanut butter and chocolate, making for a classic combination. Alternatively, a warm cup of coffee or tea can complement the flavors beautifully.
2. Creative Serving Ideas: If you’re hosting a party or gathering, consider arranging your cookies on a decorative platter. You can add a drizzle of melted chocolate over the top or sprinkle some sea salt to elevate the flavor. For a fun twist, serve them as ice cream sandwiches by placing a scoop of vanilla or chocolate ice cream between two cookies.
3. Storage Tips: To keep your cookies fresh, store them in an airtight container at room temperature. They can last up to a week, but they are so delicious that they probably won’t last that long! For longer storage, consider freezing the cookies. Place them in a single layer on a baking sheet to freeze, then transfer them to a zip-top bag. They can be reheated in the oven for a few minutes for that freshly-baked taste.
Conclusion
Making Peanut Butter Paradise Cookies is not just about baking; it’s a delightful experience that brings joy and satisfaction. From the moment you mix the ingredients to the final bite, each step is an opportunity to create something wonderful. The combination of creamy peanut butter, rich chocolate, and the surprise of mini peanut butter cups makes these cookies a delectable treat for any occasion.
Baking is a simple yet rewarding activity that allows you to express your creativity and share delicious results with friends and family. Don’t hesitate to experiment with the recipe by adding your favorite mix-ins or trying different types of chocolate. The joy of baking lies in the possibilities, so let your imagination run wild in the kitchen. Enjoy every moment of your baking journey and savor the delightful results that come from your efforts. Happy baking!


