
Savory Beef Tips in Rich Gravy: A Comfort Food Delight
Introduction Nothing quite captures the essence of comfort food like a hearty dish of savory …
Introduction Nothing quite captures the essence of comfort food like a hearty dish of savory …
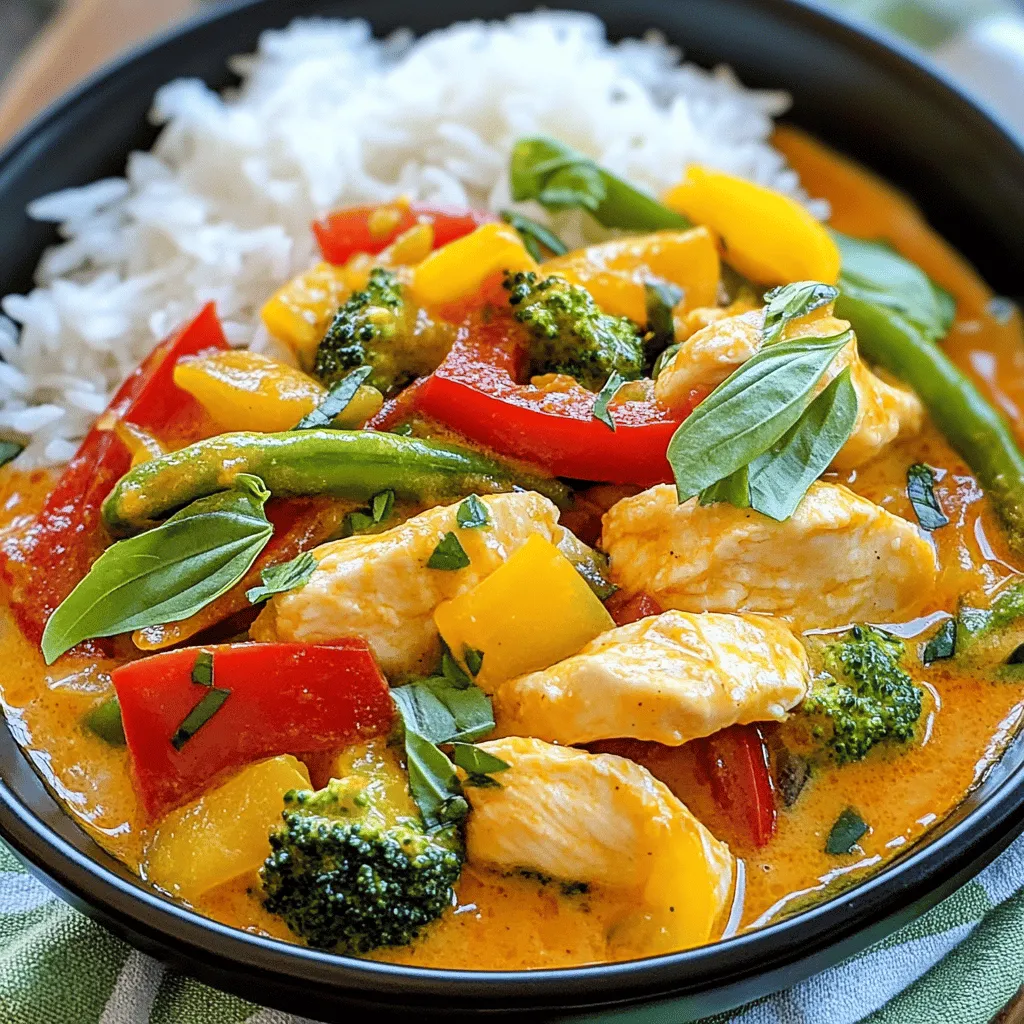
Introduction to Spicy Harmony: Thai Red Curry with Chicken Thai cuisine is renowned for its …

Introduction Rasta Pasta is a vibrant and flavorful dish that elegantly marries the essence of …
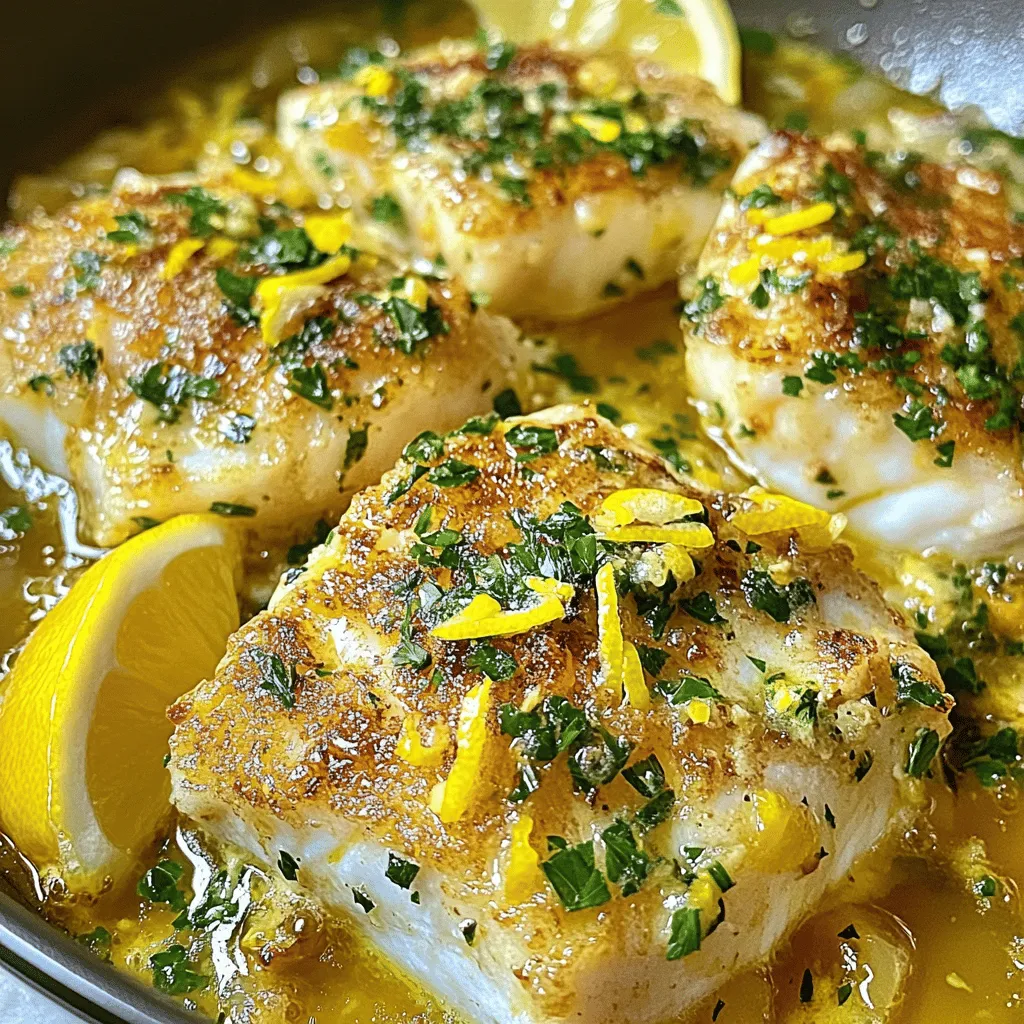
Introduction Welcome to the delightful world of Garlic Butter Cod Delight, a dish that perfectly …

Introduction Discover the joy of cooking with the Air Fryer Garlic Parmesan Chicken Skewers recipe, …

Introduction When it comes to comfort food and entertaining guests, nothing quite captures the essence …

Introduction Garlic Chicken with Olives is a delightful dish that harmonizes the robust flavors of …

Introduction Cheesecake is a dessert that has won the hearts of many. Its creamy texture, …
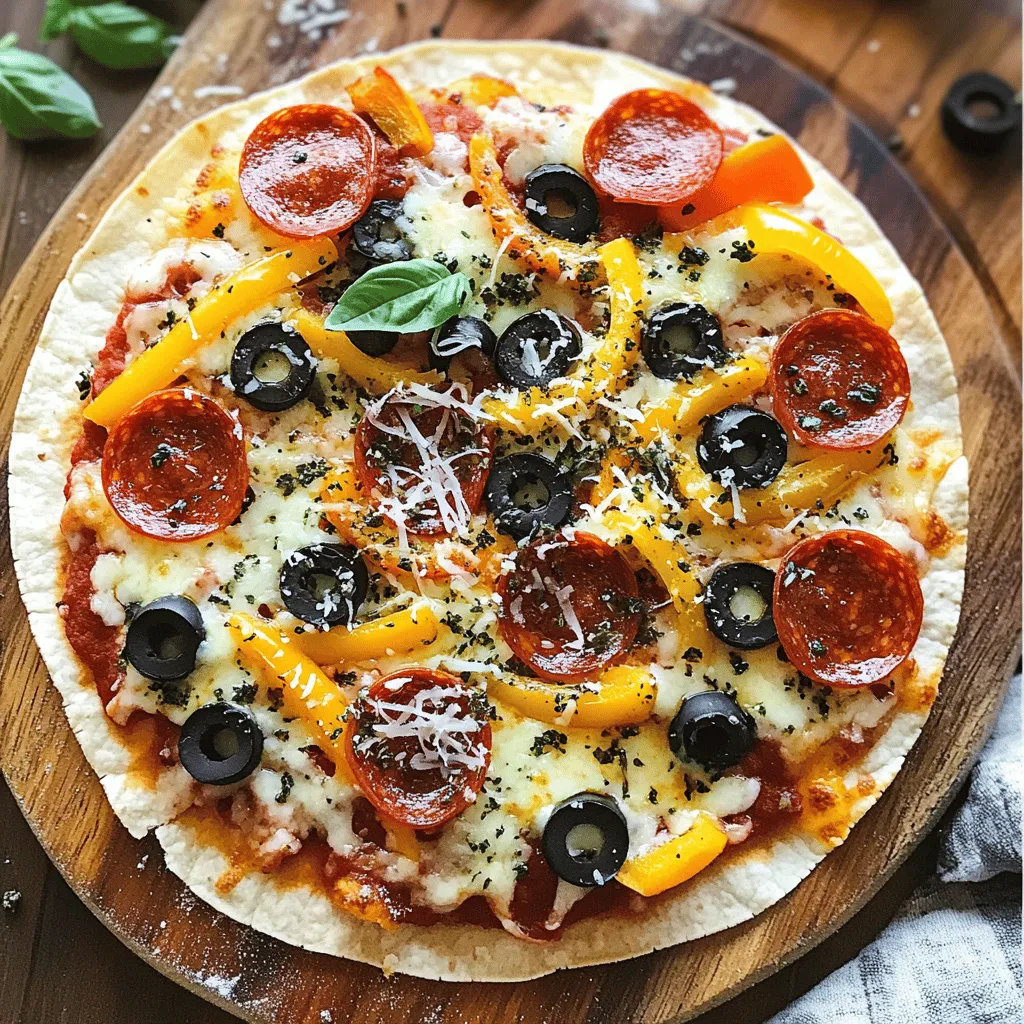
Introduction Pizza has long held a cherished place in the hearts and stomachs of food …

Introduction In recent years, the trend towards plant-based diets has surged, with more people seeking …