Who doesn’t love a sweet, creamy treat on a hot day? No-Churn Strawberry Ice Cream is a simple and delicious dessert you can whip up at home. With fresh strawberries and just a few other ingredients, this recipe is easy enough for anyone. I’ll guide you step-by-step to create a smooth, tasty ice cream without an ice cream maker. Let’s dive into the refreshing world of homemade strawberry ice cream!
Ingredients
Fresh Strawberries
Start with 2 cups of fresh strawberries. Make sure they are ripe and sweet. Hull and slice them to release their juicy flavor. Fresh strawberries give the ice cream its bright color and taste. If you want a sweeter ice cream, use berries that are at peak ripeness.
Sugar Adjustments
Add 1/2 cup of granulated sugar to the strawberries. This helps to enhance their natural sweetness. You may adjust the sugar based on how sweet your strawberries are. If they are very sweet, try using less sugar. Let the strawberries sit for 15-20 minutes. This process helps them create a delicious syrup.
Dairy Components
For the creamy base, use 2 cups of heavy whipping cream. This gives the ice cream its rich texture. You will also need one 14 oz can of sweetened condensed milk. This adds sweetness and creaminess to the mix. Don’t forget 1 teaspoon of vanilla extract for flavor and a pinch of salt to balance the sweetness.
Step-by-Step Instructions
Preparing the Strawberries
Start by taking 2 cups of fresh strawberries. Remove the green tops, then slice them. Place the sliced strawberries in a bowl. Add 1/2 cup of granulated sugar. Toss the berries gently to coat them in sugar. Let them sit for about 15-20 minutes. This process helps the strawberries release their sweet juices. You will get a lovely, syrupy mixture.
Whipping the Cream
Next, grab a large bowl and add 2 cups of heavy whipping cream. Using an electric mixer, whip the cream on medium speed. Keep mixing until stiff peaks form, which takes about 3-5 minutes. The cream should hold its shape well. This step is important for a smooth ice cream texture.
Combining Ingredients
Now, take a separate bowl. Mix 1 can (14 oz) of sweetened condensed milk, 1 teaspoon of vanilla extract, and a pinch of salt. This mixture gives flavor and creaminess to your ice cream. Gently fold the whipped cream into this mixture. Be careful not to deflate the whipped cream. Then, add the macerated strawberries, along with their juices. Fold gently to keep the strawberries intact. If you like, you can also add 1/2 cup of crushed graham crackers at this stage for texture.
Freezing Process
Pour the entire mixture into a clean, airtight container. Smooth the top with a spatula. Cover it with a lid or plastic wrap. Now, it’s time to freeze the ice cream. Place it in the freezer for at least 4-6 hours, or until it is solid. When you are ready to serve, let it sit at room temperature for a few minutes. This will soften it slightly, making it easier to scoop. Enjoy your No-Churn Strawberry Bliss Ice Cream!
Tips & Tricks
Perfecting Texture and Flavor
To make your ice cream smooth and creamy, whip the heavy cream well. Aim for stiff peaks; this helps trap air, giving it a light texture. When you mix in the strawberries, fold gently. This way, you keep the strawberries whole and juicy. Use fresh strawberries for the best taste. If they are too tart, add a little extra sugar to balance the flavor. Remember, the sweetness of the ice cream comes from both the strawberries and the sweetened condensed milk.
Serving Suggestions
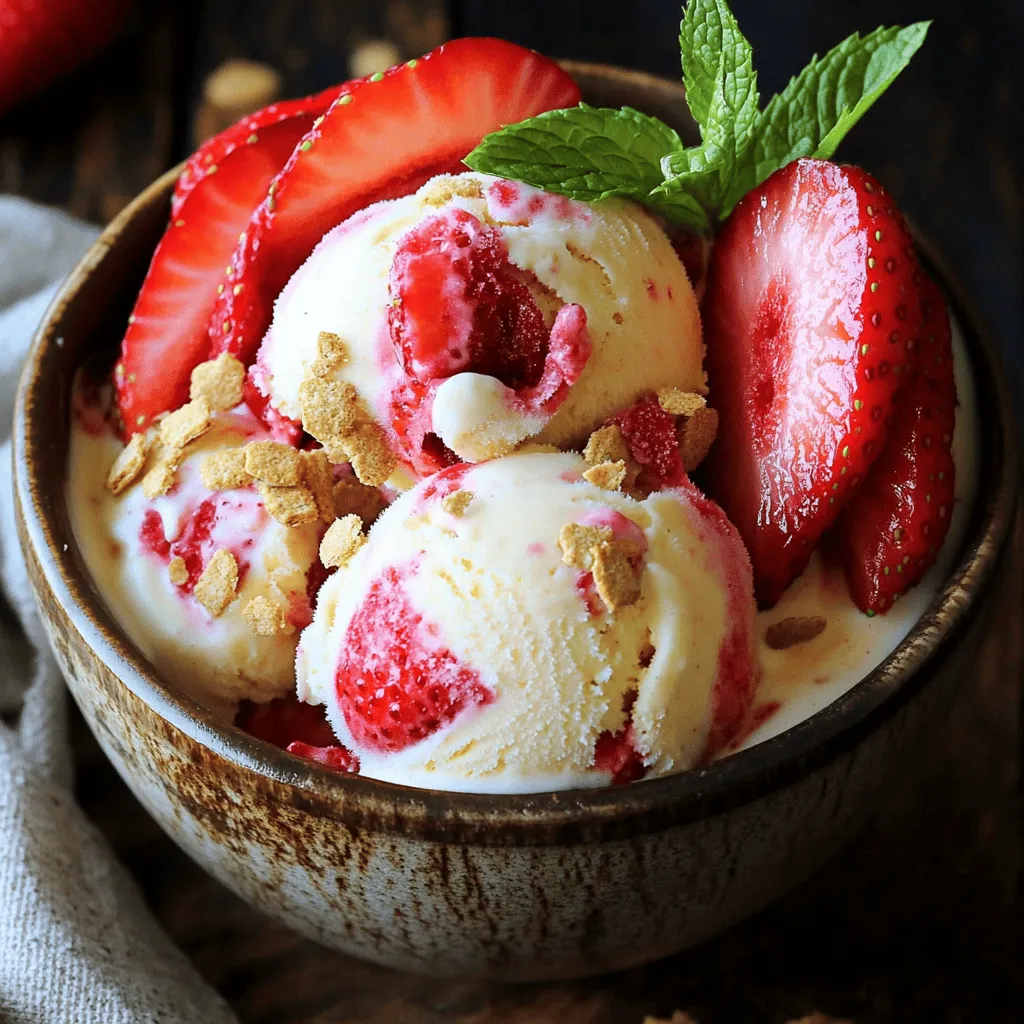
Serve your ice cream in bowls or cones. For a fun twist, use waffle cones for added crunch. Top with fresh strawberry slices for a lovely look. A sprinkle of crushed graham crackers adds a nice texture and flavor. If you want to impress, add a sprig of mint on top. This not only looks good but also adds a pop of color.
Common Mistakes to Avoid
One common mistake is over-whipping the cream. If you whip too much, it can turn into butter. This makes your ice cream too dense. Another mistake is not letting the ice cream sit out a bit before scooping. If it’s too hard, you’ll struggle to serve it. Lastly, don’t skip the macerating step for the strawberries. This helps enhance their flavor and makes the ice cream taste fresh.

Variations
Additional Fruit Options
You can switch up the fruit in your ice cream. Try using blueberries, raspberries, or peaches. Each fruit adds a unique taste. For example, blueberries give a sweet-tart flavor. Raspberries bring a bright, tangy twist. Peaches add a soft, juicy sweetness. Mix and match fruits for fun combos. Just keep the same amounts as the strawberries.
Flavor Combinations
Want to make your ice cream more exciting? Add flavors like lemon zest or mint. A little lemon juice brightens the ice cream. Mint gives a refreshing touch. You can also add chocolate chips or swirls of fudge. These extras make each bite special. Experiment with spices, too! A dash of cinnamon or nutmeg can surprise your taste buds.
Dairy-Free and Vegan Alternatives
You can make this ice cream dairy-free or vegan. Just swap heavy cream with coconut cream. Use a dairy-free sweetened condensed milk, like almond or oat-based. This way, you keep the creamy texture without dairy. Use ripe bananas for natural sweetness. They blend well with strawberries and add a nice flavor. These options keep the ice cream delicious and inclusive for everyone.
Storage Info
Best Storage Practices
To keep your no-churn strawberry ice cream fresh, store it in an airtight container. Make sure the lid fits well. This helps prevent ice crystals from forming. You can also layer plastic wrap on top of the ice cream before sealing the container. This extra step keeps it smooth and creamy.
How Long Does It Last?
No-churn strawberry ice cream lasts about 2 to 3 weeks in the freezer. If you store it properly, it will stay tasty. After this time, the flavor may fade. The texture might change too, becoming more icy. Always check for any off smells or flavors before serving.
Re-freezing Tips
If you need to refreeze your ice cream, do it carefully. First, let it soften at room temperature for a few minutes. This helps to mix it well again. Stir it gently before putting it back in the freezer. Avoid refreezing multiple times. This can ruin the texture and flavor. Always scoop out what you need first, then freeze the rest. Enjoy this simple and delicious treat!
FAQs
Can I use frozen strawberries for this recipe?
Yes, you can use frozen strawberries. Just thaw them first. Slice them before adding to the mix. This will help release their juice. You may need to adjust the sugar based on sweetness.
How do I make No-Churn Strawberry Ice Cream without heavy cream?
You can replace heavy cream with coconut cream or whipped aquafaba. Both options work well. Coconut cream adds a nice flavor. Whipped aquafaba is a great vegan choice. It creates a light texture, perfect for ice cream.
What can I substitute for sweetened condensed milk?
You can use a mix of milk and sugar. For each cup of sweetened condensed milk, combine 1 cup of milk with 1 cup of sugar. Heat it until the sugar dissolves. Let it cool before using. This substitute works well in most recipes.
How do I make this recipe nut-free?
To keep this recipe nut-free, avoid any nut-based creams or milks. Stick to regular dairy or coconut cream. Always check labels on products to ensure they are nut-free. This way, you can enjoy your ice cream safely!
In this blog post, we explored making a tasty strawberry ice cream. We covered key ingredients, from fresh strawberries to sugar and dairy options. Then, we detailed step-by-step instructions to guide you through making this treat. Our tips shared tricks to enhance flavor and texture. We also provided fun variations and smart storage practices to keep your ice cream fresh.
Try these tips and enjoy making your own ice cream at home. It’s a fun way to experiment!


