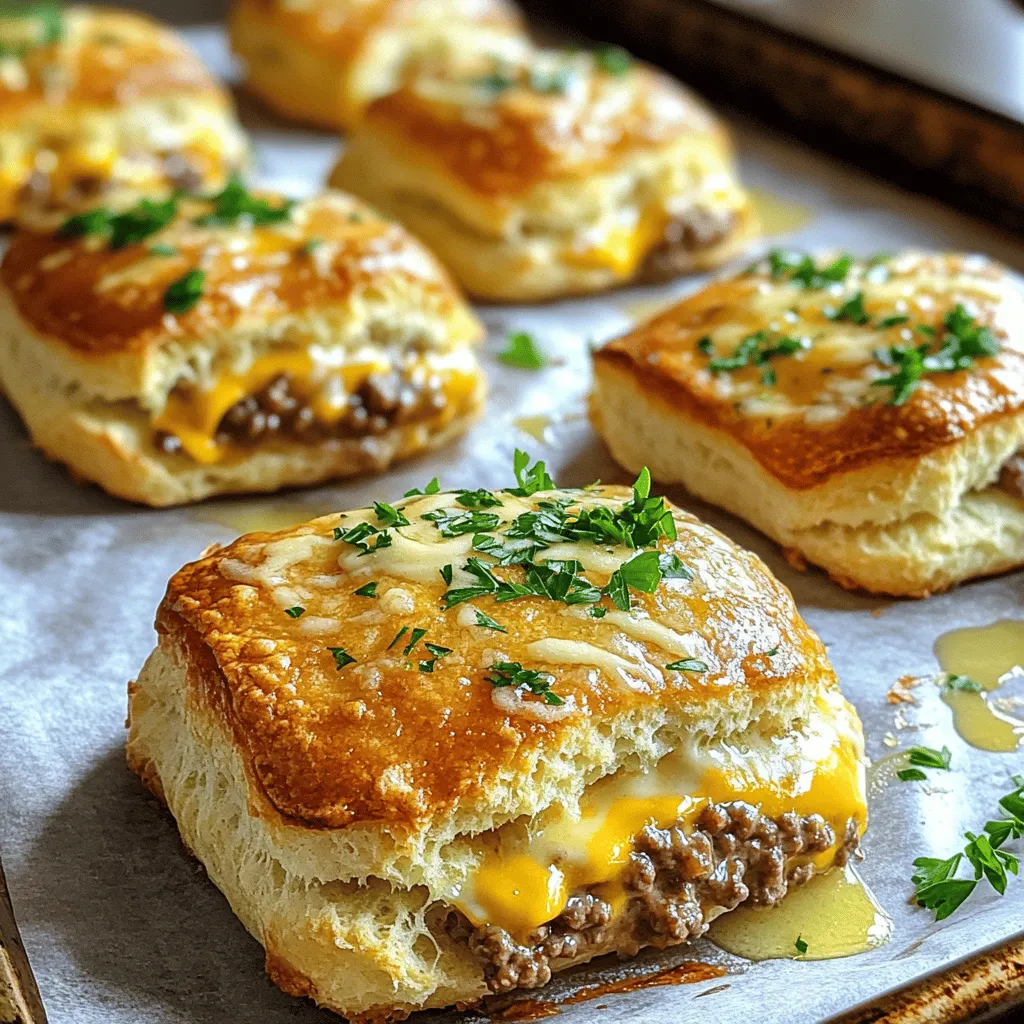
Get ready to drool over these Irresistible Garlic Parmesan Cheeseburger Bombs! If you love cheesy bites packed with flavor, you’re in for a treat. These tasty bombs combine juicy ground beef, melty cheese, and buttery garlic goodness, all wrapped in soft biscuit dough. Perfect for game day or any family dinner, this recipe will have everyone asking for seconds. Let’s dive into these delicious bites and make your next meal unforgettable!
Ingredients
Main Ingredients
– 1 pound ground beef
– 1 cup shredded cheddar cheese
– 1/2 cup grated Parmesan cheese
– 1 tablespoon minced garlic
– 1 teaspoon onion powder
– 1 teaspoon dried oregano
– Salt and pepper to taste
The main stars of this recipe are ground beef and cheese. The beef gives a rich flavor, while cheddar and Parmesan add creaminess and a nice bite. Garlic and onion powder bring out the essence of the beef. Dried oregano adds a touch of earthiness, making each bite a delight. Adjusting salt and pepper helps customize the flavor to your taste.
Biscuit Dough
– 1 package refrigerated biscuit dough (8 biscuits)
I use refrigerated biscuit dough for ease and speed. This dough is soft and puffs up nicely during baking. You can use Southern-style biscuits if you want a flakier texture. For a homemade option, try making your own biscuit dough with flour, baking powder, and butter.
Garnishes
– Fresh parsley, chopped (for garnish)
Fresh parsley adds a pop of color and freshness. You can also use other herbs like chives or basil for a different taste. These herbs balance the richness of the cheeseburger bombs. A little sprinkle on top makes them look even more tasty.
Step-by-Step Instructions
Preparation Steps
Prepping the oven and baking sheet
First, you need to preheat your oven to 375°F (190°C). This heat ensures your cheeseburger bombs cook evenly. While the oven warms up, line a baking sheet with parchment paper. This step helps prevent sticking and makes cleanup easier.
Preparing the filling
In a large mixing bowl, combine the ground beef, shredded cheddar cheese, grated Parmesan cheese, minced garlic, onion powder, dried oregano, salt, and pepper. Mix these ingredients well with your hands or a spoon. You want a uniform mixture for great flavor in every bite.
Assembling the Bombs
How to flatten biscuit dough
Open the package of refrigerated biscuit dough. Take out each biscuit and place it on a clean surface. Use your hands or a rolling pin to flatten each biscuit to about 4 inches in diameter. Make sure they are even for the best results.
Filling and sealing techniques
Spoon about 2 tablespoons of the cheeseburger mixture into the center of each flattened biscuit. Carefully fold the edges over the filling. Pinch the seams tightly to seal them completely. This helps the filling stay inside while baking.
Baking Instructions
Optimal baking time and temperature
Place the stuffed biscuits seam-side down on the prepared baking sheet. Brush the tops with melted butter and sprinkle extra Parmesan cheese on top. Bake the bombs in your preheated oven for about 15 to 20 minutes.
Signs of doneness
Look for a golden brown color on the tops of the bombs. You can also check if they are cooked through by cutting one open. The filling should be hot and bubbly. When done, remove them from the oven and let cool slightly before serving.Enjoy your delicious Garlic Parmesan Cheeseburger Bombs!
Tips & Tricks
Perfecting the Flavor
To make your garlic Parmesan cheeseburger bombs shine, adjust the seasonings to your taste. If you love heat, add a dash of cayenne pepper. For a zestier flavor, mix in a teaspoon of Worcestershire sauce. You can also try adding diced jalapeños for a spicy kick. Another great option is to include finely chopped green onions for extra crunch and flavor.
Feel free to get creative with additional ingredients. For instance, you can add cooked bacon bits to the beef mixture for a smoky flavor. You could also swap out cheeses. Try using mozzarella for a gooey texture or pepper jack for some spice. Each change can make your bombs unique.
Serving Suggestions
These cheeseburger bombs pair well with a variety of dipping sauces. Classic ketchup and mustard are always a hit. You might also enjoy ranch dressing for a creamy touch. For something bolder, try a spicy aioli or barbecue sauce.
When it comes to side dishes, keep it simple. A fresh salad with tangy vinaigrette complements the rich flavors of the bombs. You can also serve them with crispy sweet potato fries for a fun twist. These options balance the meal and keep it light.
Cooking in Batches
If you want to save time, cook in batches. You can make a large batch of these bombs and freeze them before baking. Just place the unbaked bombs on a baking sheet and freeze for about an hour. Once frozen, transfer them to a freezer bag. This way, you can bake them whenever you want a quick snack.
When you’re ready to eat, you can reheat them straight from the freezer. Just add a few extra minutes to your baking time. This makes meal prep easy and allows you to enjoy delicious snacks anytime.

Variations
Ingredient Swaps
You can switch up the meat in this recipe. Ground turkey or chicken works well. Each gives the bombs a lighter taste. If you want to try something different, use pork or lamb.
For a vegetarian option, use plant-based ground meat. You can also use black beans or lentils. They add a hearty texture and flavor. Just mix with the cheeses and seasonings as you would with meat.
Flavor Enhancements
Want some heat? Add diced jalapeños or red pepper flakes to the filling. These spicy additions bring a kick to each bite. You can also try sriracha or hot sauce for an extra zing.
Mixing cheeses can take your bombs to the next level. Instead of cheddar, use pepper jack for a spicy twist. Or try mozzarella for a gooey texture. You can even blend cheeses for a tasty surprise.
Serving Styles
These cheeseburger bombs can shine as an appetizer or a main course. Serve them hot with dipping sauces like ranch or ketchup. They are also great at parties or game days.
If you want smaller bites, make sliders. Use the same filling but cut the dough into smaller pieces. Full-sized bombs are great for a meal. Choose what fits your occasion best.
Storage Info
Storing Leftovers
To keep your leftover garlic Parmesan cheeseburger bombs fresh, wrap them tightly. Use plastic wrap or aluminum foil for the best results. You can also place them in an airtight container. This method protects them from air and moisture.
Refrigerator vs. Freezer
In the refrigerator, these bombs last about 3 days. If you freeze them, they can last up to 3 months. Just make sure to label the container with the date. This way, you know when you made them.
Reheating Recommendations
When you’re ready to enjoy your leftovers, the oven is the best choice. Preheat it to 350°F (175°C). Place the bombs on a baking sheet and heat for about 10-15 minutes. This keeps them crispy.
Microwave Option
You can use the microwave, but they might get soggy. If you do, heat them for about 30 seconds. Check if they are warm enough and heat more if needed.
Re-crisping Techniques
If they lose their crunch, try broiling them for a minute or two after microwaving. This adds back some crispiness.
Shelf Life
These garlic Parmesan cheeseburger bombs stay fresh for about 3 days in the fridge. If frozen, they can last for about 3 months.
Signs of Spoilage
Watch for changes in color or texture. If they smell off or look dry, it’s best to throw them away. Always trust your senses when checking for freshness.
FAQs
Common Questions
Can I use frozen ground beef?
Yes, you can use frozen ground beef. Just thaw it first. You can do this overnight in the fridge. If you’re in a hurry, use the microwave. Make sure it is fully thawed before mixing it with the cheese and spices.
What can I use instead of biscuit dough?
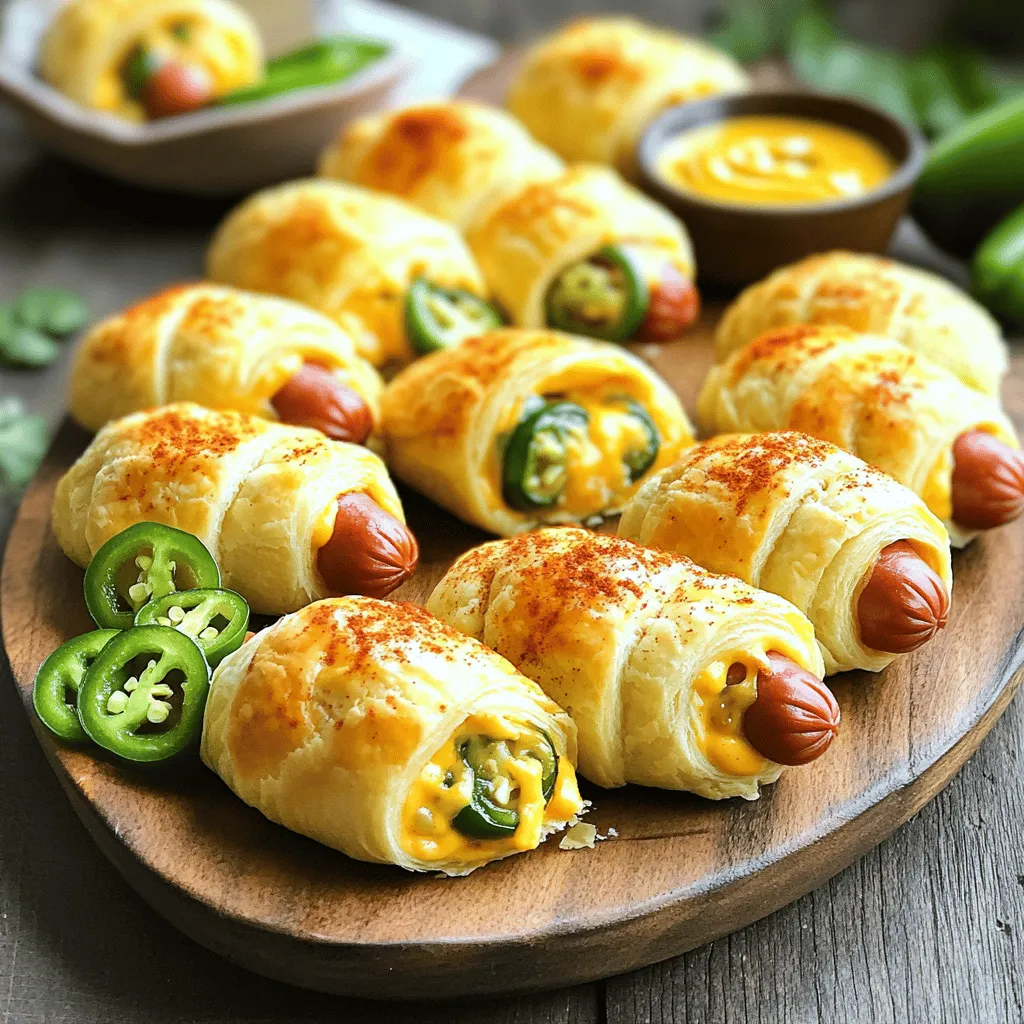
If you want, you can use pizza dough or puff pastry. Both will give a nice texture. You can also try crescent roll dough for a different taste. Just make sure to adjust baking time if needed.
Cooking and Preparation
Can I prepare these ahead of time?
Yes, you can make them ahead. Prepare the cheeseburger bombs and seal them. Store them in the fridge for up to one day. When ready, bake them as directed. This saves time on busy days.
What is the best temperature for baking?
The best temperature for baking these bombs is 375°F (190°C). This heat cooks them evenly and gives a golden color. Always preheat your oven to ensure the best results.
Customization Queries
How to adjust for dietary restrictions?
To adjust for dietary needs, use ground turkey or chicken instead of beef. You can also replace cheese with dairy-free options. Always check labels for hidden allergens.
Tips for making them gluten-free?
For a gluten-free option, use gluten-free biscuit dough. Many stores sell this now. You can also make your own using gluten-free flour. Just follow a trusted recipe to ensure they turn out well.
In this blog post, we explored how to make delicious biscuit bombs from start to finish. We discussed key ingredients like ground beef, tasty cheeses, and seasonings. We covered biscuit dough choices, garnishes, and essential tips to enhance flavor. You learned how to assemble and bake these treats, plus options for variations and storage.
Now, go ahead and make your own biscuit bombs. Enjoy them as a snack, meal, or share them with friends. Happy cooking!


