Introduction
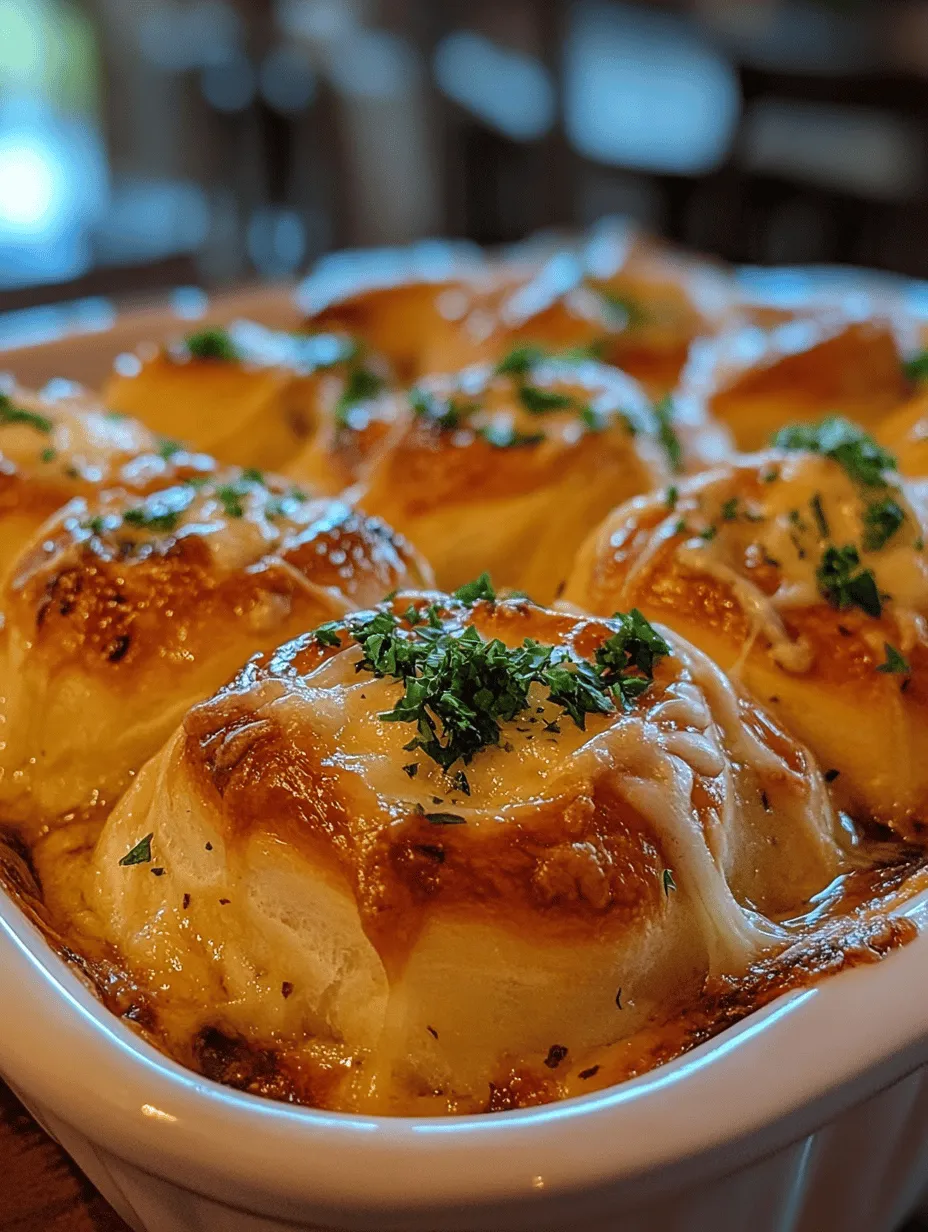
There’s something incredibly comforting about the smell of freshly baked bread wafting through your home. The warmth of the oven, the soft texture of the dough, and the anticipation of that first buttery bite create a sensory experience that is hard to replicate. Among the many variations of homemade bread, few are as delightful as garlic butter rolls. These rolls are not only fluffy and tender but also infused with rich garlic flavor and a hint of herbs that make them irresistible.
Garlic butter rolls are the perfect accompaniment to a variety of meals, from hearty soups to elegant dinner parties. Their versatility and deliciousness mean they can elevate any occasion, whether it’s a cozy family dinner or a festive gathering with friends. In this guide, we will take an in-depth look at how to make these Garlic Butter Bliss Rolls from scratch. From understanding each ingredient’s role to mastering the art of yeast activation and crafting the perfect dough, you’ll be equipped with all the knowledge needed to create these heavenly rolls.
Understanding the Ingredients
The success of any recipe begins with its ingredients, and the Garlic Butter Bliss Rolls are no exception. Each component plays a crucial role, contributing to the rolls’ flavor, texture, and overall appeal.
All-Purpose Flour
All-purpose flour forms the foundation of our rolls. It provides the necessary structure and stability to the dough. When combined with water and yeast, the flour proteins form gluten – a network that gives bread its chewy texture. For these rolls, the use of all-purpose flour strikes the right balance between softness and strength, allowing the rolls to rise beautifully without collapsing.
Active Dry Yeast
Active dry yeast is the leavening agent that will make our rolls fluffy and light. It’s essential for fermentation, which produces carbon dioxide gas that causes the dough to rise. When the yeast is activated properly, it contributes to the rolls’ airy texture and delightful chewiness.
Warm Milk
Warm milk is another key player in this recipe. It not only adds a subtle sweetness to the rolls but also helps to activate the yeast. The warmth of the milk creates an ideal environment for the yeast to thrive, speeding up the fermentation process. When using milk, it’s important to ensure it’s not too hot, as excessive heat can kill the yeast, preventing the dough from rising.
Butter
Butter is a star ingredient in both the dough and the filling. In the dough, it enriches the texture, making the rolls tender and flavorful. The butter also helps to create a golden crust when baked. In the filling, melted garlic butter adds a luxurious taste that permeates each roll, enhancing the overall flavor profile.
Garlic and Herbs
Garlic is the soul of these bliss rolls, lending a savory kick that pairs perfectly with the buttery richness. Fresh garlic, when sautéed in butter, releases its aromatic oils, providing a robust flavor that permeates the rolls. Additionally, herbs such as parsley or thyme can be added to the filling for a pop of freshness and color, elevating the taste even further.
Optional Grated Parmesan Cheese
For those looking to take their garlic butter rolls to the next level, grated Parmesan cheese is an optional addition that adds a delightful umami flavor. This cheesy component can enhance the overall taste and create a richer filling that complements the garlic beautifully.
The Art of Yeast Activation
Activating yeast is a crucial step in the bread-making process. If done correctly, it will ensure that your rolls rise properly and achieve that light, airy texture we all crave. The first step in activating yeast is to dissolve it in warm milk. The ideal temperature for the milk is around 100°F to 110°F (37°C to 43°C). This warmth encourages the yeast to wake up and start feeding on the sugars present in the milk, producing carbon dioxide gas.
When you add the yeast to the warm milk, let it sit for about 5 to 10 minutes. You’ll know it’s activated when you see bubbles forming on the surface and a foamy layer develops. This is a sign that the yeast is alive and ready to work its magic in the dough.
Common Mistakes to Avoid
While activating yeast may seem straightforward, there are a few common pitfalls to avoid:
1. Using Milk That’s Too Hot: If the milk is overheated, it can kill the yeast, rendering it ineffective. Always check the temperature to ensure it’s warm but not scalding.
2. Not Allowing Enough Time: Rushing the activation process can lead to flat rolls. Make sure to give the yeast enough time to foam and bubble.
3. Using Expired Yeast: Always check the expiration date on your yeast package. Using expired yeast can result in poor fermentation and dense rolls.
Crafting the Perfect Dough
Once your yeast is activated, it’s time to move on to crafting the dough. This process is where the magic truly begins. Start by combining the activated yeast mixture with the all-purpose flour and softened butter in a large mixing bowl. Mix until the ingredients come together to form a shaggy dough.
Kneading the Dough
Kneading is a vital step that develops the gluten structure in the dough. This process creates elasticity, allowing the dough to rise properly. To knead the dough, turn it out onto a lightly floured surface and use the heel of your hand to push the dough away from you. Fold it back over itself, give it a quarter turn, and repeat the process. Knead for about 8 to 10 minutes until the dough is smooth and elastic.
Identifying When Dough is Ready
A well-kneaded dough is essential for achieving the desired texture in your rolls. You can check if your dough is ready by performing the “windowpane test.” Take a small piece of dough and stretch it gently between your fingers. If it stretches thin enough to let light pass through without tearing, it’s ready for the first rise. The dough should also feel smooth and slightly tacky to the touch.
The Rising Process: Patience is Key
After kneading, it’s time to let the dough rise. This first rise, or bulk fermentation, is crucial for developing flavor and texture. During this stage, the yeast continues to ferment, producing carbon dioxide that causes the dough to expand.
Optimal Rising Conditions
For the best results, place the dough in a warm, draft-free area. An ideal temperature for rising is around 75°F to 80°F (24°C to 27°C). If your kitchen is cool, you can create a warm environment by preheating your oven to the lowest setting, then turning it off and placing the dough inside with the door slightly ajar.
What Happens During the Rise
As the dough rises, it undergoes a transformation. The yeast ferments the sugars, creating gas bubbles that cause the dough to expand. This process also enhances the flavor of the bread, resulting in a more complex, delicious roll. Aim for the dough to double in size, which usually takes about 1 to 1.5 hours, depending on the temperature and humidity of your environment.
Creating the Garlic Butter Filling
While the dough is rising, it’s the perfect time to prepare the garlic butter filling. This step is crucial, as the filling is what makes these rolls truly special.
Start by melting butter in a small saucepan over low heat. Once melted, add minced garlic and sauté until fragrant, about 1-2 minutes. Be careful not to burn the garlic, as it can turn bitter.
Next, stir in your choice of herbs and spices. Fresh parsley is a classic addition, but feel free to experiment with other herbs like thyme or oregano if you prefer a different flavor profile. For an extra layer of richness, consider adding grated Parmesan cheese to the garlic butter mixture. This will lend a delightful umami flavor that pairs beautifully with the garlic.
Once your garlic butter filling is ready, set it aside to cool slightly while the dough continues to rise.
Shaping Your Rolls
After the dough has completed its first rise and doubled in size, it’s time to shape the rolls. Start by gently punching down the dough to release any air bubbles formed during the rising process. Turn it out onto a lightly floured surface and divide it into equal portions. Depending on how large you want your rolls, aim for 12 to 16 pieces.
To shape each roll, flatten a piece of dough into a small circle, then spoon a small amount of the garlic butter filling into the center. Gather the edges of the dough to create a pouch, pinching the seams to seal in the filling. Place the shaped rolls seam-side down onto a baking sheet lined with parchment paper.
Final Rise
Before baking, allow the rolls to rise again for about 30 minutes. This second rise is essential for achieving that light, fluffy texture we desire. Cover the rolls with a clean kitchen towel to keep them warm and prevent them from drying out.
As you prepare for the final baking, preheat your oven to 375°F (190°C).
With the rolls shaped and rising, the anticipation of baking these Garlic Butter Bliss Rolls builds. The next part of our journey will involve baking, finishing touches, and the ultimate enjoyment of these delicious creations.
Stay tuned for part two, where we will delve into the baking process and tips for serving these irresistible rolls warm from the oven!
Rolling the Dough: Achieving Perfect Shape and Size
Once your dough has risen beautifully, it’s time to shape it into delightful rolls. Start by sprinkling a little flour onto your work surface to prevent sticking. Gently punch down the dough to release the air, and then transfer it onto the floured surface. Using your hands, flatten the dough into a rectangle about 1-inch thick. This step is crucial as it helps achieve uniform rolls.
Next, visualize cutting the dough into equal pieces. Use a sharp knife or a bench scraper to slice the rectangle into strips, roughly 2 inches wide. Then, cut each strip into smaller squares or pieces, about 2 inches each. This method ensures that each roll bakes uniformly, offering a consistent size and texture across the board.
To shape each piece, take one square of dough and flatten it slightly in your palm. Fold the edges toward the center to create a small pouch, pinching the seams to seal. Then, roll it gently between your palms to form a smooth ball. Place each shaped roll seam-side down on a baking sheet lined with parchment paper. This visual process not only creates a beautiful presentation but also enhances the overall texture of the rolls.
The Importance of the Second Rise
The second rise is a crucial step in the bread-making process that significantly impacts the final texture of your Garlic Butter Bliss Rolls. During this phase, the yeast continues to work, creating air pockets that contribute to the light, fluffy texture that we all adore in freshly baked bread.
To ensure your rolls rise properly, place them in a warm, draft-free environment. A common technique is to cover the baking dish with a clean kitchen towel or plastic wrap. This covering helps retain moisture, preventing the surface of the dough from drying out. Allow the rolls to rise until they have doubled in size, which typically takes about 30 to 45 minutes. You can also place them in a slightly warm oven to speed up the process; just be sure to keep an eye on them to avoid overheating.
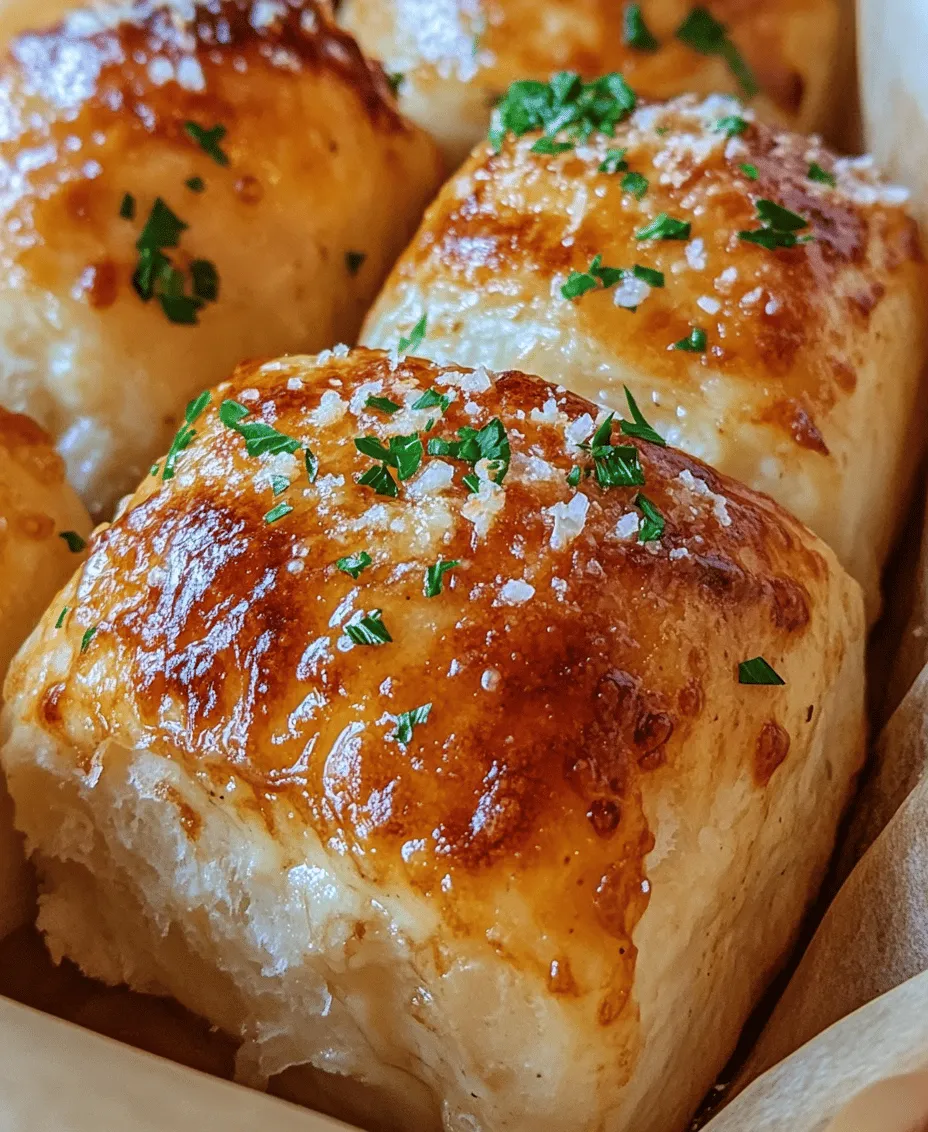
Baking to Perfection
With your rolls beautifully risen, it’s time to preheat the oven. Set your oven to 375°F (190°C) and allow it to heat thoroughly. While the oven is warming up, brush the tops of the rolls with a generous amount of melted garlic butter. This not only adds flavor but also helps achieve a gorgeous golden-brown crust.
The ideal baking time for these rolls is between 20 to 25 minutes. Keep a close eye on them as they bake, checking for a golden brown color. A good indicator of doneness is when you tap the bottom of a roll and it sounds hollow. Additionally, the rolls should feel light and spring back when pressed gently.
If you find that the tops are browning too quickly while the insides are still undercooked, you can tent them loosely with aluminum foil to allow them to finish baking without burning the tops.
Serving Suggestions for Garlic Butter Bliss Rolls
Garlic Butter Bliss Rolls are incredibly versatile and can enhance a variety of meals. For casual dining, serve them warm straight from the oven alongside a hearty soup, like minestrone or tomato basil. They also pair beautifully with fresh salads, providing a delightful contrast to the crisp greens.
For a more formal occasion, consider using these rolls as an appetizer. Serve them with a side of herbed olive oil for dipping or a creamy garlic aioli. The rich flavors of the rolls will complement a wide range of dishes, making them a perfect addition to both casual family dinners and elegant gatherings.
Storing and Reheating Leftovers
If you find yourself with leftover Garlic Butter Bliss Rolls (though it’s hard to imagine), proper storage is key to maintaining their freshness. Allow the rolls to cool completely, then place them in an airtight container or sealable plastic bag. They can be stored at room temperature for up to two days. For longer-term storage, consider freezing them. Wrap each roll tightly in plastic wrap and then place them in a freezer bag, where they can be stored for up to three months.
When you’re ready to enjoy the rolls again, reheating is simple. For the best results, preheat your oven to 350°F (175°C) and place the rolls on a baking sheet. Cover them with aluminum foil to retain moisture and heat for about 10-15 minutes until warmed through. You can also microwave them for about 15-20 seconds, but be careful not to overheat, as this can lead to a chewy texture.
Nutritional Information
Garlic Butter Bliss Rolls are a delightful treat, but as with any baked good, moderation is key. Each roll contains a balance of carbohydrates, fats, and proteins, making them a satisfying addition to your meals. On average, each roll is approximately 150-200 calories, depending on the size and the amount of garlic butter used.
However, it’s important to note potential allergens, particularly for those with gluten sensitivities or dairy allergies. The primary ingredients include flour, butter, and yeast, so be sure to substitute with gluten-free flour and dairy-free butter if necessary. Always consult with a nutritionist or dietary expert if you have specific dietary concerns.
Conclusion
Making Garlic Butter Bliss Rolls is not just about the end product; it’s about the joy of baking and the satisfaction that comes from creating something delicious from scratch. The process of kneading the dough, watching it rise, and filling your home with the warm aroma of baking bread brings a sense of fulfillment that is unmatched.
These rolls can be a centerpiece at your dinner table, inviting family and friends to gather and share in the experience of homemade goodness. Whether served alongside a comforting soup, dressed up for a special occasion, or enjoyed fresh from the oven, these rolls are sure to create memorable moments.
So embrace the baking process, gather your ingredients, and get ready to experience the bliss of Garlic Butter Bliss Rolls. Your culinary adventure awaits, and the rewards are well worth the effort.


