Introduction
If you’re a fan of desserts, it’s hard to overlook the timeless allure of Oreo cookies. These delightful chocolate sandwich cookies, filled with a smooth cream center, have carved their niche in the hearts of dessert lovers worldwide. From classic milk dunking to elaborate desserts, Oreos have consistently inspired creativity in the kitchen. Among the myriad of recipes that celebrate this beloved treat, Oreo Bliss Balls have emerged as a favorite for their simplicity and decadence.
Oreo Bliss Balls are an incredibly easy no-bake treat that combines the lusciousness of cream cheese with the irresistible flavor of Oreos. They offer a delightful bite-sized indulgence that’s perfect for gatherings, parties, or just a sweet pick-me-up at home. The best part? They require minimal preparation time and no baking skills, making them suitable for bakers of all levels. Whether you’re a seasoned chef or a novice in the kitchen, these bliss balls promise satisfaction with every bite.
As we delve into this recipe, we’ll explore the ingredients that make these Oreo Bliss Balls so special and provide detailed preparation steps to ensure your success in creating these sweet morsels.
Understanding the Ingredients
The secret to the perfect Oreo Bliss Balls lies in the quality and combination of ingredients. Here’s a closer look at what you’ll need to bring this recipe to life:
Oreo Cookies
At the heart of this recipe are the iconic Oreo cookies. Their distinct chocolate flavor and crunchy texture provide the foundational taste and structure for the bliss balls. When crushed, they create a rich, cocoa-infused crumb that blends beautifully with the other ingredients. While classic Oreos are the most popular choice, feel free to experiment with other varieties like Double Stuf or even seasonal flavors for a unique twist. Just remember that the essence of the Oreo should remain intact, so choose cookies that complement the creaminess of the filling.
Cream Cheese
Next, we have cream cheese, which adds a rich and creamy texture to the bliss balls. The cream cheese binds the crushed Oreos together, transforming them from mere crumbs into a delightful dough-like mixture. Opt for full-fat cream cheese for the best results, as it provides a richer taste. Additionally, let the cream cheese sit at room temperature for a bit before mixing; this will make it easier to blend and ensure a smooth consistency. The creaminess of this ingredient not only enhances the flavor but also balances the sweetness of the Oreos.
Chocolate Melts
To coat your Oreo Bliss Balls, you’ll need chocolate melts. These come in various types—dark, milk, or white chocolate—allowing you to customize your treats to your liking. Each type of chocolate brings its unique flavor profile; dark chocolate offers a slightly bitter contrast to the sweetness of the Oreos, while milk chocolate provides a classic sweetness. White chocolate, on the other hand, adds a creamy and sweet finish. Choose a high-quality brand for the best melting and coating results.
Coconut Oil
Coconut oil plays a crucial role in the melting and coating process. By adding a small amount of coconut oil to your chocolate melts, you can achieve a smoother consistency that adheres better to the bliss balls. It also helps the chocolate set with a nice sheen. If you prefer a different flavor, you can substitute it with vegetable oil, but the coconut oil not only enhances texture but adds a subtle tropical note to your treats.
Importance of Quality Ingredients
Using quality ingredients is essential for optimal flavor and texture. Since this recipe has few components, each one plays a significant role in the overall outcome. Fresh Oreos, rich cream cheese, and high-quality chocolate will yield bliss balls that are not only visually appealing but also deliciously indulgent. Investing in quality ingredients will make a noticeable difference, elevating your Oreo Bliss Balls from ordinary to extraordinary.
Preparation Steps Explained
Now that you’re familiar with the key ingredients, let’s break down the preparation process into easy-to-follow steps. This will ensure that you create perfectly shaped and flavorful Oreo Bliss Balls every time.
Crushing the Oreos
The first step in making these bliss balls is to crush the Oreos into fine crumbs. There are several techniques you can use to achieve this:
1. Food Processor: This is the quickest and most efficient method. Simply place the Oreos in a food processor and pulse until they reach a fine crumb consistency. Be careful not to over-process; you want crumbs, not dust.
2. Zip-Top Bag and Rolling Pin: If you don’t have a food processor, place the Oreos in a zip-top bag, seal it tightly, and use a rolling pin to crush them. This method allows for a bit of exercise while ensuring you have control over the crumb size.
3. Mortar and Pestle: For those who enjoy a more hands-on approach, a mortar and pestle can be used to crush the Oreos. It’s a traditional method that allows you to enjoy the process while getting a great workout.
Regardless of the method you choose, aim for a fine crumb to ensure the bliss balls hold together well.
Mixing with Cream Cheese
Once your Oreos are crushed, it’s time to mix them with the cream cheese. In a large mixing bowl, combine the Oreo crumbs with softened cream cheese. Use a spatula or your hands to blend the ingredients until they are thoroughly combined. The mixture should be moist and hold together when pressed. If it feels too crumbly, you can add a bit more cream cheese until you reach the desired consistency. Be sure to mix until there are no visible streaks of cream cheese left; the goal is to achieve a uniform dough-like mixture.
Forming the Balls
With your mixture ready, it’s time to shape the bliss balls. Use a small cookie scoop or your hands to portion out the mixture. Aim for approximately one-inch balls; this size ensures they are bite-sized and easy to pop in your mouth. Roll each portion between your palms to create a smooth ball, making sure to apply even pressure. For uniformity, you can weigh each portion if you have a kitchen scale, or simply eyeball it if you’re comfortable.
Once shaped, place the balls on a parchment-lined baking sheet. This will prevent them from sticking and make for easy transfer to the freezer. Once all the mixture has been rolled into balls, it’s crucial to chill them for at least 30 minutes. Chilling allows the cream cheese to firm up, which makes them easier to dip in chocolate later.
Importance of Chilling the Mixture
Chilling the mixture serves an essential purpose in the preparation process. Not only does it help the bliss balls maintain their shape during dipping, but it also enhances the overall flavor as the ingredients meld together. The chilling time allows the cream cheese to firm up, which prevents the balls from falling apart when coated in chocolate.
Melting and Coating the Balls
After chilling, it’s time to melt the chocolate and coat your bliss balls. This step adds an extra layer of decadence and makes the treat visually appealing.
Techniques for Melting Chocolate Effectively
There are two primary methods for melting chocolate: using a microwave or a double boiler. Each has its advantages, so choose based on your preferences and available equipment.
1. Microwave: This is the quickest method. Place your chocolate melts in a microwave-safe bowl and heat them in 30-second intervals, stirring in between. Be vigilant, as chocolate can easily burn. When the chocolate is mostly melted, remove it from the microwave and stir until fully melted and smooth. Adding a teaspoon of coconut oil at this point can help achieve a silky texture.
2. Double Boiler: If you prefer a gentler melting method, a double boiler is ideal. Fill a saucepan with a couple of inches of water and bring it to a simmer. Place a heatproof bowl on top of the saucepan, ensuring it doesn’t touch the water. Add the chocolate melts to the bowl and stir as they melt. This method provides more control over the heat, reducing the risk of burning the chocolate.
Regardless of the melting method you choose, it’s essential to ensure that no moisture gets into the chocolate, as this can cause it to seize.
Once your chocolate is melted and smooth, it’s time to coat the chilled bliss balls. Using a fork or dipping tool, carefully dip each ball into the melted chocolate, ensuring it’s fully coated. Allow any excess chocolate to drip off before transferring the coated ball back onto the parchment-lined baking sheet. For an added touch, you can sprinkle crushed Oreos, sprinkles, or sea salt on top of the chocolate while it’s still wet.
With these steps, you’re well on your way to creating a batch of Decadent Oreo Bliss Balls that are sure to impress family and friends. Stay tuned for more tips and variations to elevate your bliss ball experience!

How to Achieve a Smooth Consistency with Chocolate
Achieving a smooth consistency with chocolate is crucial for creating perfectly coated Oreo Bliss Balls. Start by selecting high-quality chocolate. Whether you prefer milk, dark, or white chocolate, ensure it’s a type that melts well.
1. Chop the Chocolate: Break the chocolate into small, uniform pieces. This increases the surface area and helps it melt evenly, preventing any clumping.
2. Melt Slowly: Use a double boiler or microwave for melting. If using a microwave, heat the chocolate in short intervals of 15-30 seconds, stirring between each session. This method helps avoid overheating and burning the chocolate.
3. Add a Fat: For an even silkier texture, consider adding a small amount of coconut oil or vegetable shortening to your melted chocolate. This will not only enhance the gloss but also make it easier to coat the balls smoothly.
Best Practices for Coating the Balls Evenly
Once your chocolate has reached a silky consistency, it’s time to coat your Oreo Bliss Balls. Follow these best practices for an even coating:
1. Use a Fork: Dip a fork into the melted chocolate, then gently lower each ball onto the fork, allowing excess chocolate to drip off. This method ensures even coverage without making a mess.
2. Chill Before Coating: If the bliss balls are too soft, chill them in the refrigerator for about 15-20 minutes before dipping. This helps them maintain their shape during the coating process.
3. Twirl and Tap: After placing the ball on the fork, gently twirl it in the chocolate to coat it evenly. Tap the fork against the edge of the bowl to remove any excess chocolate.
Tips for Avoiding Excess Chocolate
To ensure your Oreo Bliss Balls have just the right amount of chocolate, consider the following tips:
1. Work Quickly: Once the chocolate is melted, work swiftly to coat each ball before it starts to set. This will prevent the chocolate from thickening and creating an uneven coating.
2. Use a Toothpick: After dipping the bliss balls, insert a toothpick into the top of each ball. This will allow you to hold and coat the ball without getting your hands messy. Once coated, simply pull the toothpick out and patch the hole with a bit of chocolate.
3. Drying Rack: Place the coated bliss balls on a wire rack to dry. This allows any excess chocolate to drip off without pooling underneath, ensuring a cleaner finish.
Importance of Quick Work Before the Chocolate Sets
Time is of the essence when working with melted chocolate. If it starts to set before you’ve finished coating all your bliss balls, you may end up with an uneven or clumpy appearance.
– Keep the Chocolate Warm: If you’re working in a cooler kitchen or the chocolate starts to thicken, consider placing the bowl back over the double boiler or warming it in the microwave for a few seconds.
– Batch Work: If you have a large number of bliss balls, consider working in batches. Coat a few at a time and return the remaining chocolate to the heat as necessary.
Garnishing Your Bliss Balls
Garnishing your Oreo Bliss Balls not only enhances their appearance but also adds a delightful crunch and flavor contrast. Here are some creative garnishing ideas to consider:
1. Creative Ideas for Garnishing: Use a drizzle of contrasting chocolate or white chocolate over the coated balls for an artistic touch. Simply melt the chocolate in a small piping bag or use a fork to create a zigzag pattern.
2. Using Crushed Oreos for Visual Appeal: After coating the bliss balls, immediately roll them in crushed Oreos before the chocolate sets. This not only adds an extra layer of Oreo flavor but also provides visual interest.
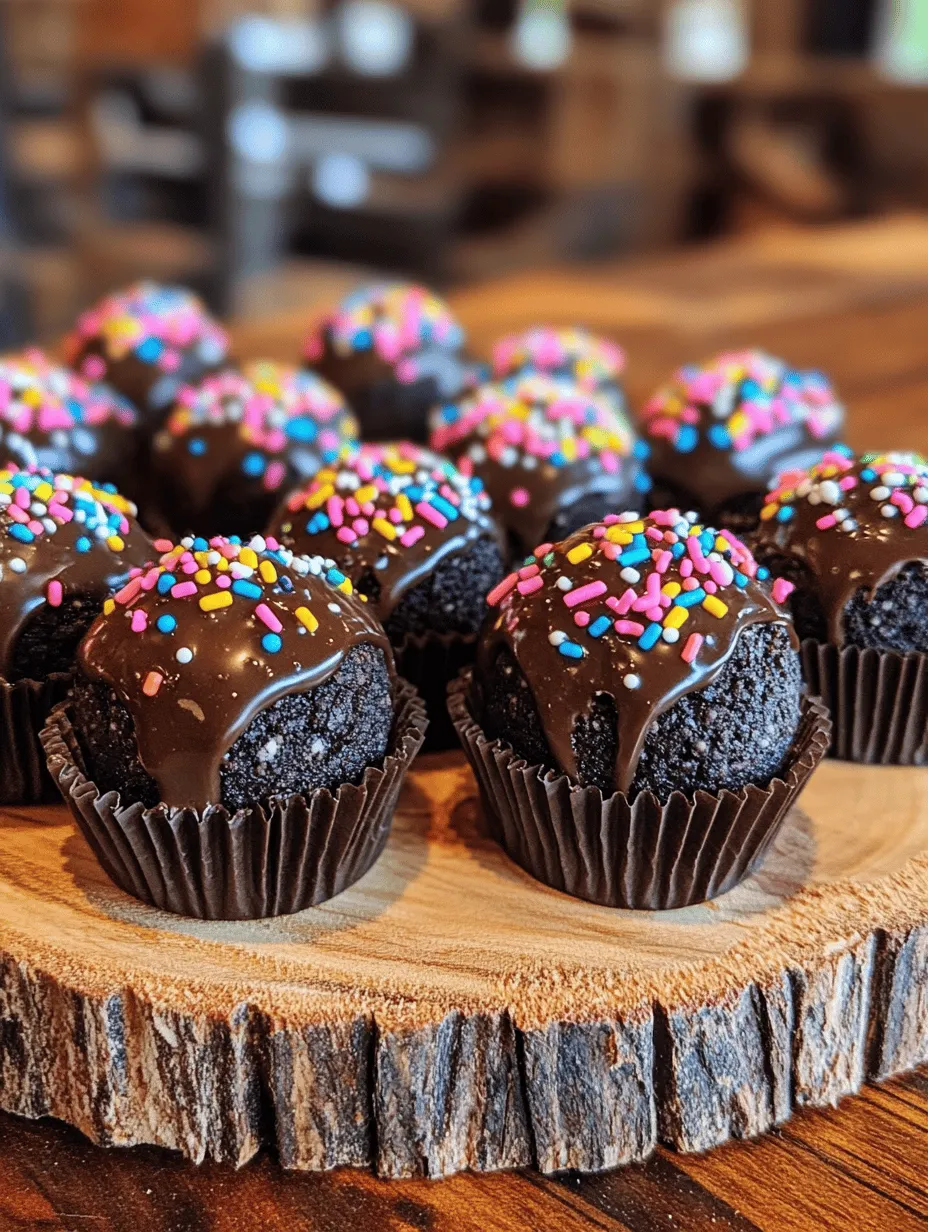
3. Incorporating Colorful Sprinkles for Festive Occasions: For birthdays or celebrations, colorful sprinkles can be a fun addition. Roll your bliss balls in sprinkles right after coating them in chocolate for a festive look.
4. Suggestions for Alternative Toppings: Consider rolling the bliss balls in chopped nuts, shredded coconut, or even cocoa powder for different flavor profiles. Each topping can turn your bliss balls into a unique treat.
Serving and Storing
Oreo Bliss Balls are versatile treats suitable for various occasions. Here are some serving suggestions and storage tips:
1. Serving Suggestions for Different Occasions: These bliss balls are perfect for parties, family gatherings, or even as a sweet addition to a dessert table. Arrange them on a decorative platter for an appealing presentation.
2. Ideal for Parties, Gifts, or Casual Snacking: They make delightful gifts when packaged in clear bags tied with ribbons or as part of a homemade treat basket. For casual snacking, keep a batch in the refrigerator for a quick indulgence.
3. Storage Tips for Longevity: To preserve their freshness, store your bliss balls in an airtight container. They can last up to a week at room temperature or up to two weeks in the refrigerator.
4. Best Practices for Refrigeration and Freezing: For longer storage, you can freeze the bliss balls. Place them in a single layer on a baking sheet until frozen, then transfer them to an airtight freezer bag. They can be stored for up to three months. Thaw them in the refrigerator before serving.
Nutritional Information
Understanding the nutritional information of your treats is essential, especially when enjoying indulgent desserts like Oreo Bliss Balls. Here’s a breakdown of the nutritional values per serving (based on a standard recipe yielding 20 balls):
– Calories: Approximately 130 per ball
– Fat: 7g
– Carbohydrates: 15g
– Protein: 1g
– Sugar: 8g
It’s important to enjoy these bliss balls in moderation, especially given their calorie content. While they are a delicious treat, balancing indulgence with a healthy diet is key.
Conclusion
Making Oreo Bliss Balls is a simple and joyful process that results in a delectable treat perfect for any occasion. Whether you choose to stick with the classic recipe or experiment with variations and flavors, the possibilities are endless.
Encourage yourself to explore different toppings and garnishing techniques to make each batch unique. Homemade treats like these not only satisfy your sweet tooth but also create cherished moments when shared with family and friends. So gather your ingredients, roll up your sleeves, and enjoy the pleasure of creating delicious Oreo Bliss Balls in your kitchen. Happy baking!


